| |

Latex Fonts Size and StylesLatex Fonts:Latex Paper size and font sizeWe usually define the paper size and the font size inside the square brackets []. The point size can be described in the way [10pt]. The other font sizes are 8pt, 9pt, 10pt, 11pt, 12pt, 14pt, 17pt, 20pt. The default font size for Latex is 10pt. The paper types with their dimensions are given below:
LATEX TYPE SIZEThe default font size or type size that Tex produces is 10pt. There are some of the declarations which are used for changing the type size. The table for all the type sizes along with commands is shown below: 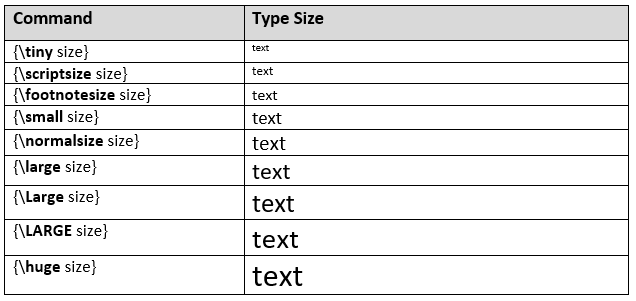
In the above sequence, \tiny is the smallest while \Huge is the largest. To understand, let's consider an example shown below: The output of this code is shown in the image below: 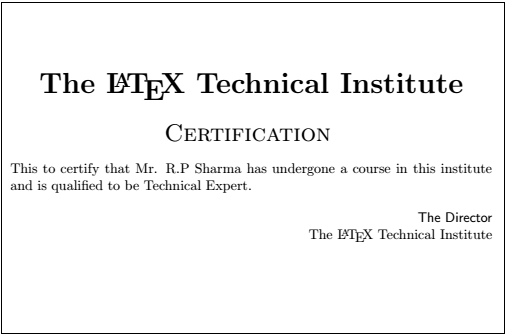
Similarly, you can change the font and styles according to the requirements. LATEX STYLESThe styles are categorized into family, series, and shape. The typestyle in the output is composed of these three characteristics. The table for the styles is given below:
The table for the series is given below:
The table for the shape is given below:
The way or procedure to use these three categories is given below: The output of this code will be: 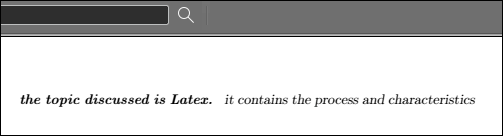
If you want to display the above text in separate lines, \newline command is used as shown below: Output: 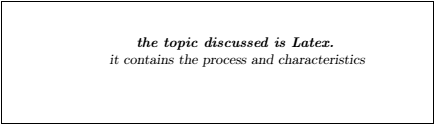
The Latex substitutes the approximation of the type styles which are not available on your computer. There is another command called \emph used for styling purposes. It uses the family of series and the current font. The \emph is used to produce the italic shape when we are in the middle of the ordinary (upright) text. And if the current form is italic, then it switches it to upright shape. The example is shown below: The output of the above code is shown in the below image: 
You can see the difference between the words with \emph command and the others. In another example, we have used the boldface instead of the italic above, which is shown below: The output of the above code is shown in the image below: 
DOCUMENTSOverviewIt includes the basic commands used at the starting and the end. It also includes the procedure to write the text. In this module, we have used TEXMAKER to write the code. The overview of the Latex is given below: After writing this document in the Texmaker, you have to save this file in any particular document. Click on the Quick Build button on the menu bar, as shown below: 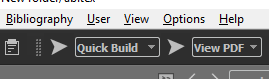
The output of the above document file will be: 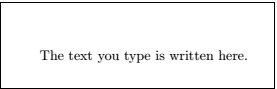
Note: Without saving the file or document, you cannot compile the code. So, make sure to save your document before compiling.The other commands commonly used are given below, which will be implemented further in this project.
TroubleshootingIn Latex, if there is an error in the document file, then it will show all the errors in red at the bottom after the compilation. The errors are explained in detail. The errors will look like the image shown below: 
After this, go to a particular line and remove the errors. Save the file, and then you can compile again. Other Font StylesThe other used font styles and the corresponding code is given below:
The output is shown below: 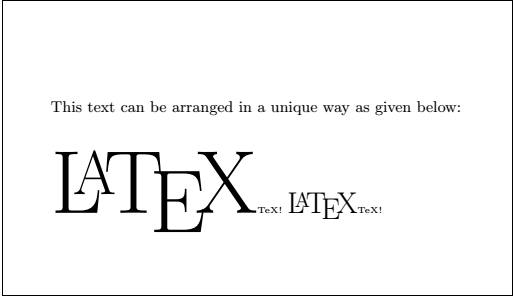
The \fontsize and \selectfont commands are used to modify the size of the text. You can set the dimensions according to the requirements. Font FamiliesThe common font families are listed below:
The standard supported for the weights and width for the font series are listed in the table below: sb- Semi Bold ub- Ultra Bold b- Bold eb- Extra Bold ul- Ultra Light el- Extra Light l- Light sl- Semi Light m- Medium (normal)
Next TopicLatex Colors
|
 For Videos Join Our Youtube Channel: Join Now
Feedback
- Send your Feedback to [email protected]
Help Others, Please Share


