| |

LATEX FORMATSFormatting ArgumentsThe formatting arguments are used to provide a unique look to your file or document. There are various methods to format the document, which are listed below: 1. Optional argumentsThe popular optional arguments are:
a) Class The documents types used here are articles in presentation and scientific journals, report, book, slides, a0poster proc (a class based on article class), letters, beamer (for writing presentations), etc. The class is used at the beginning of the program, {article} is the commonly used class. The document class defines the overall layout of the document. The other classes are also enclosed in the curly brackets, which are given below:
b) Groups To keep the scope limited and the state to local, the particular part can be enclosed locally in the curly braces. But in some cases, if braces are not possible, then you can use \bgroup and \egroup to begin and end a group respectively. For example, normal text {xyz} more normal text This can be written as normal text \bgroup xyz \egroup {} more normal text. c) Packages It is a method which provides or adds extra formatting features to the document such as pictures, bibliography and links. It also adds new functions to the Latex. All the packages must be included in the preamble only. To load a package, the command used is: It can also be used as \usepackage[options]{package} Some of the commonly used packages are:
2. Structure formats
The title is used in most of the paper formats like a letter, articles, report, book class, etc. To create a title, you need to specify the text for the author, title, and date, then with the use of \maketitle command, the title page is generated by the Latex. The \begin{document} must be used at the starting. The command used to make the title is \maketitle. The code for creating the title is given below: The output is shown in the below image: 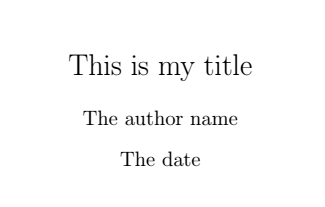
If you want no date at all, you can use the \date{} command. To display the current date, you can use the \date{\today} command.
You can divide your document into sections, sub-sections. The commands used to create the sections are:
These are the popular commands for the articles class. You can also use \chapter{..} command for the books and the report class. The code for the following section is given below: The output is shown in the below image: 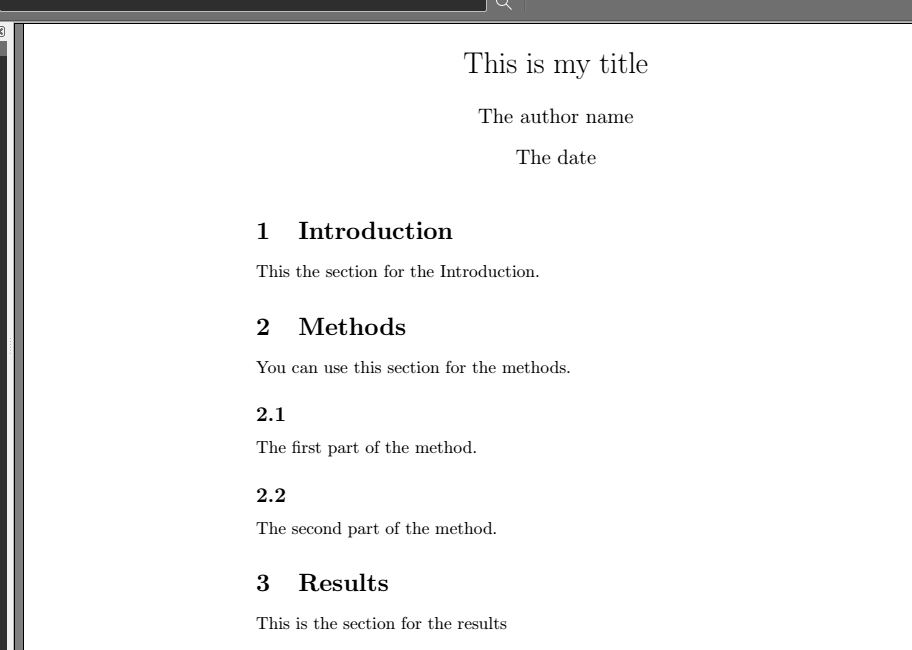
Output 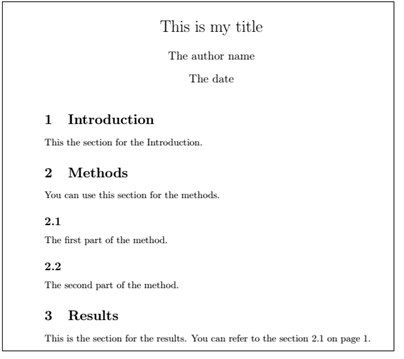
For the multiple pages or the file, you can easily refer to the page number and the section according to the requirements.
If you want to create the table of contents in your document, you can type the command \tableofcontents.
This format is used to number the pages before writing the document. It also ensures that the main document starts on page number 1. The page numbering can be switched between roman and Arabic. The command used to number the pages is \pagenumbering{..}, which is declared after the \maketitle command. The code for the above method is given below: The output is given in the below image: 
f. Headers and Footers appears in the head or the foot sections. The output screen consists of a head, body, and foot. The page number is printed by default by all the classes except the letter. To modify the default actions, you can use the \pagestyle command, which is placed just after the \chapter or the command similar to this. The types of standard page styles are given below:
\markboth is used for a two-sided file or document, while \markright is used for a one-sided document.
If you want to format or customize your header and footers in another way. You can use the fancyhdr command. This command in Latex is used as \usepackage{fancyhdr}. The package used here can align your header and footers to the left, right, and the center. You can also define multi-line headers and filters, separate headers used for the even and odd pages, etc. \pagestyle{fancy} is also used here. The following commands can be included in the {} ( curly brackets): \lhead{}, \chead{}, \rhead{}, \lfoot{}, \cfoot{}, \rfoot{}. If you want to suppress the horizontal line under the header, which is drawn by default, you can use the \renewcommand{\headrulewidth}{0pt} command. g. Margins The commands are used to set the margins manually. The margins internally are considered 1 inch by default. Hence, if you want to set a margin of 0.5 inches, you have to mention that margin -0.5 inches. You can also set the height and width of the text area by using the textheight and textwidth commands. The available commands to set margins are given below in the table:
The commands used to set the inches for margins are:
h. Paragraph To start a paragraph, you can use the control sequence \par or can either leave a blank space. The indent of the paragraph is 1.5em by default (1.5 times the point size of the current font). There is no extra space inserted between the paragraphs. To control the paragraph separation and indention, the commands \parindent and \parskip are used. Let-s consider an example below: This example contains a simple paragraph. The code is given below: The output is given in the image below: 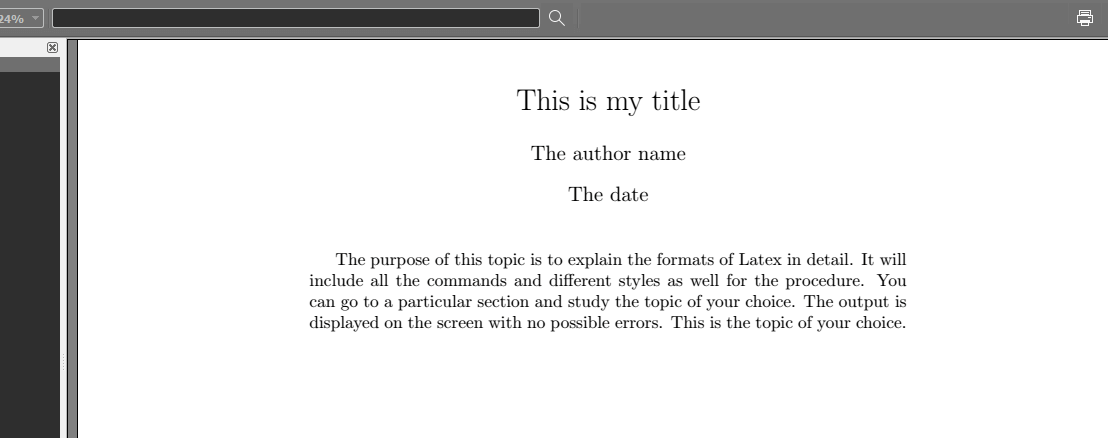
This example contains a paragraph with the paragraph separation and indention commands. The code is given below: This example contains a simple paragraph. The code is given below: The output is given in the image below: 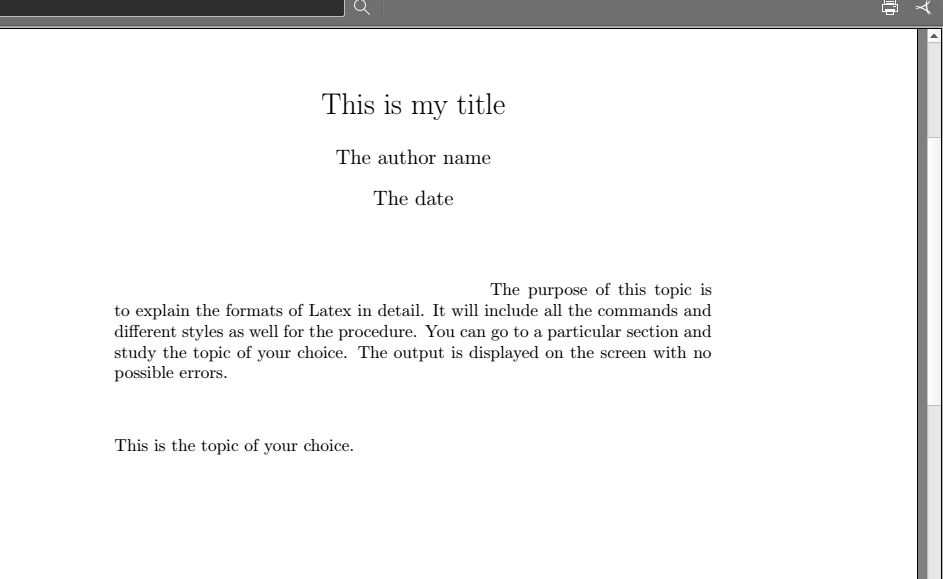
You can notice the difference between the above two examples. i. References It is also called as cross-references used for sections, figures, equations, or tables. The commands used are given below:
3. Drawing rules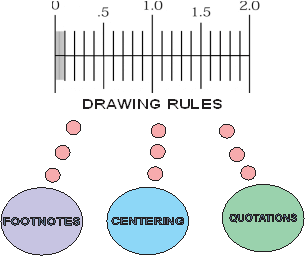
If you want to draw the horizontal or vertical line on the page of your document, you can use the \rule command. In Latex, it will be written as: The lift is the optional parameter, which is the amount raised above the baseline. The width is the horizontal dimension, while height is the vertical dimension. For example, if you want to draw the line given below: You can use the \rule{\textwidth}{2pt} command. The code or program for the above example is mentioned below: The output is shown in the image below: 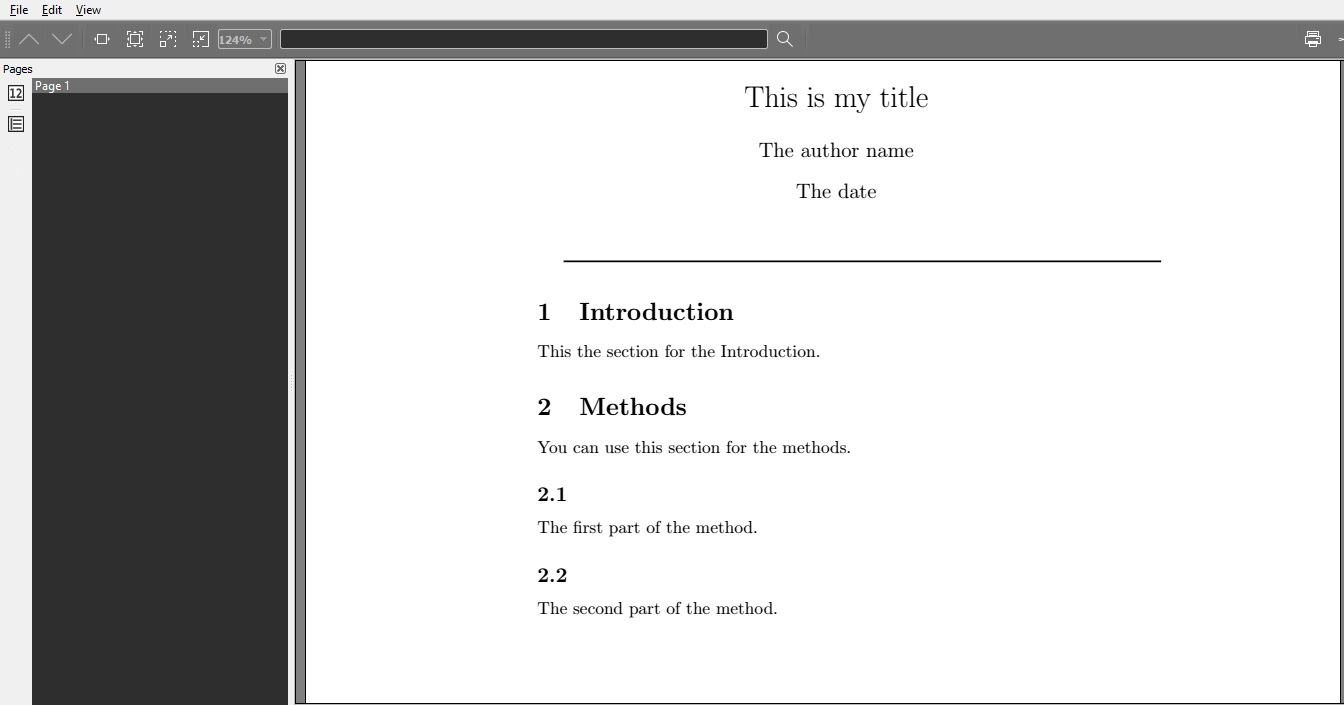
You can draw many lines according to the requirements. For example, to draw the two lines, the code is given below: The output for the above example, is shown in the image below: 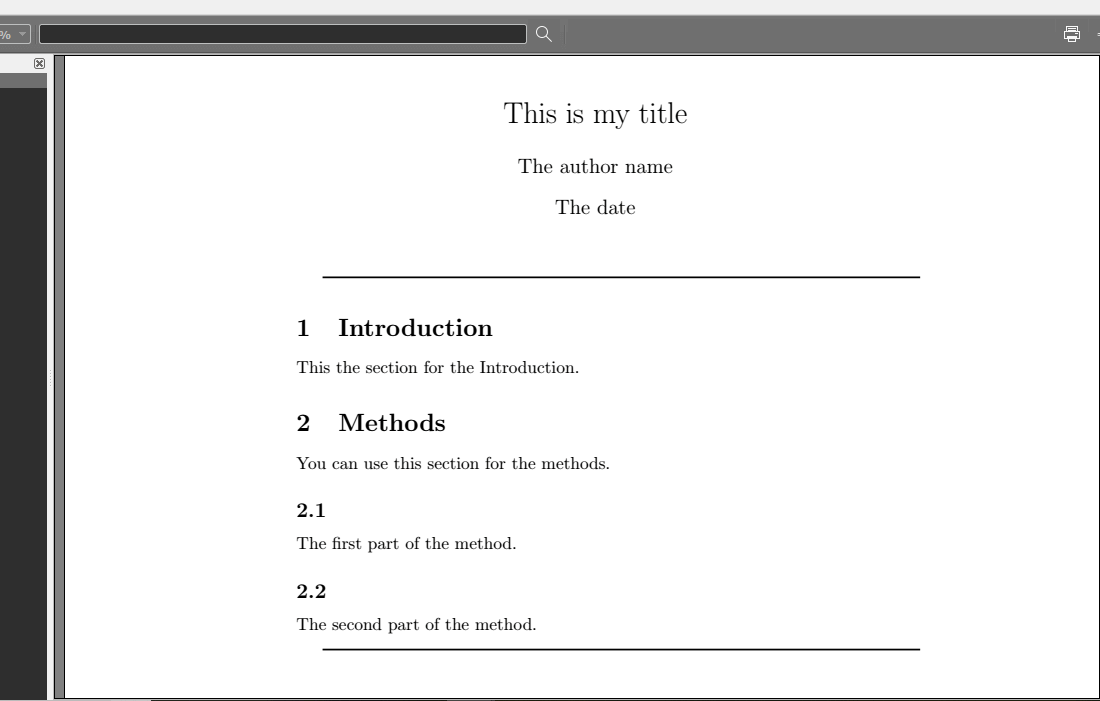
The output is shown in the image below: 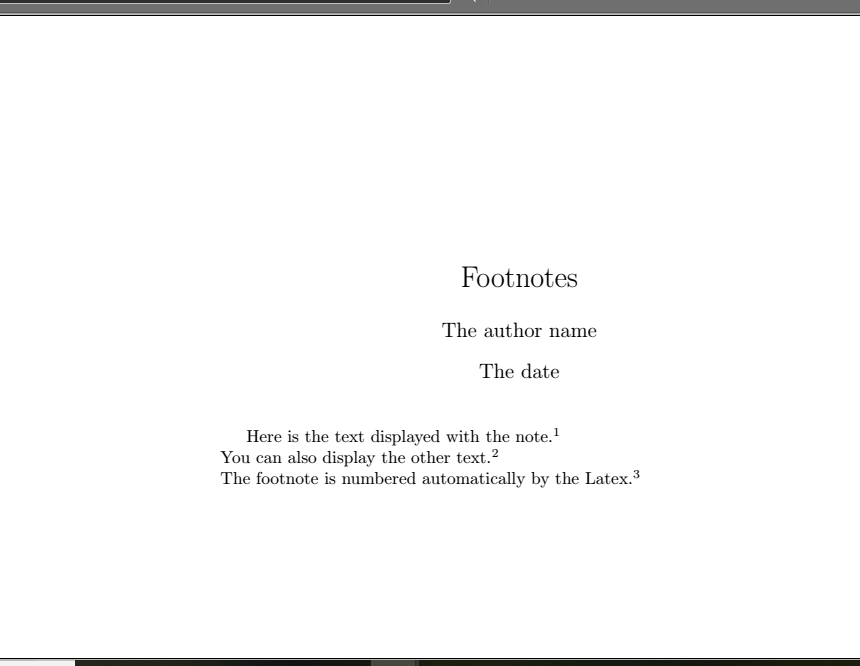
The footnotes will appear at the bottom. For the above example, the footnotes are shown in the image below: 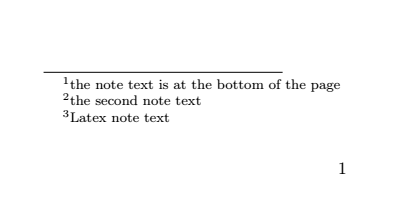
The output is shown in the image below: 
If you have several lines to display, then you can write in the following way.
In the paragraphs, there is no blank line separation and intent between the quotes in a section.
Next TopicLatex Table
|
 For Videos Join Our Youtube Channel: Join Now
Feedback
- Send your Feedback to [email protected]
Help Others, Please Share


