| |

LATEX TABLEThe tables are common feature used in academic writing. This topic will explain the steps to create the table and perform different functions in the table. Tables are an efficient way to represent the information and are often used in most of the documents or files. When discussing the scientific papers, the tables are used to present the data. Creating the table in Latex is a little complicated compared to others. But here, the steps and the process to create a table from the basics will make the process easier. The Latex is not a spreadsheet, but it is a dedicated tool to build tables and to export these tables to your document. The tables in Latex are created with a combination of a tabular environment and the table environment. The tabular environments contain the actual content of the table, while others include the caption. The commands used to create table environment are: \begin{table}{where} Table \end{table} The commands used to create tabular environment are: \begin{tabular}{lcr} Table \end{tabular} Here, the table signifies the tabular environment, together with the \caption command. The command where is used to determine the location for the table. For example, \begin{table}{t} means, the table will appear at the top of the page. The tabular environment uses & (ampersands) symbol for the column separation. The letters used to align the content to the left, center, and right are l, c, and r for each of the columns. The command passed for aligning is \begin{tabular}{l c r}. The command used to draw vertical lines separating the columns of the table is \begin{tabular}{l|c|r}, where the (|) is passed as an argument. The | symbol is used to draw the vertical lines between the columns. You can also use the \vline command to draw vertical lines. The \vline command draws the vertical line along with the height of the row. If we want to draw a horizontal line as a row separator, then we can use the \hline command. The command \cline{i-j} is used to draw the partial horizontal line beginning with i and ending with j. Let's consider few examples of a table by using the commands discussed above. 1. Output: 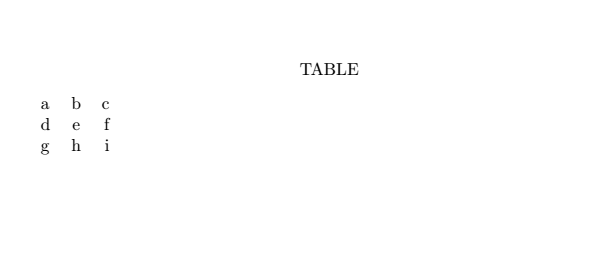
2. Output: 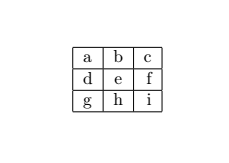
3. Output: 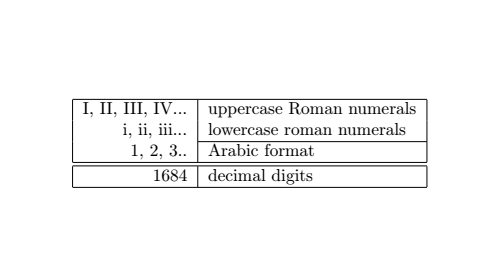
Now, look at the below code for creating a basic table: 4. Explanation:
In place of \begin{center}… \end{center}, the \centering command at the beginning of the document\table can be used. Output: 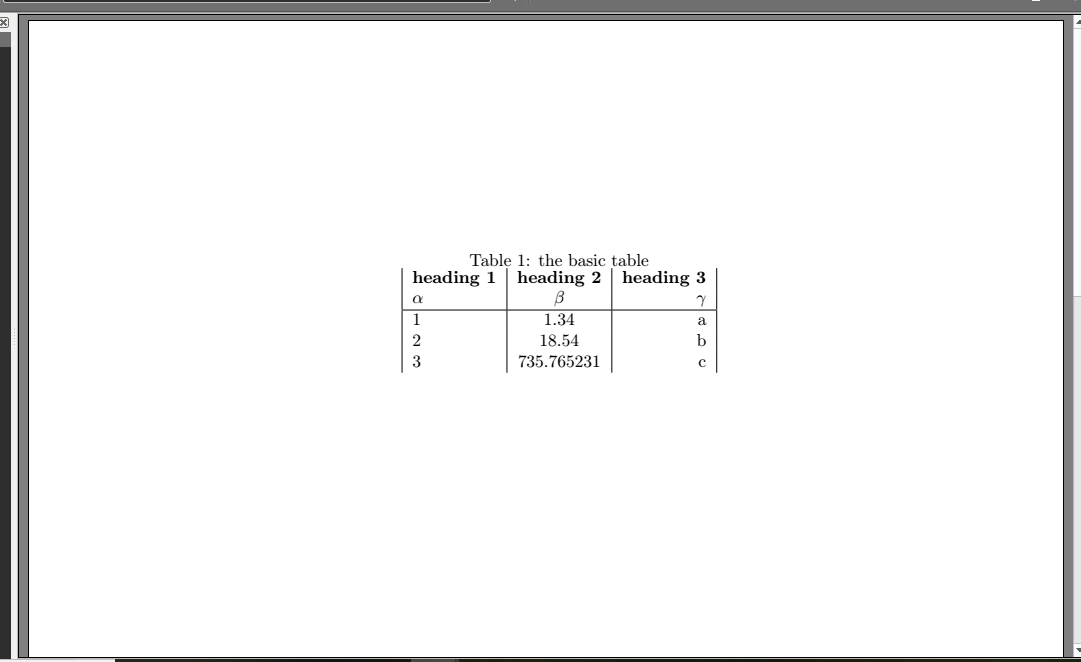
Combined Rows and ColumnsFor the combined columns, the\multicolumn{num}{col}{text} command is used. The num command is used to combine the num columns into a single column along with the width. The command col contains the symbols l, c, or r. The text contains the content for the column. For combined rows \raisedbox{lift}{text} command is used. It prints the text, which is raised above the current baseline by the amount of the lift. For the single space between the rows, the [-lex] command is used. For the double space between the first and the second rows, the [1ex] command is used. You can also align many identical columns by using the *{num}{str} syntax. It is useful when your table has many columns. The command will be written as: \begin{tabular}{1*{6}{c}r} Let's consider an example. The code is written below: Output: 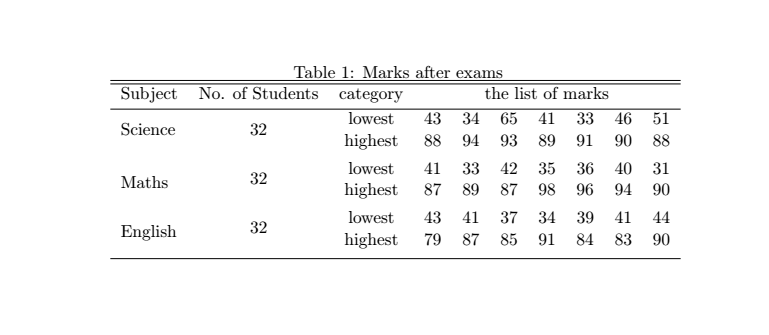
You can also change the mode to the landscape mode by using the \usepackage{adjustbox} command. The table here begins with the \begin{adjustbox} and ends with the \end{adjustbox}. Let's consider a simple example of a table to understand this. The code is given below: Output: 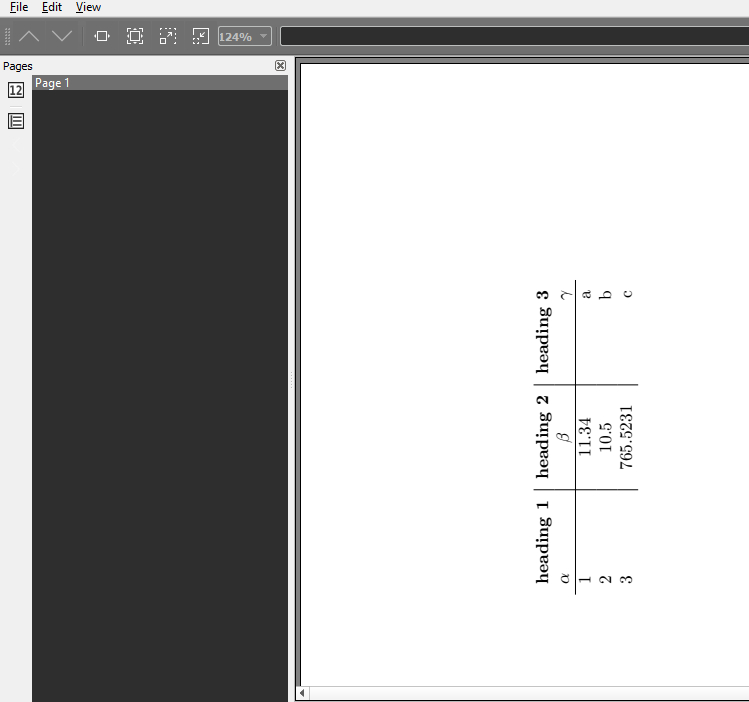
For example, if we set the angle to 150 degrees in the same code as mentioned above, the output will look like the image given below: 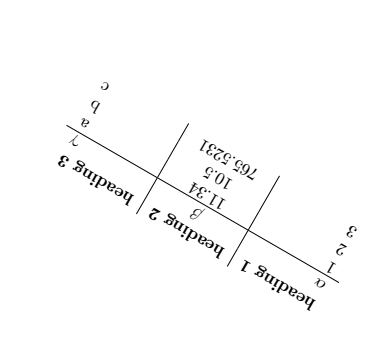
Some common commands used for the creation of a table are explained below:
For the space between columns the \setlength{\tabcolsep}{5pt} command is used. The default size is 6pt. This command is inserted between the columns for spacing. For the space between rows, the \arraystretch command is used. Text Wrapping in TablesLatex algorithms have some shortcomings. If the text overruns the width of the page, Latex does not adjust/wraps the text automatically. For this purpose, special command p (predefined width) is used to set the width. The example is given below. This example explains both the processes that are without setting the width and with the width. You can notice the difference between these two methods.
The code is given below: Output: 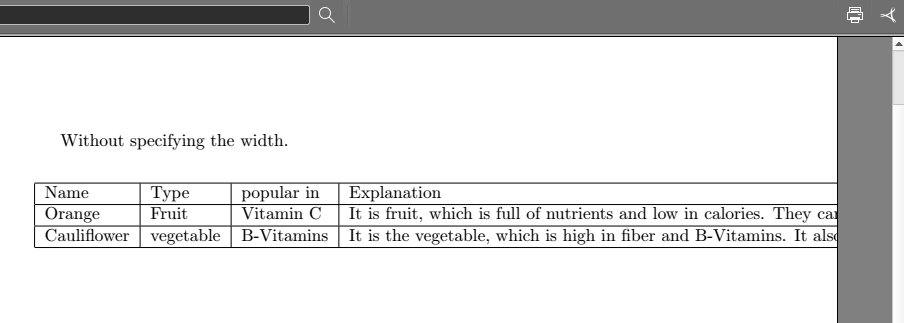
You can notice, that the information is not displayed because the width is not specified.
Output: 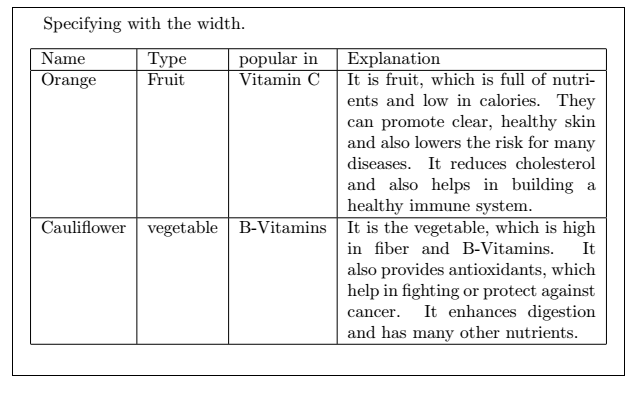
Multirow and MulticolumnIt is used to format the data, which contain several rows and columns. In this, multiple rows are split into subrows using the multirow package. Note:The column wrapping within the multirow environment will not work with the syntax used.Let's understand with an example. The code is given below: Output: 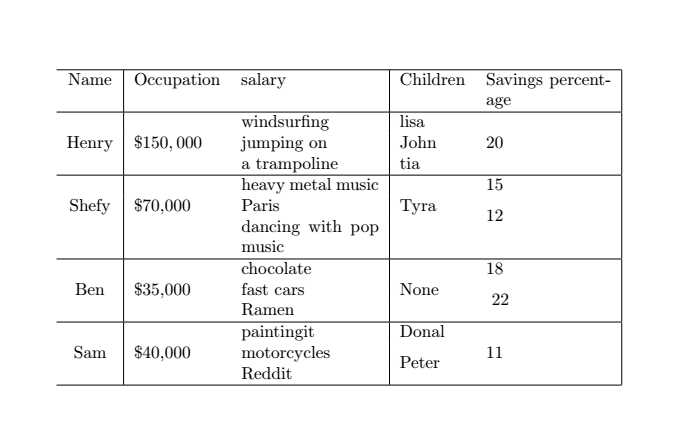
You can draw as much lines using the \hline command. Consider the similar image as the above with more lines: 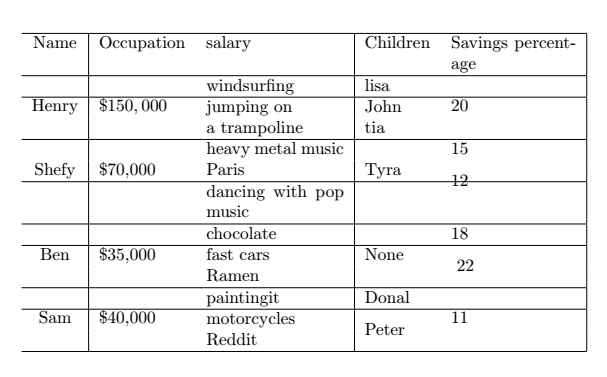
Tables with booktabsThe booktabs command is used to make the document much professional because the \hline command doesn’t do so. The commands such as toprule, midrule, and bottomrule provided by the bookstab package are used instead of the \hline command. The code for the bookstab package is given below: Output: 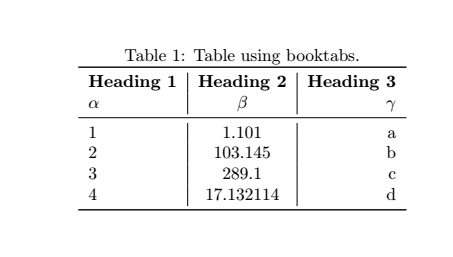
Multipage TablesIf your table contains multiple rows, then the table will be cropped from the bottom. The commandlongtable is used to make span numerous pages, which has to be added to the package. There is no use of a table or tabular commands when the longtable command is in use. It replaces the use of tables and tabular command and combines both environments into a single environment. Thus, instead, the environment longtable is used for the tables. The code for the above topic is given below: Explanation:
Output: The output for the above code will be listed in two pages, as shown below: The two pages are divides into three images. The images are given below: 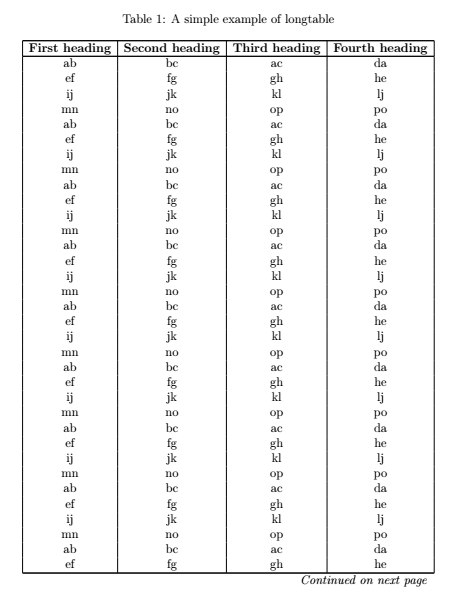
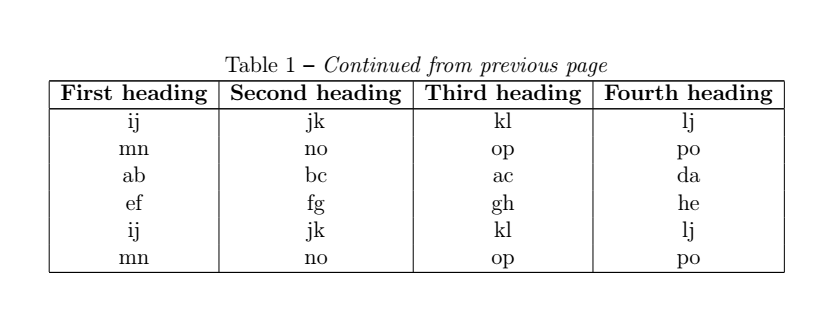
You can notice that the table was divided into multiple pages using the longtable column, without any loss of data. Aligning the decimal pointThe example discussed below will align the expression and the corresponding value according to its decimal point. The code is given below: Output: 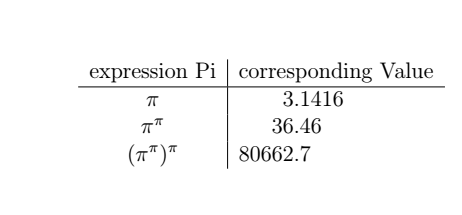
Tabular MaterialThe two environments are used for the tabular material namely tabbing environment (\begin{tabbing}…\end{tabbing}) and tabular environment (\begin{tabular}…\end{tabular}). The tabular allows making a fancy environment with commands used to draw the horizontal and vertical lines. However, the table cannot be broken into pages. For that purpose, the table command is used to break the table into multiple pages, as discussed above. The tabbing environment is used to set the tabs, behaving similarly to the typewriter. The set tabs then move from one to another. Since each line in the tabbing environment is processed individually, the page breaks are allowed within the tabbing. The commands used for the tabbing are listed below:
The two examples of the tabbing environment are given below: 1. The code for this example is given below: Here, we have used two \\ for the two new lines. Output: 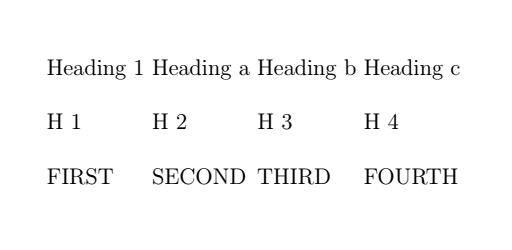
2. The code for the second example is given below: Output: 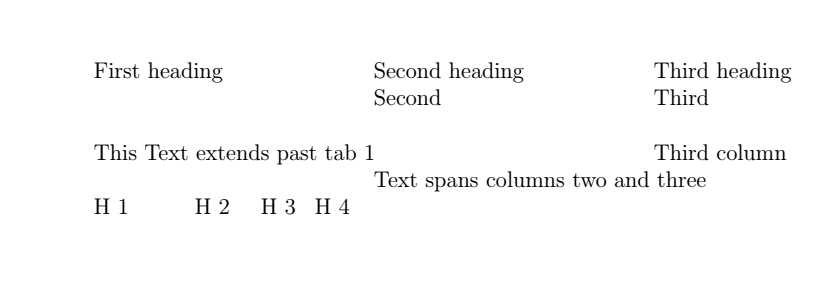
Next TopicLatex Colors
|
 For Videos Join Our Youtube Channel: Join Now
Feedback
- Send your Feedback to [email protected]
Help Others, Please Share


