| |

Linux Screen CommandWe sometimes faced a situation in which we implement a long-running operation to remove the machine and our connection drops suddenly. In this type of case, the SSH session has been terminated and our work is gone. However, it has happened to each of us at a few points. But, there is a command which is known as the screen that permits us to resume the sessions. Overview of The Screen CommandIn Linux, the screen command facilitates the ability for launching and using more than one shell session through an individual ssh session. The process could be detached through the session. We can reattach this session at a later time if the process begins with the screen command. Originally, the process that was begun from the screen is managed and run by the screen, if the session is detached. After that, the process can reattach the session and the terminals are there in a way it was left. GNU screen or simply screen can be defined as the terminal multiplexer. Besides, it means that we can start any session of the screen and after that open several windows (virtual windows) in that session Many processes executing in screen will proceed to execute if the window is not clear even when we get disconnected. Syntax Of The Screen CommandOptions In The Screen Command
Options for Shortcut Keys:
Examples of The Screen Command1. Check the screen versionOn most of the distributions of Linux, the package of the screen command is pre-installed. We can consider if it is already installed on our system by entering: 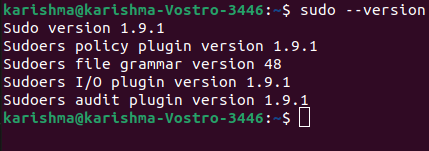
In case, we do not have a screen package already installed on our system, we can install it easily with the help of the package manager of distribution. 2. Installation of the screen commandWe need to go to our terminal and enter the below command for installing the screen command: 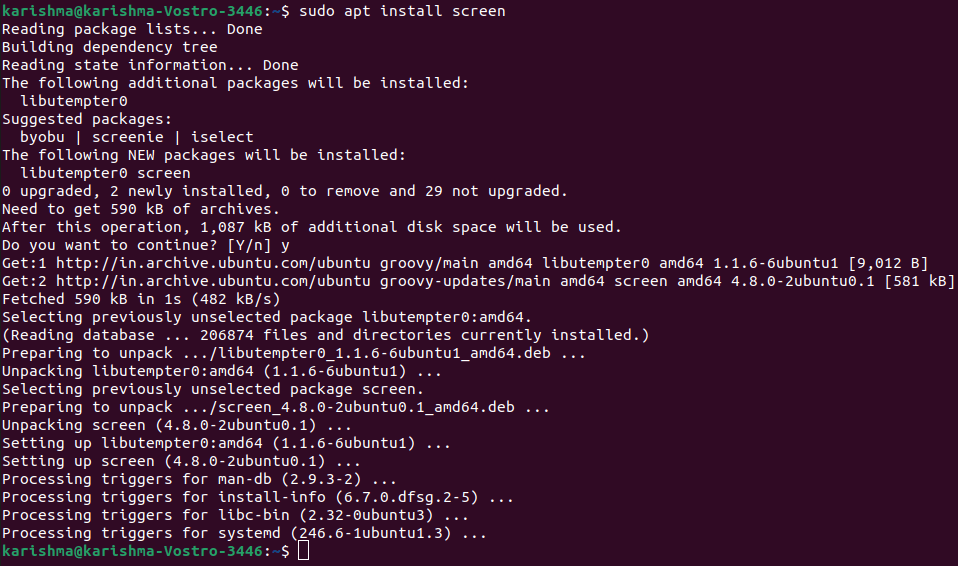
If we are using Fedora and CentOS, we can use the following command to install the screen command: 3. screenThis command will begin a new window inside the screen. 
4. -SThis command starts a new window inside the screen. It also provides a name for our window. It establishes a session recognized by that specific name. The name could be used for re-attaching the screen at a later time. 
5. Beginning named sessionThe named sessions are very useful if we execute more than one session of the screen. We need to execute the screen command along with the below arguments for creating a named session: 
Always, it is a good idea to select a descriptive name of the session. 6. -lsIt is used for displaying the opened screens currently including those executing inside the background. This command will list every attached and detached session of the screen. 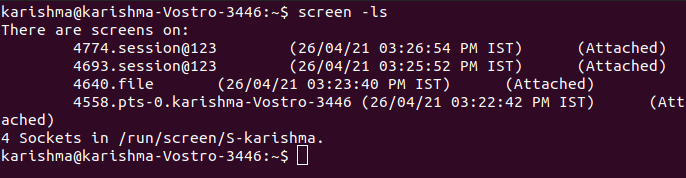
7. -dIt is used for detecting the session of a screen so that it could be re-attached later. Also, it can be implemented using the Ctrl-a + d shortcut key. 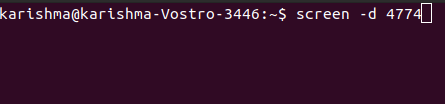
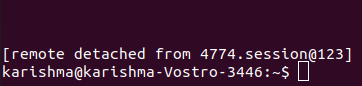
Here 4774 is the id of the screen we wish to detach. 8. -rIt is used for re-attaching the session of a screen that was previously detached. 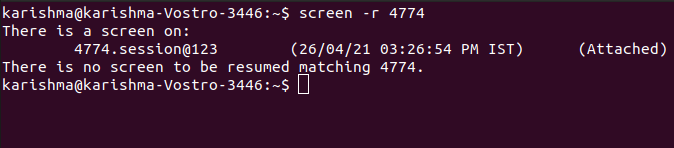
9. Customize the screen of LinuxWhen the screen began, it will read the configuration parameters through the ~/ .screenrc and /etc/screenrc if the file is available. We can change the default settings of the screen based on our preferences with the help of the file, i.e., .screenrc. 10. Switching among screensWhen we implement a nested screen, we can switch among screens with the help of the "Ctrl-A" command and "n". It will move to the upcoming screen. We have two go on the previous screen, \ just click "Ctrl-A" and "p". For creating a new screen window, then just click "Ctrl-A" and "c". 11. Using more than one screenWhen we need multiple screens for doing our job, we can execute more than one screen window at a time. We can do it in two ways. First of all, we can detach the initial screen and execute another screen over the actual terminal. Second, we do a nested screen. 12. Logging whatever we doSometimes it's necessary to record what we have done during we are inside the console. For example, we are a Linux administrator who handles various servers of Linux. Using the screen logging, we do not have to write down every single command that we have done. For activating the function of screen logging, we need to click "Ctrl-A" and "H". Note: We have to be careful while using the 'H' letter because 'h' will just establish a screenshot of the screen inside another file named hardcopy.At the screen's bottom-left side, there will be an alert that notifies us like: Creating logfile "screenlog.0". We will see the screenlog.0 file inside our home directory. This advantage appends everything we do during we are inside the screen window. For closing the screen to log executing activity, we need to click "Ctrl-A" and "H" again. Other ways for activating this logging feature, we can include the "-L" parameter during the running screen the first time. This command would be as follows: We can use the below command for checking the manual page of the screen command: 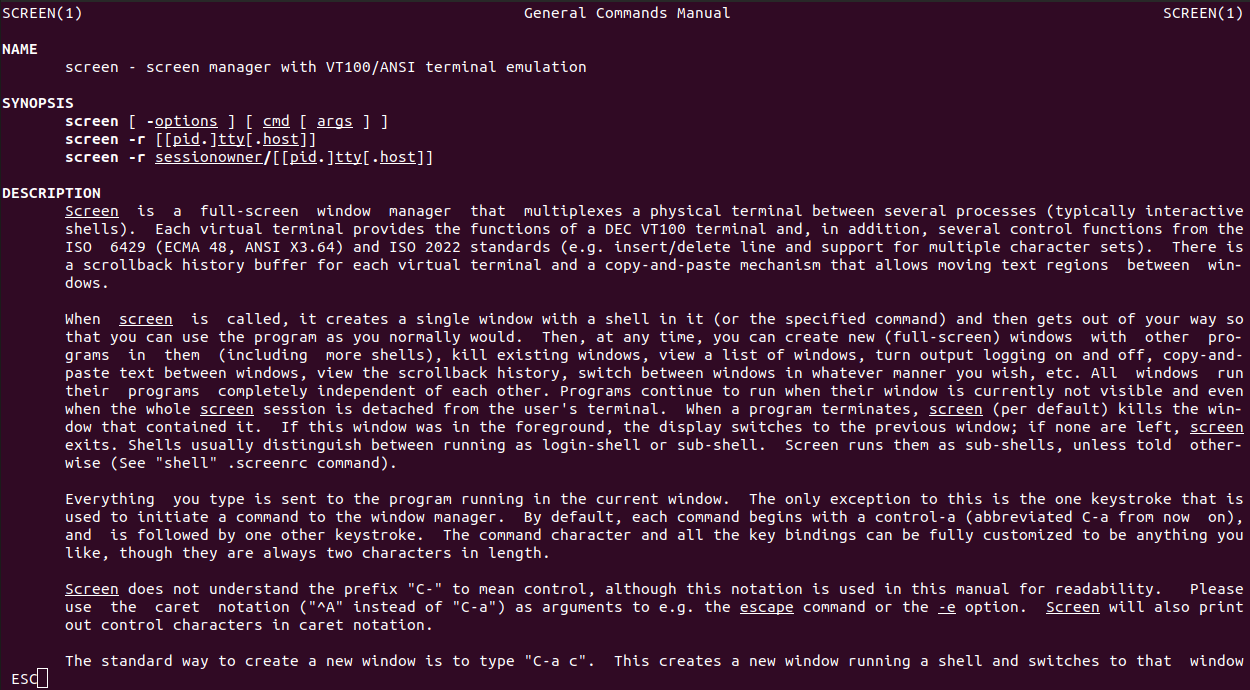
We can use the below command for checking the help page of the screen command: 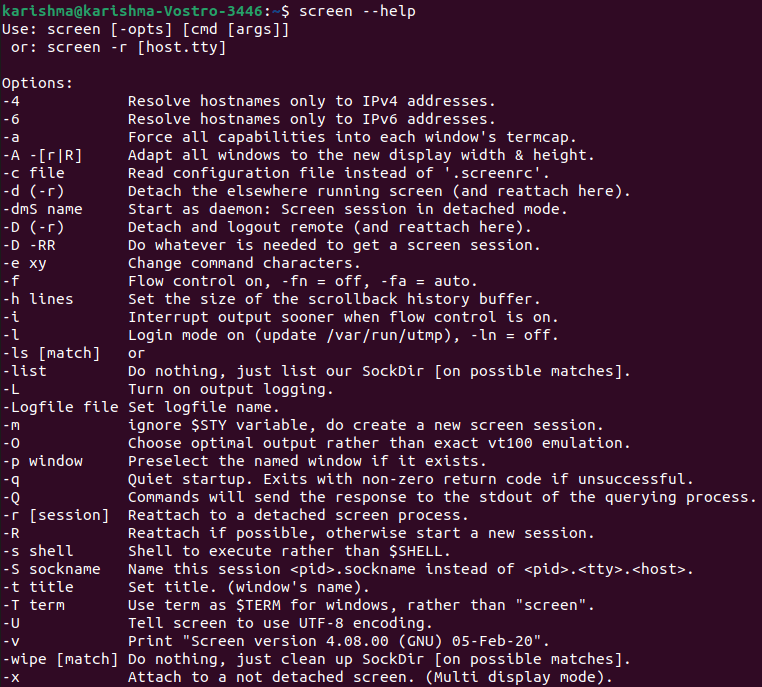
Next TopicLinux Check Disk Space
|
 For Videos Join Our Youtube Channel: Join Now
Feedback
- Send your Feedback to [email protected]
Help Others, Please Share


