| |

XAMPP InstallationXAMPP is open-source, cross-platform software. It stands for X (Cross-platform), A (Apache), P (MySQL), P (PHP), P (Perl). XAMPP is complete package software, which includes Apache web server, MySQL database, PHP, and Perl. So, we do not need to install all of these separately. It is generally a local server or localhost. We run phpMyAdmin database on this localhost using localhost/phpmyadmin/ on the browser. Here, we are going to install XAMPP 7.2.22 on the window. See the step-by-step installation of XAMPP. Step 1: Download the setup of XAMPP 7.2.22 software from here https://www.apachefriends.org/download.html by clicking on Download (64 bit). 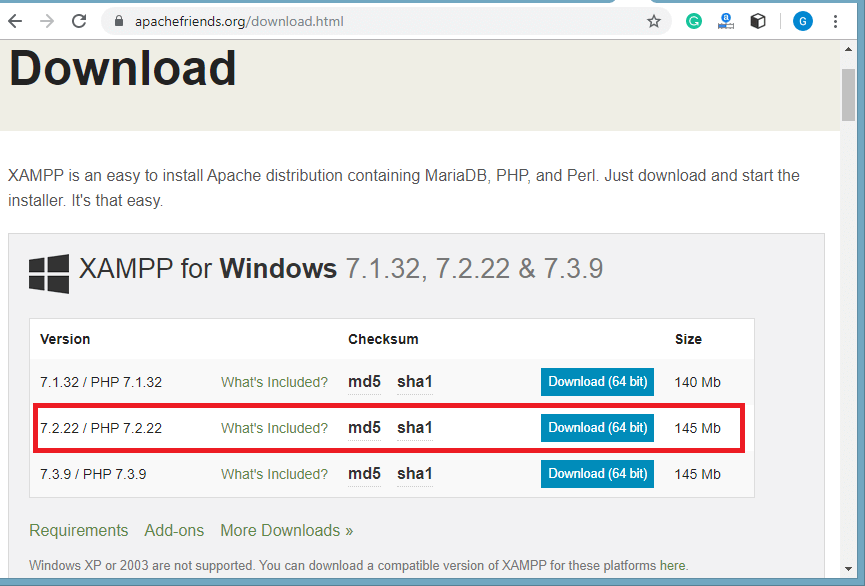
Step 2: After downloading XAMPP double click on the downloaded file to install the XAMPP and allows making a change in the system. A wizard will open where click on Next. 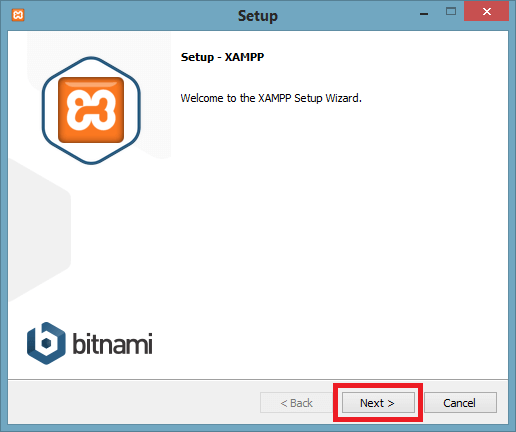
Step 3: Select the components from the right that you want to install and unselect if you don't, and then click on Next. 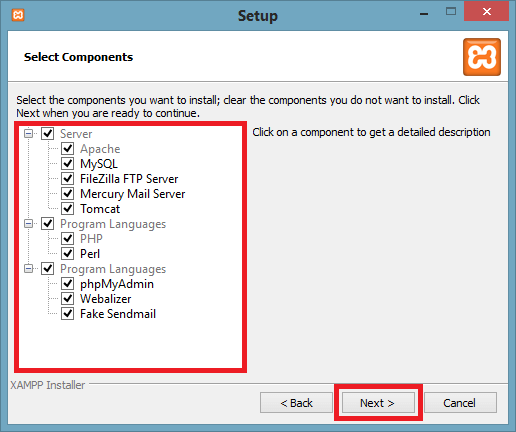
Step 4: Set the location where you want to install the XAMPP setup and click on Next. By default, it installs in C drive. 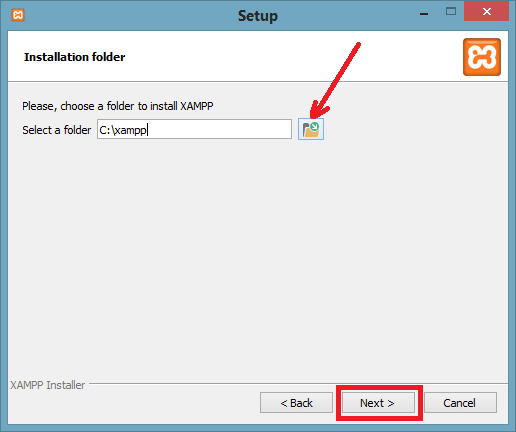
Step 5: Click on the Next button to move ahead. 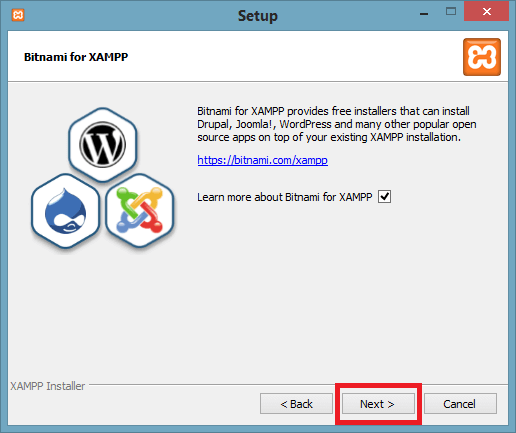
Step 6: Now, XAMPP is ready to install. Click on Next button to start the installation process. 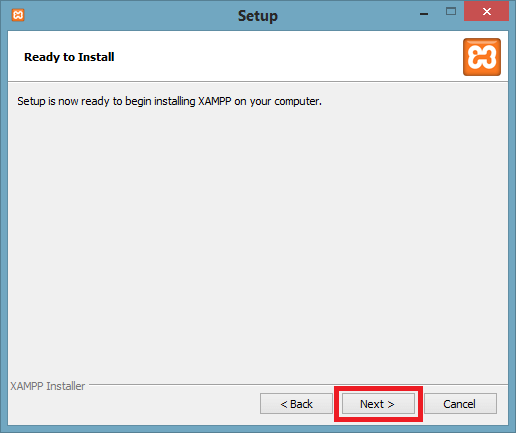
Step 7: Now, the installation is started. After completing the installation, click on the Finish button. 
Step 8: Select the preferred language. 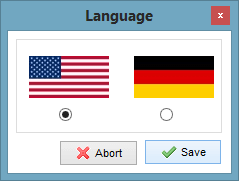
Step 9: Click on the Start button to run the Apache server and MySQL. 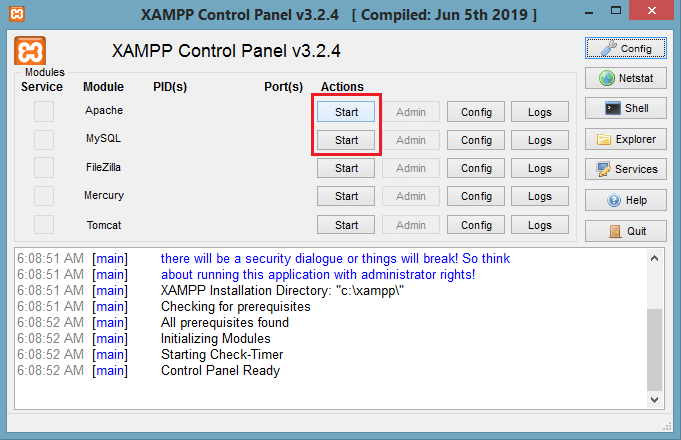
Step 10: Now, XAMPP is successfully installed on your system. Click on the Stop button if you want to stop the running of Apache and MySQL. 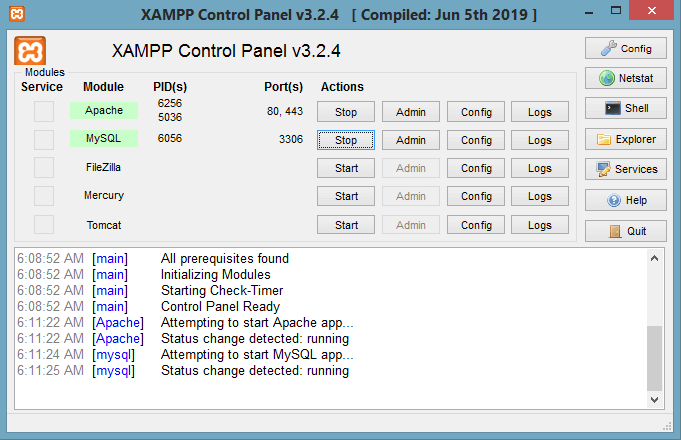
Next TopicInstall Magento 2 on windows
|
 For Videos Join Our Youtube Channel: Join Now
Feedback
- Send your Feedback to [email protected]
Help Others, Please Share


