| |

Oxygen XML Editor tutorialOxygen XML is the XML editor tool that is widely used in the market. It comprises various XML authoring and development tools. It has the capability to accommodate a large number of users ranging from beginners to the xml experts. Since it is based on the java application, it can be used on multiple platforms such as Windows, Mac OS X, and Linux. Oxygen XML editor can be used in conjunction with XML-based technologies. It also includes various powerful tools used for creating, editing, and publishing XML documents. Features of Oxygen XML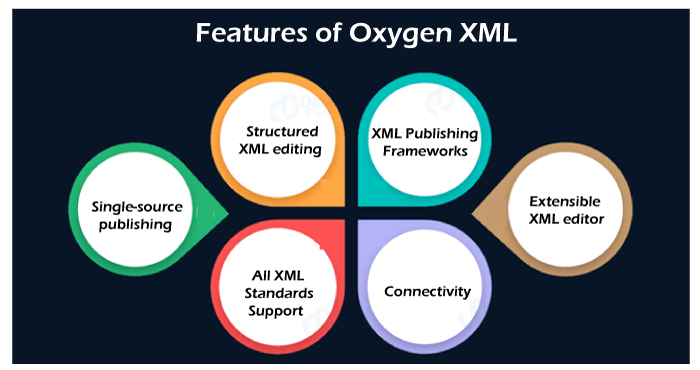
The following are the features of the Oxygen XML:
Installation of Oxygen XML editorThe following are the steps to install the oxygen xml editor: Step 1: Navigate to the website https://www.oxygenxml.com/. When we click on this link, the screen would have appeared as shown as below: 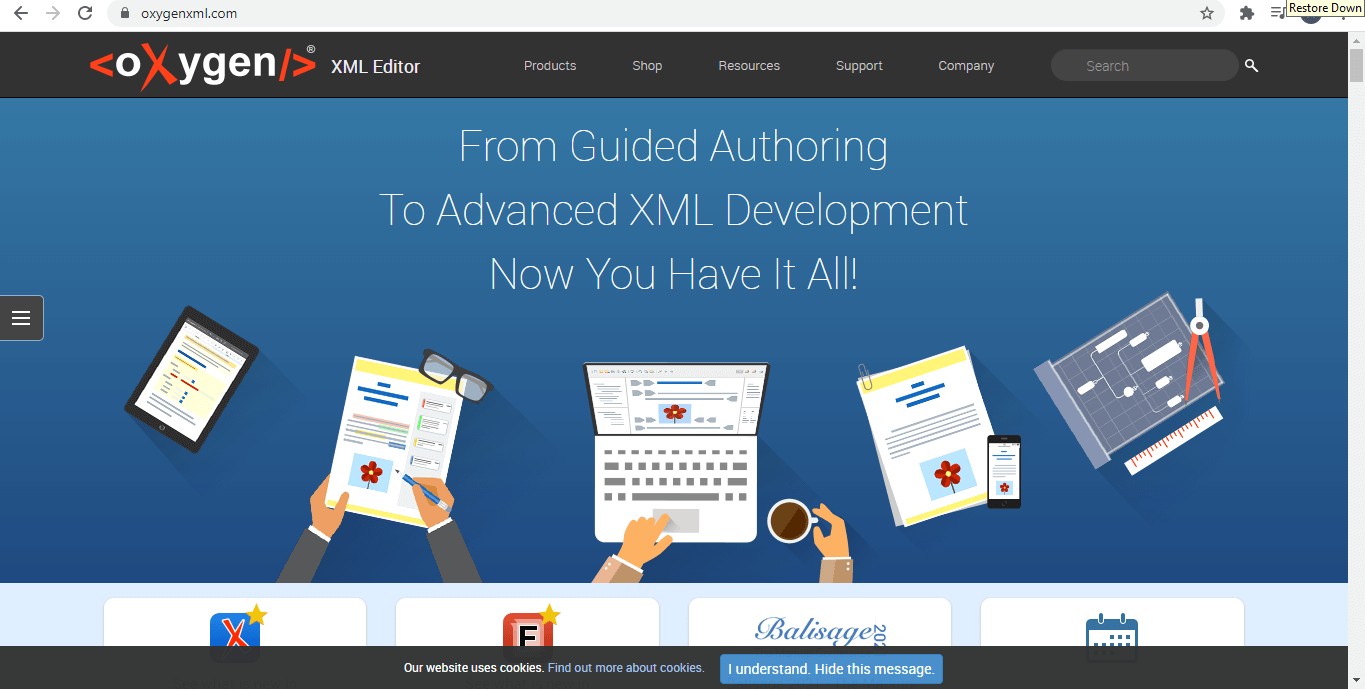
Step 2: On the screen, we can observe that the product option appears on the menu bar. When we mouseover on the Product, the drop-down appears as shown as below: 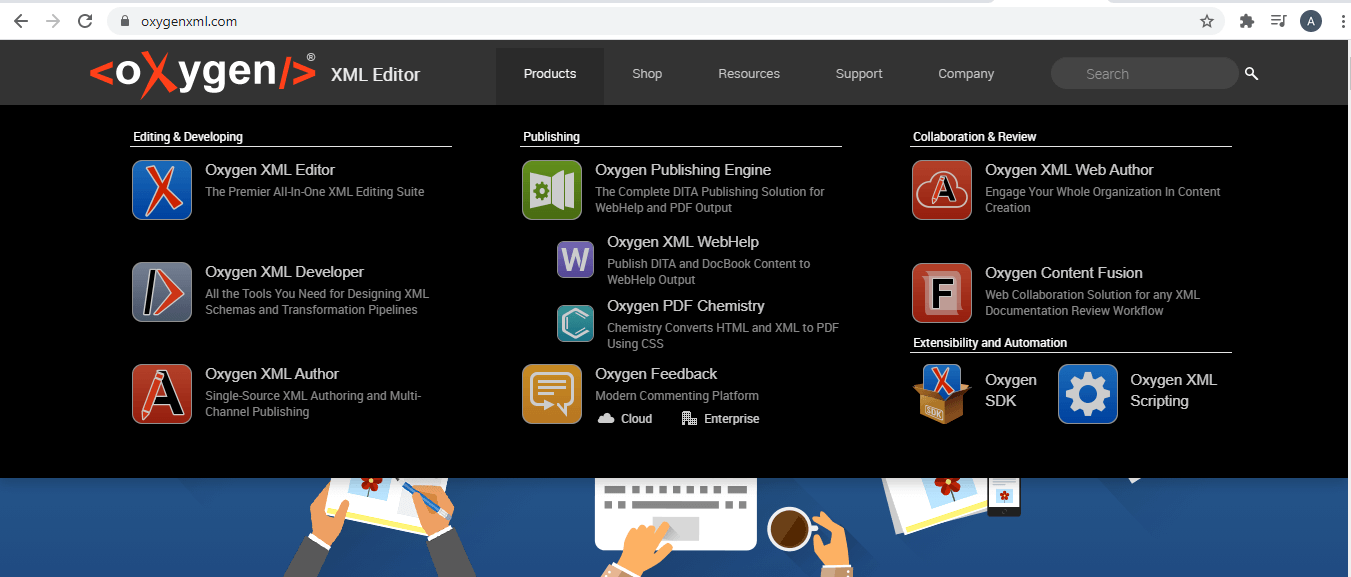
Step 3: The tool that we are going to use is Oxygen XML Author. Navigate to Oxygen XML Author. Once we navigate to the Oxygen XML Author, the screen appears shown as below: 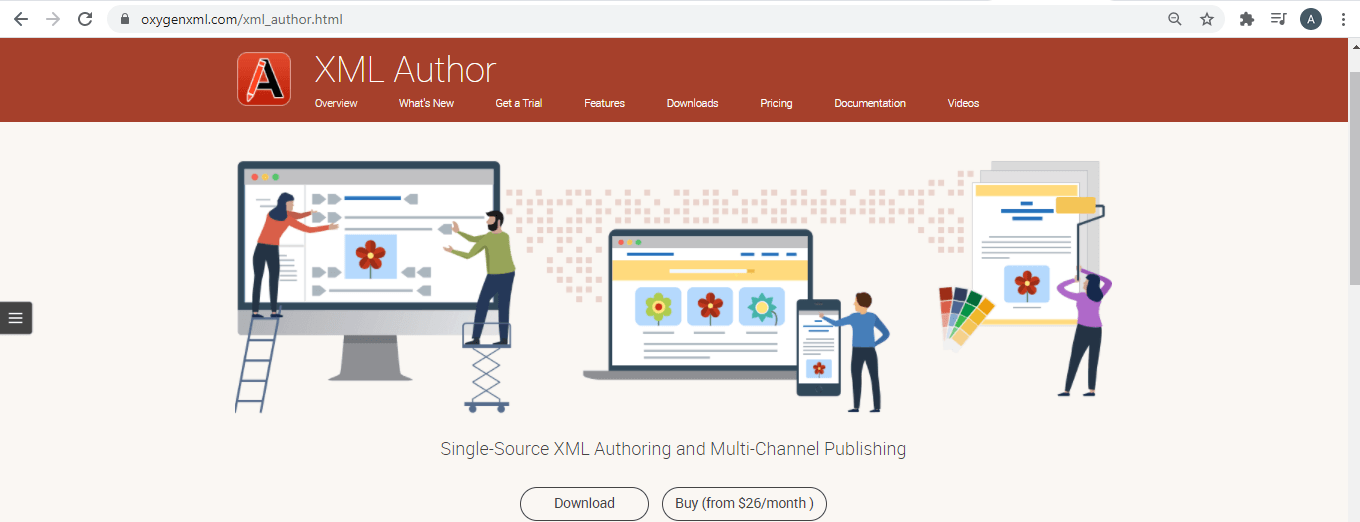
Step 4: First, we download the software for the trial period. So, we select the Get a Trial option that appears on the menu bar. Once we clicked on this option, we get a screen which is shown as below: 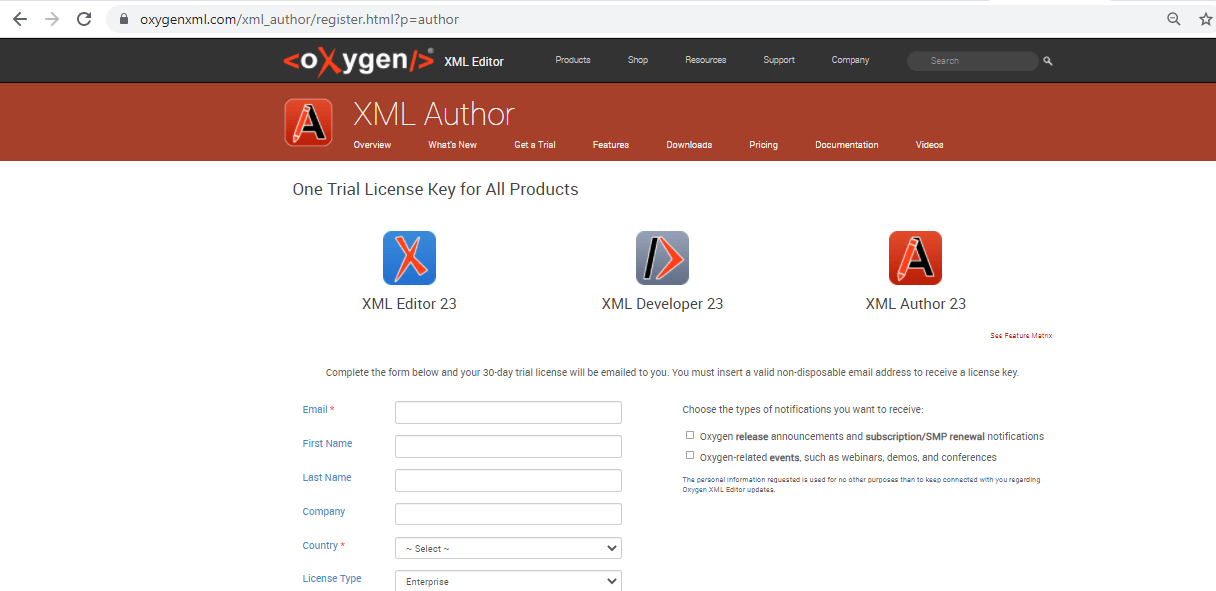
Step 5: In order to achieve the Trial license key, we need to fill the information shown in the above screenshot. Step 6: Once the form is completed, the screen appears shown in the below screenshot: 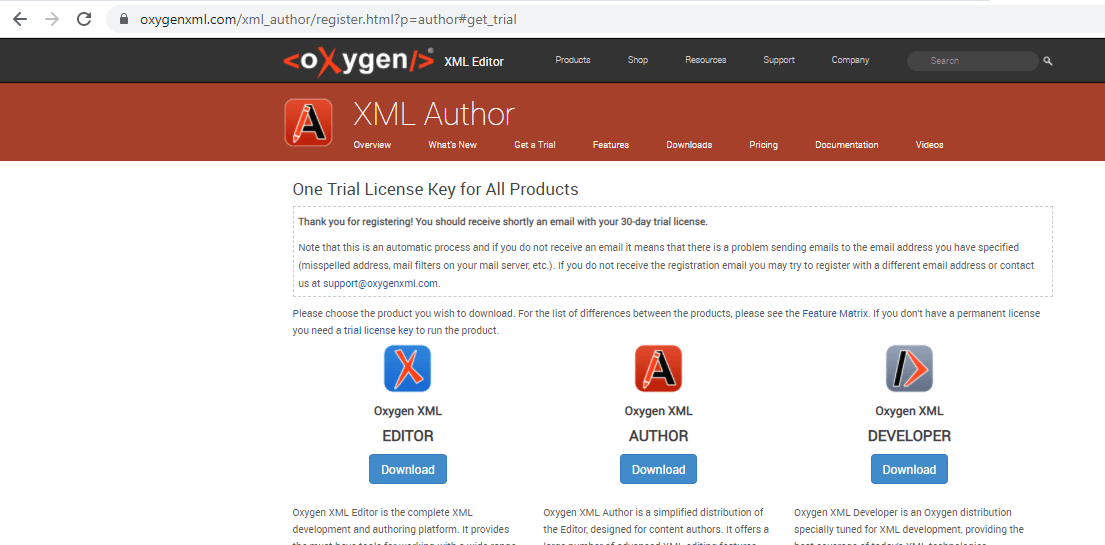
Step 7: We want to download the Oxygen XML Author tool. So, we click on the Download option that appears below Oxygen XML Author. After clicking on the Download option, the screen appears shown as below: 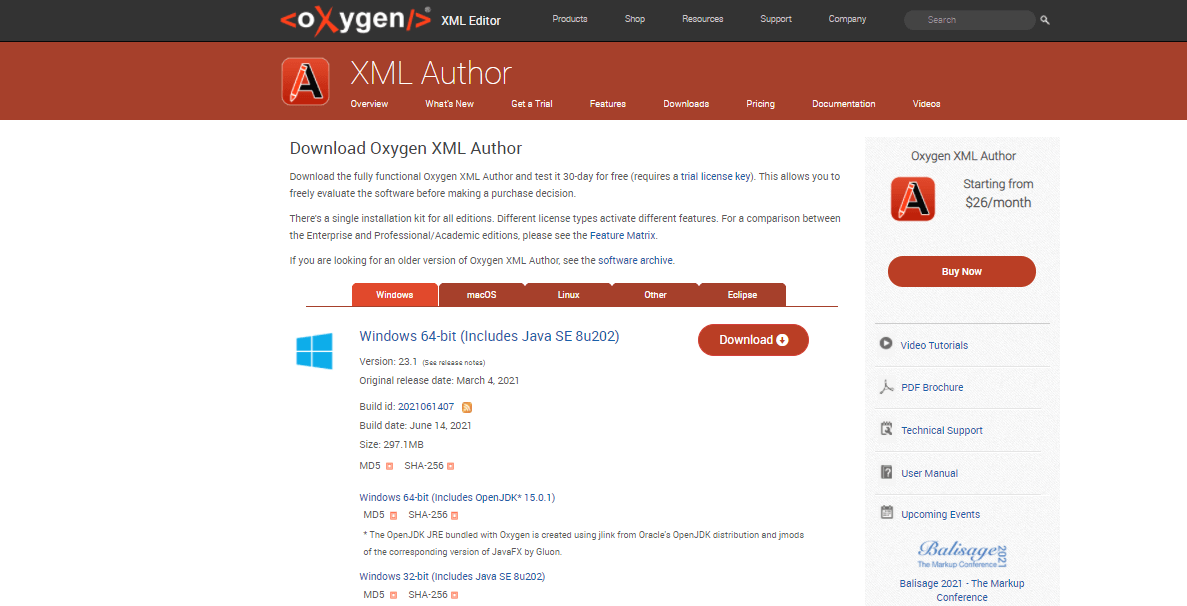
Step 8: When we click on the Download option shown in the above screen, the OxygenAuthor-64bit.exe file gets downloaded. Step 9: Click on the OxygenAuthor-64bit.exe file and the screen appears shown as below: 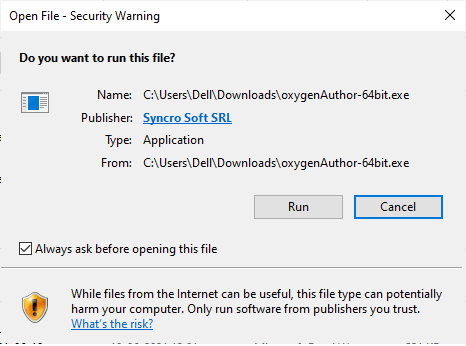
Step 10: Click on the Run, and the installation process will get started. Step 11: Select the language, and then click on the OK button. 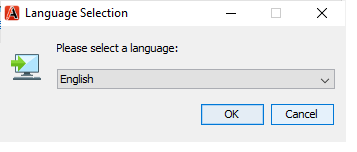
Step 12: Click on the Run. Step 13: Click on the yes button to allow the app to make changes. Step 14: When we click on the yes button, the screen appears shown as below: Step 11: Select the language, and then click on the OK button. 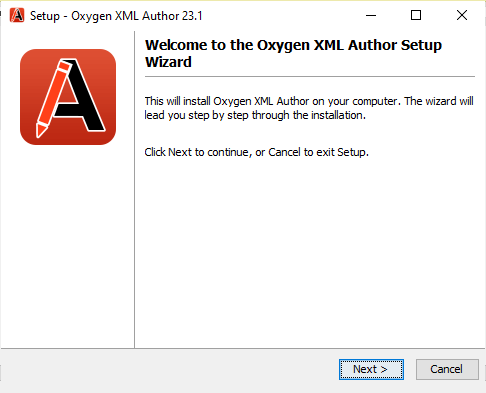
Step 15: Click on the Next. Step 16: Select the option "I accept the agreement". 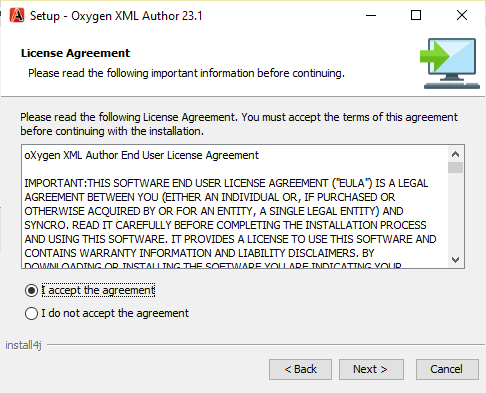
Step 17: Click on the Next. Step18: Select the Destination directory. 
Step 19: Select the Start menu folder. 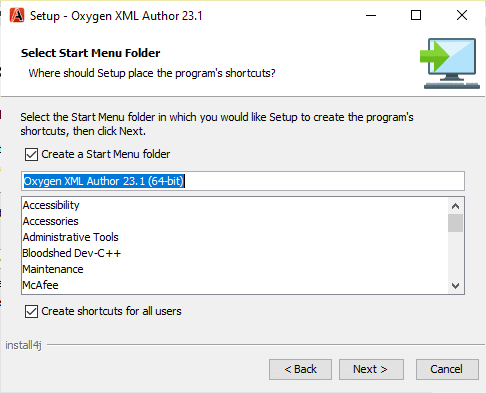
Step 20: Select the file associations that you want to create. 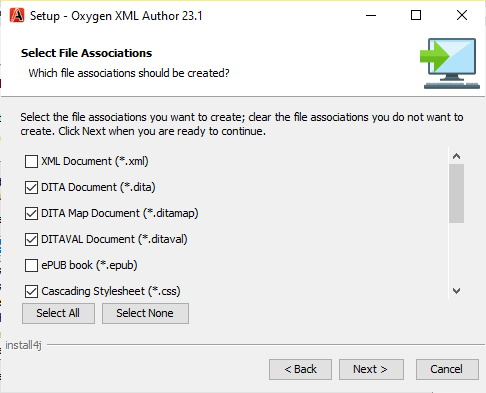
Step 21: Click on the Next and the setup will start installing as shown as below: 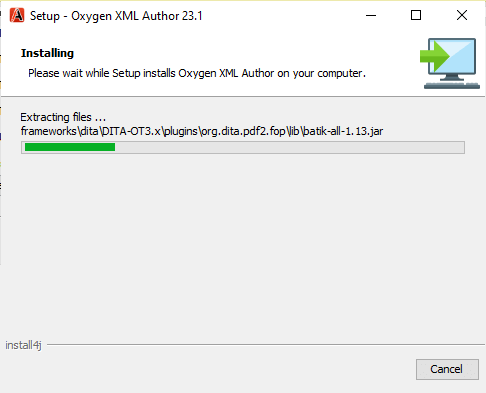
Step 22: Once the installation process gets completed, we click on the Finish button. What is Dita?Before knowing about the Dita, we should know about the structured content. Structured content is content that follows the predetermined standard. The content that confirms the predetermined standard is intelligible for the systems and applications. Dita is a unique kind of structured content. Dita was specially designed for optimizing the publishing of technical documentation. What is structured writing? Structured writing is a form of technical writing that uses and creates technical documents. Technical writing is a particular goal that solves the particular problem of a user. As technical writers, we need to structure and organize the content so that it can easily address customer needs How is Dita different? Most systems organize the content as documents or pages, and these documents are written in a linear way. The ideas within these intertwined and overlap. But the Dita is organized and written differently. The Dita content is arranged in component parts, topics which are arranged in maps ideally. It is stored in a component content management system. A component content management system lets you manage, organize and publish the content at the component level instead of a document level. This is the massive difference from most of the systems. The typical content system is content with the entangled ideas that are difficult to separate. But Dita uses topics and maps to build documents. A topic is a chunk of content that answers a single question, and it is self-contained and modular. Unlike the tangled document in a typical content system, each topic in a document contributes to the distinct idea. We can think of the topics as the building blocks of larger documents. With these building blocks, content strategists can construct documentation and easily re-use or rearrange their content. There are three main kinds of topics:
DITA Maps Dita Map gives a purpose and order to a pile of topics. For example: If we think as a traveler embarks on a cross-country road trip, we probably know about some of the landmarks along the route. But we need a map that gives the direction, the distance, the order of landmarks and the whole surrounding terrain. A map gives purpose and order to a series of landmarks. In the same way, a Dita map gives the purpose and the order to a pile of topics. Dita Maps provides the order, hierarchy and navigation (like a table of contents) and the cross topics links in the final deliverable. As content creators, we are cartographers and our readers are the travelers. We create the maps that can guide the traveler in their journey. A map guides the traveler from point A to point B with a relevant information in the correct sequence between these points. In the same way, a road map is essential to a successful road trip and a Dita map is essential in publishing the content. As we already discussed that Dita map is used for optimizing the publishing of technical documents. Dita map is different from the other tech comm methods. Rather than formatting the content that you create it, Dita content is automatically formatted the published content. Dita content can be published in various formats such as portal, pdf, mobile app, website, etc. With the help of Dita, a multi-channel publishing is as easy as the push of button. The reason for using the concise, self-contained topics is because it allows you to re-use the content. Here, content re-use does not mean copying and pasting. When we re-use a topic means that we are referencing a topic rather than replicating it. The content which is developed in Dita is built into a framework that allows the content to grow, evolve, and meet the organization's needs. The unstructured content is developed with the use of authoring tools such as Microsoft word; in this case, the growth of your organization means the exponential growth of your workload and complexity. Authoring in DitaAs a technical writer, we need to write some documentation in Dita XML. Dita is based on various information types such as Task, Concept and Reference. If we are creating the software documentation, then we mainly use the Task topic type. The task is the set of instructions that we provide to the user. The part of the content will be the architectural or the conceptual information, and here the conceptual information includes what are the features and the what are the capabilities that we are providing to the user. Such type of information is written a concept topic type. The users who already know the procedure and they want to know the permissions type of information then they go for the reference type of topic. The author must follow the strict rules for writing. If we do not follow the strict rules, then the content won't be properly organized and structured. Authors must follow the predefined standard so that the content can be efficiently organized, The content which we write must be divided into components so that the content can be re-use. How to write the Dita XML using Oxygen XML editor.Instructions:Now, we have to create the documentation of the above instruction. The following are the steps used to create the documentation: Step 1: Go to projects-> New project. 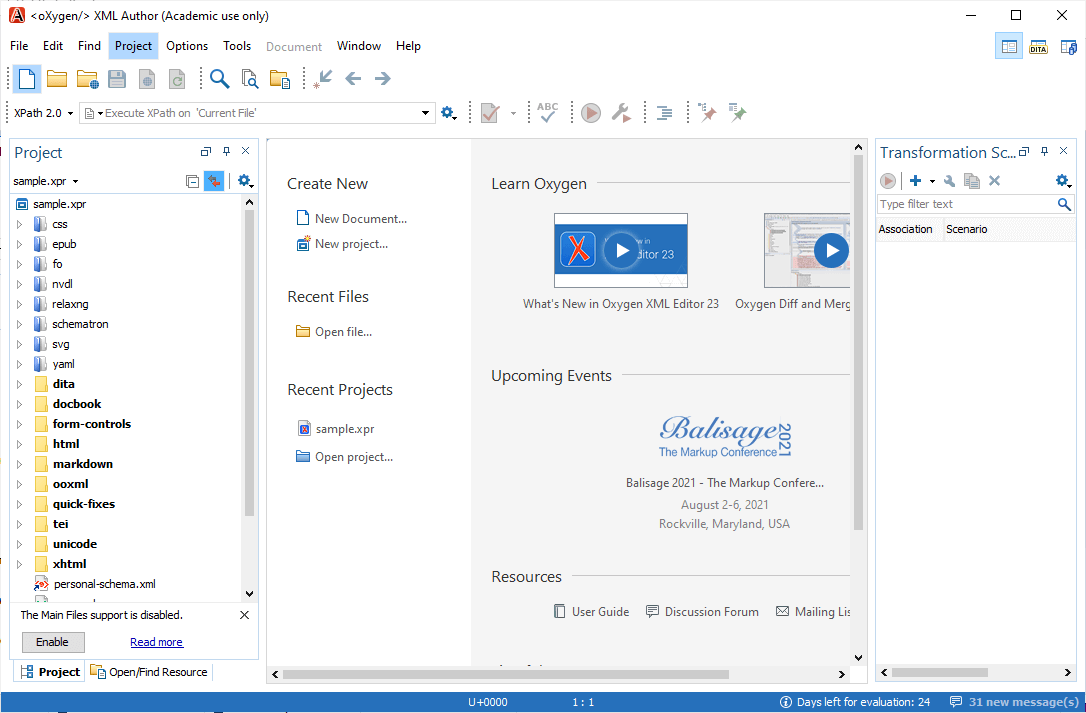
Step 2: Enter the project name and select the path at which you want to store your project. 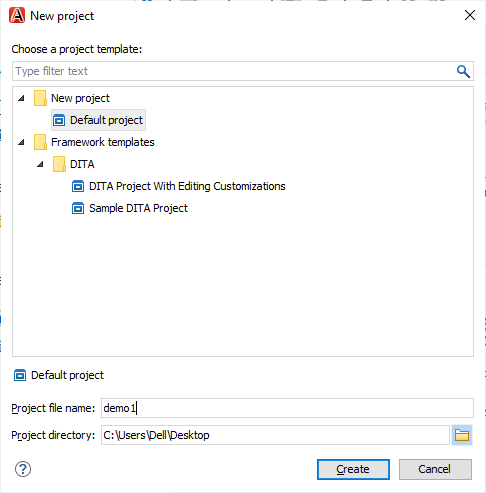
Step 3: Once the folder of a project is created, we will create a Dita Map. Go to file-> New-> Dita Maps. 
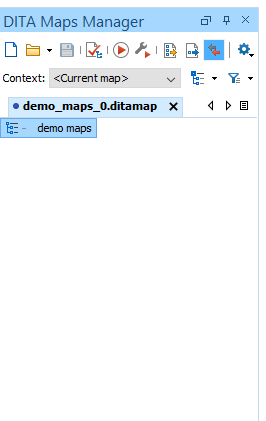
As we can observe in the above screen that demo maps has been created. Now we have a place where we can organize and structure the Dita topics. Step 4: To create a Dita topic, go to File -> New -> topic shown as below: 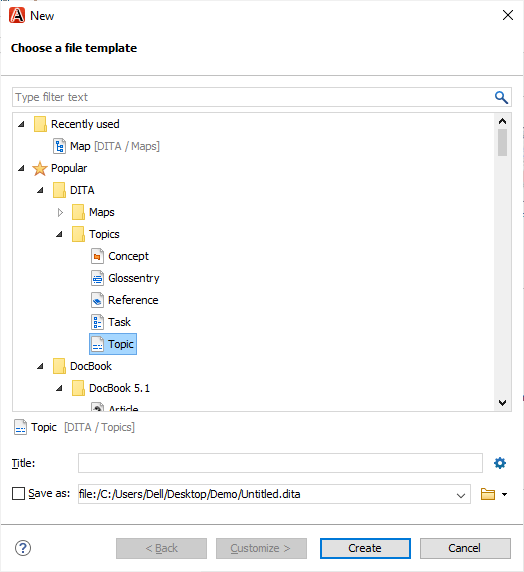
Step 5: In a topic, we have to perform some tasks. So, we will create a new task. Go to file -> New -> Task shown as below: 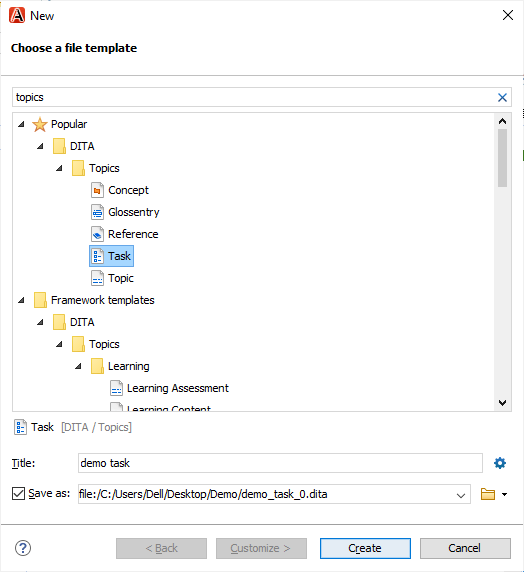
When we click on the create, the task named as "demo task" will be created as shown as below: 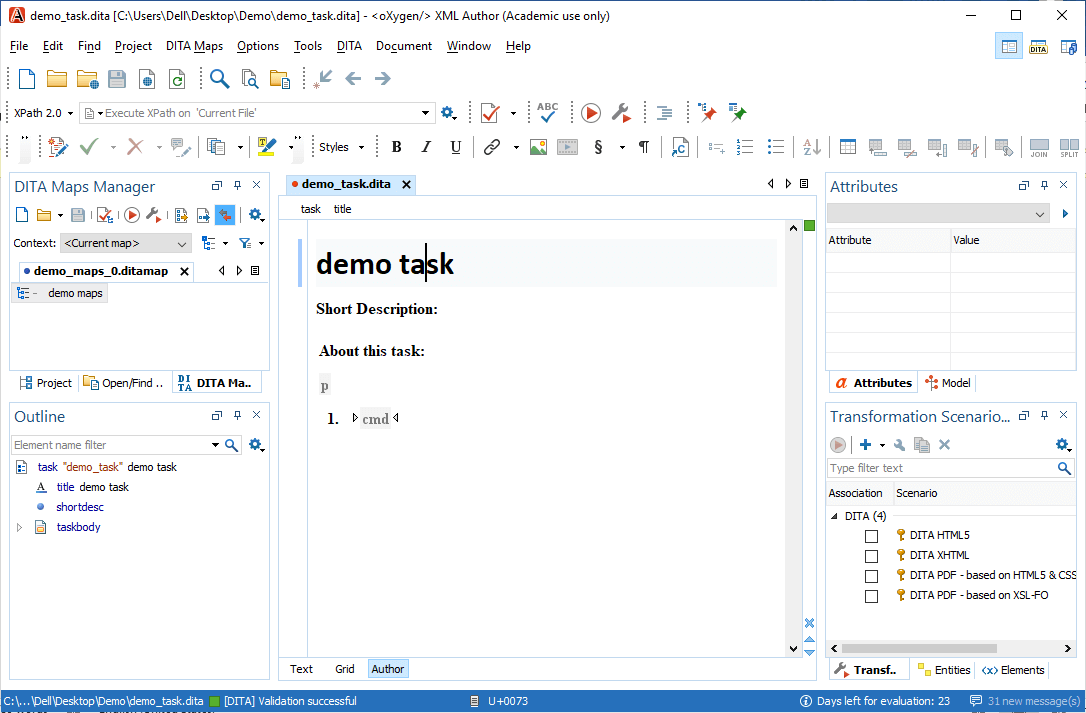
Step 6: Till now, we have created a map and a Dita topic but both are not interrelated. In order to associate each topic to the map, we need to create a relation. Open the context menu of Dita maps, then navigate to the append child and click on the Reference to the currently edited file shown as below: 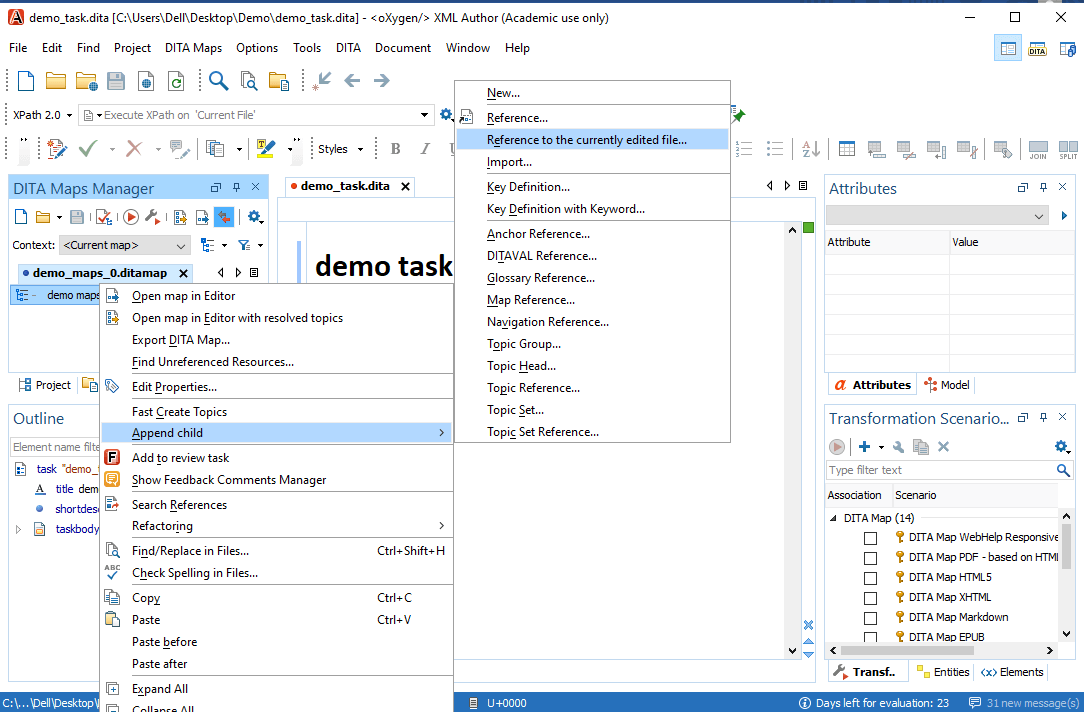
The below screen asks for the topic for which we want to create a reference. In the screen given below, it is already mentioned the demo task in the url and id shown as below: 
Step 7: Click on the Insert and close button. As we can observe in the below screen that the demo task becomes the child of the demo maps. 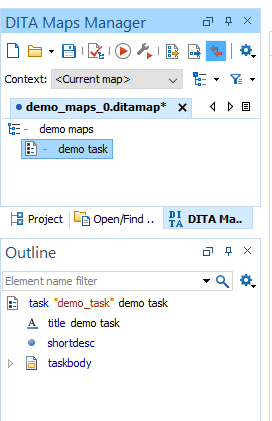
Let's look at the xml code for the Dita map. Open the context menu of Demo maps and click on open map in editor. 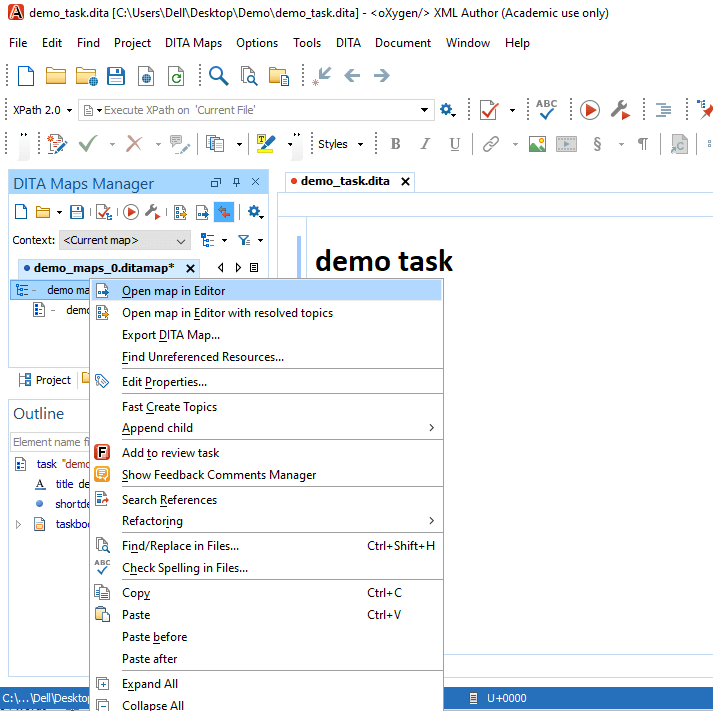
The xml code of Dita map is given below: The above code represents some basic xml elements. The map is represented by the <map> element. Under the <map> tag, there is a title tag that represents the title of the map and <topicref> is the reference from the map to the dita topic. Now we will move to the demo task where we will write our documentation. Before writing the documentation, we click on the dropdown that appears at the leftmost of the menu shown as below: 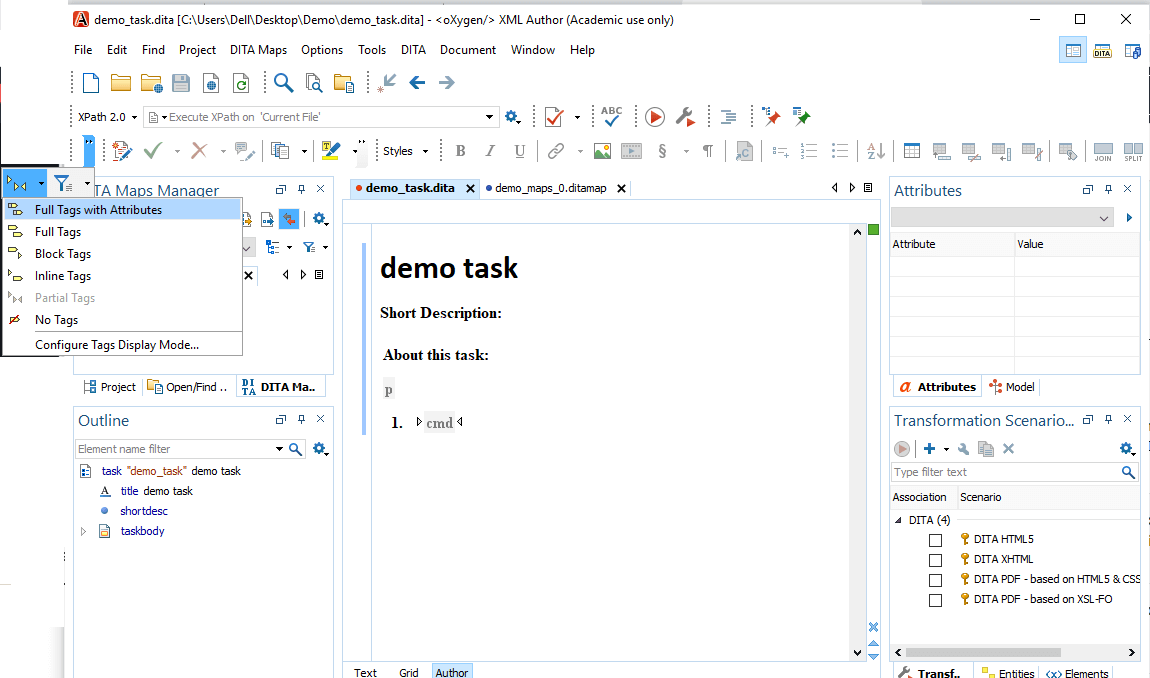
Step 8: Click on the Full Tags with Attributes. The screen appears which is shown below: 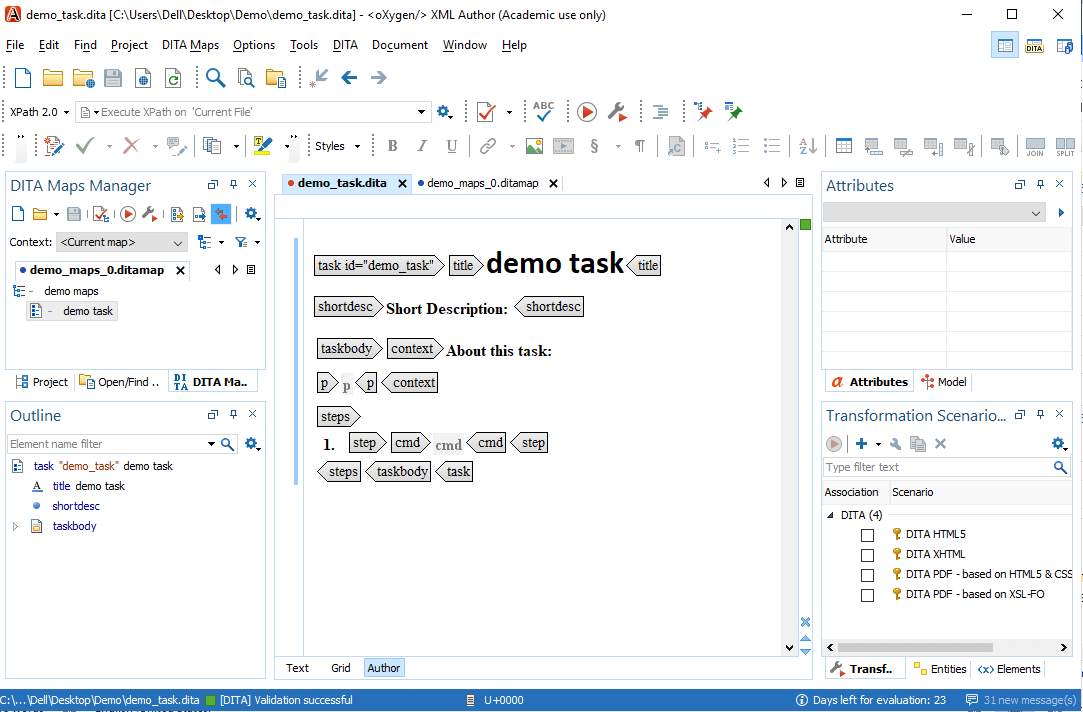
Note: It is always recommended that the option Full Tags with Attributes should always be turned on so that we can get to know that where we are in the XML document.According to the Dita specification, we should provide the most important information to the user. Before writing all the instructions, we should first provide the prerequisite at the beginning of the topic shown in the below screenshot: 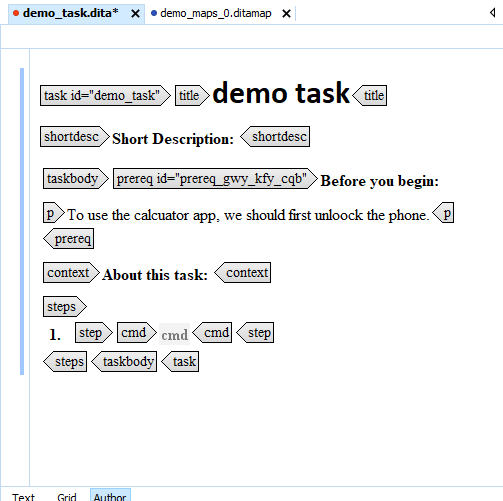
If we keep the prerequisite section in the middle or the end of the body then it given an error. As Dita guarantees the documentation in a structured way. Now we will describe the task in a paragraph tag. 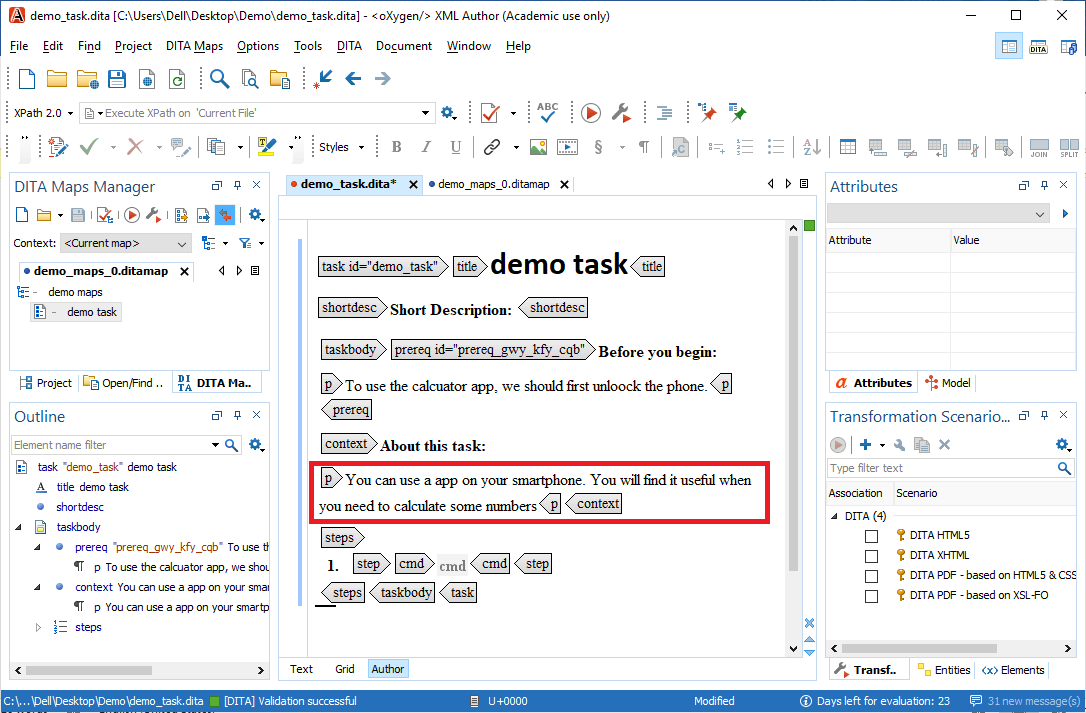
The next step is to create the steps for performing a task. 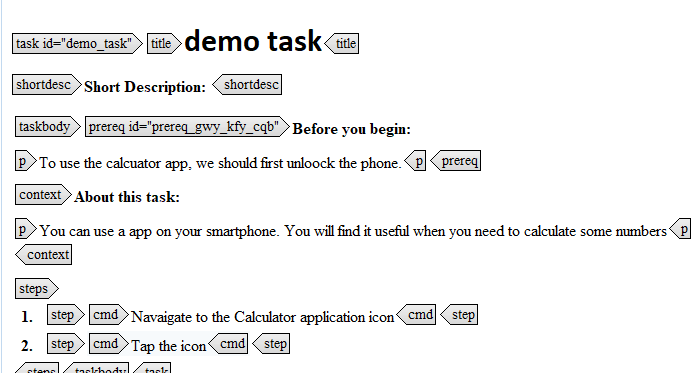
Once all the steps are specified then the last task is to specify the result information. The results information always comes after the steps, and it is specified in the result element as shown as below: 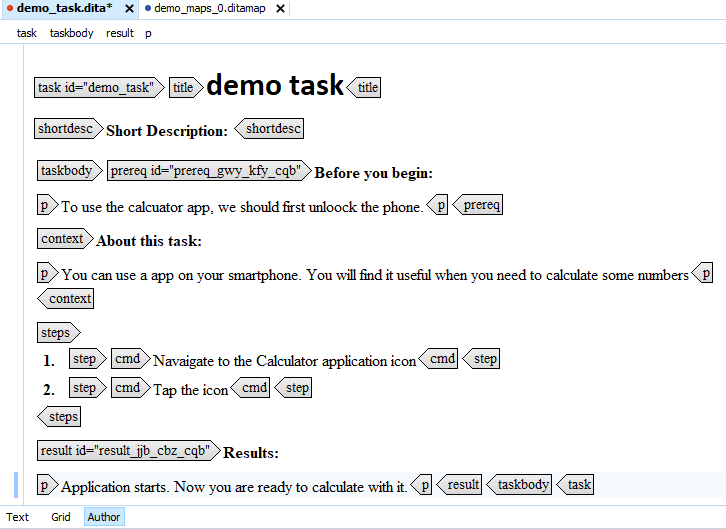
The example information is left, so we provide the example in the last of the documentation. Since DITA provides an inbuilt example element, so we provide the example within this element as shown as below: 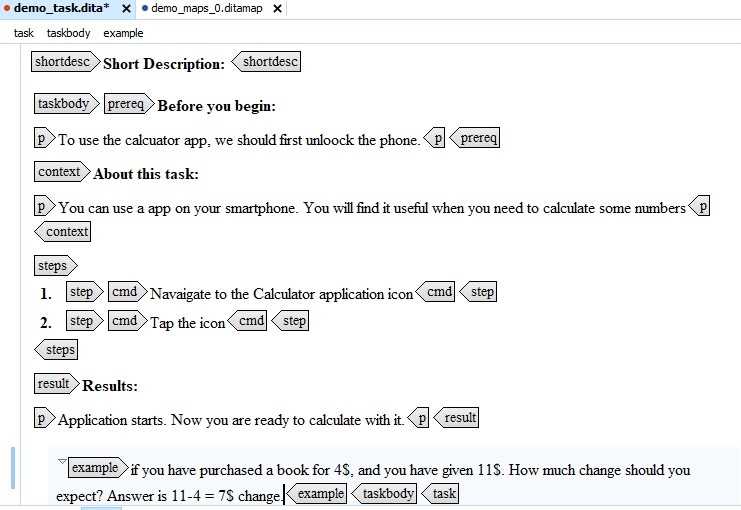
Now the two most elements of our topic are left, i.e., title and short description. The title of this documentation would be "How to start the calculator". In the short description, we will describe why we are reading this particular topic. We will provide the short description as "Here we will provide the information on how to start the Calculator app on your mobile phone". 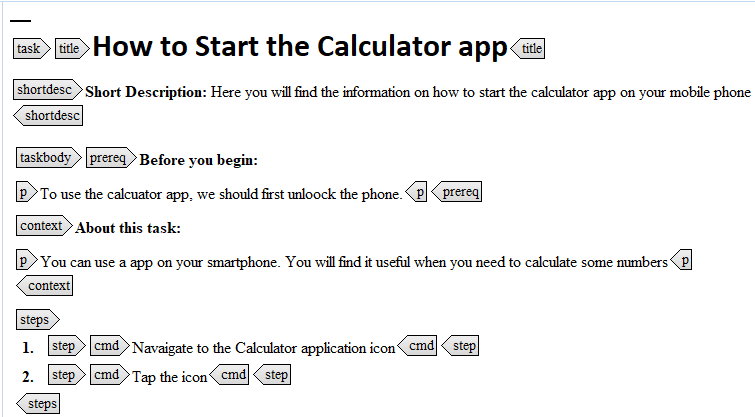
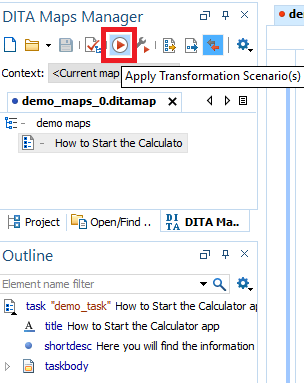
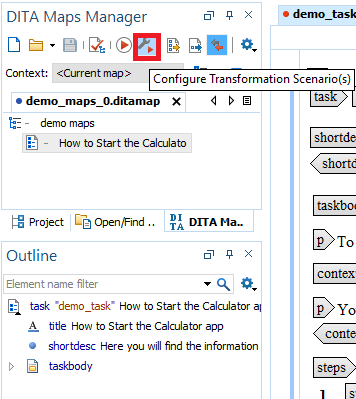
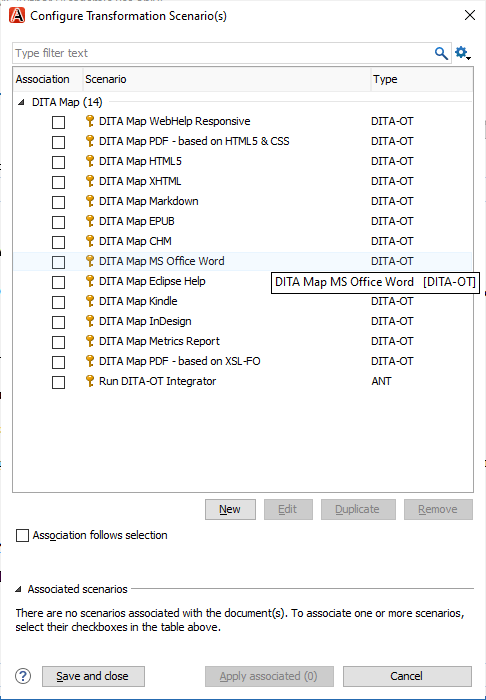
It is important to excel in providing title and short description because these are the two things that appear first in the final deliverable to the user. Users look at the title and short description first, so it is necessary to provide meaningful information in the title and the short description. How do I get the content from the Dita? Since we are writing the documentation in an XML format but the xml content is not the actual format that could be shown to the user. We need to apply some type of transformation that can convert the xml content into some other formats such as html or pdf. Let's understand that how we can apply the transformations to the content. The oxygen editor has inbuilt transformation scenarios that transforms the xml formats into some other formats. We can trigger the transformation on the Dita maps, not on the Dita topic. Steps for the transformationThe following are the steps required to transform the content:
|
 For Videos Join Our Youtube Channel: Join Now
Feedback
- Send your Feedback to [email protected]
Help Others, Please Share


