| |

PhoneGap InstallationDesktop AppThe developers like those desktop applications and frameworks which provide a drag and drop interface for creating applications. The developer finds it easy to work with drag and drop interface. PhoneGap Desktop application is such a type of application. PhoneGap Desktop application is an alternative approach to the PhoneGap CLI. It is designed for those users who like a visual interface in comparison to the command-line interface. For installing the Desktop application of PhoneGap, we first have to choose the operating system, i.e., Mac OS X and Windows. Below is the step by step procedure of installing PhoneGap application on both the Operating Systems. Windows:These are the following steps used to install the PhoneGap application on Windows: 1) Download SetupIn the first step, we will download the PhoneGap setup by clicking on the Windows Installer. 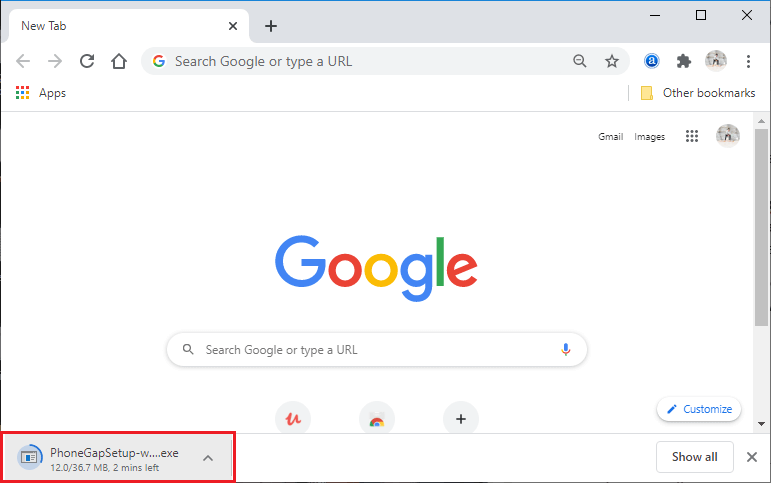
2) Run setupWe will double click on the downloaded executable file to run the setup of PhoneGap. This double click will prompt us with the PhoneGap Desktop Setup Wizard and ask us to accept the license agreement. After accepting the license agreement, we will click on the Next button at the bottom-right corner of the pop-up box. 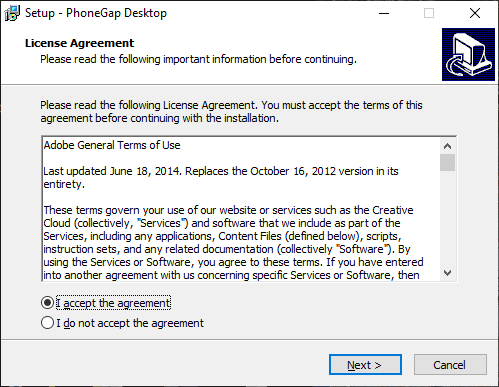
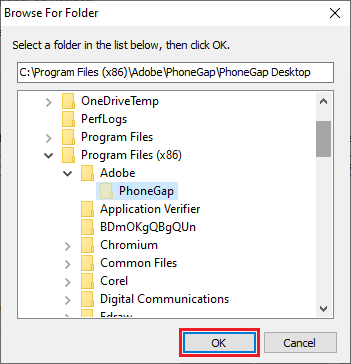
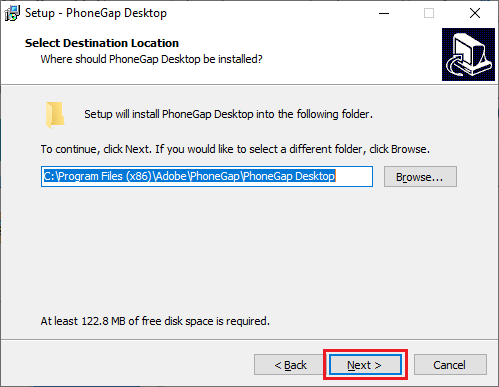
3) Select locationAfter clicking on the Next, a new pop up box will be open to select the destination location. We will browse the file directory to select the desired destination for the application. After that, we will click on the Next. 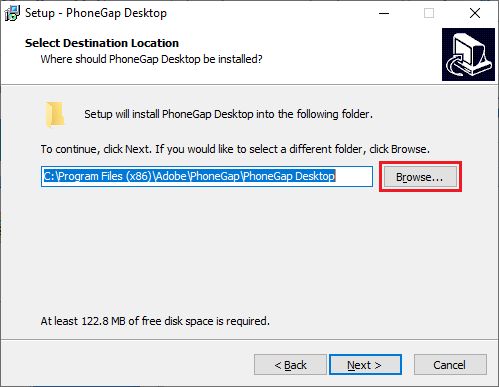
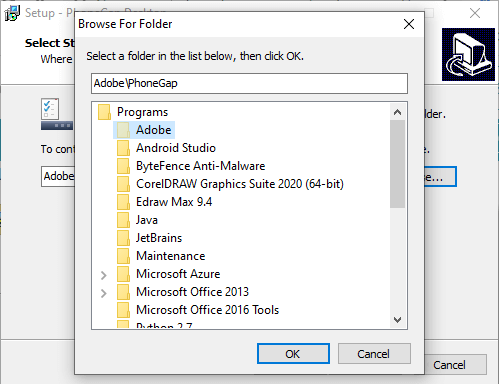
4) Select location for the start menuThis click will open a new-pop-up to choose a location for the shortcut. We will browse the file directory to choose the desired location. After that, we will click on the Next to proceed further. 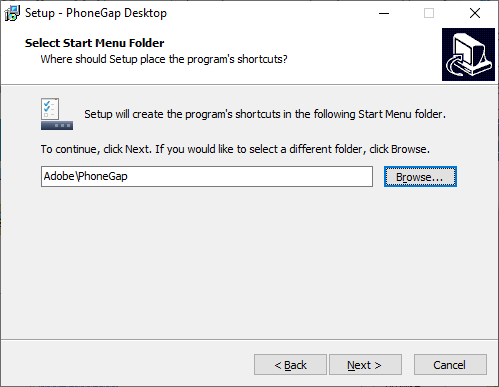
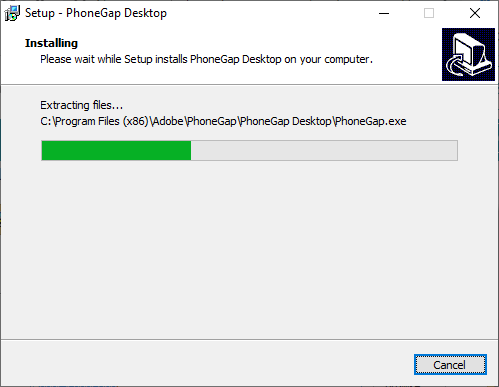
5) Install applicationAfter clicking on the Next, a pop-up box will open for performing the installing of the application. We will click on the Install button at the bottom-right corner of the pop-up. This click will start installing our PhoneGap desktop application. 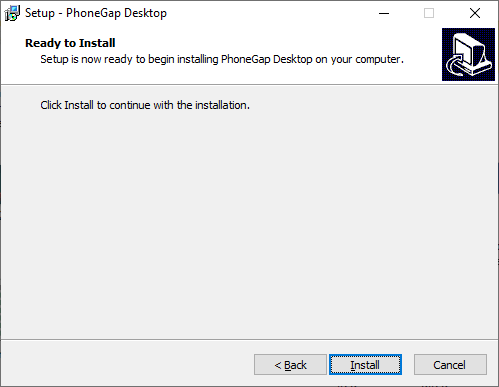
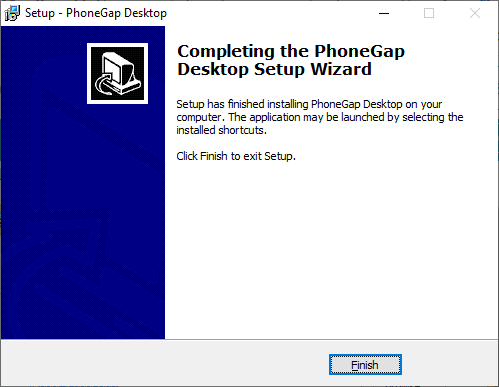
6) Open applicationNext, we will open the application and install the mobile app. Here, we will install the PhoneGap Developer App to our mobile device for viewing the apps we build. Mac OS X:These are the following steps used to install the PhoneGap application on Mac OS X: 1. Download SetupIn the first step, we will download the PhoneGap setup by clicking on the Mac OS X Installer. 2. Run SetupLike Windows, we will double click on the downloaded executable file to run the setup of PhoneGap. This double click will prompt us with the license agreement to accept. After accepting the license agreement, we will click on the Next button at the bottom-right corner of the pop-up box. 
3. Drag and drop applicationWe will drag and drop the application into the Application folder on our Mac OS X as prompted: 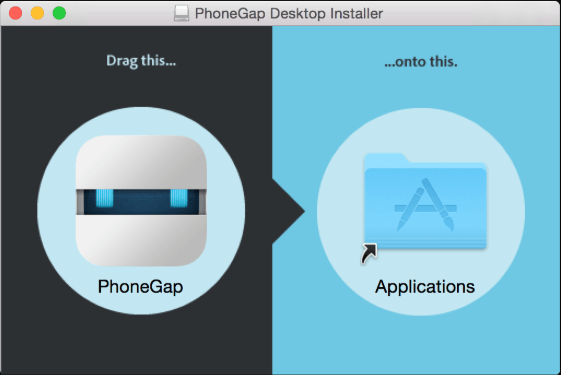
4. Open applicationNext, we will open the application and install the mobile app. Here, we will install the PhoneGap Developer App to our mobile device for viewing the apps we build. 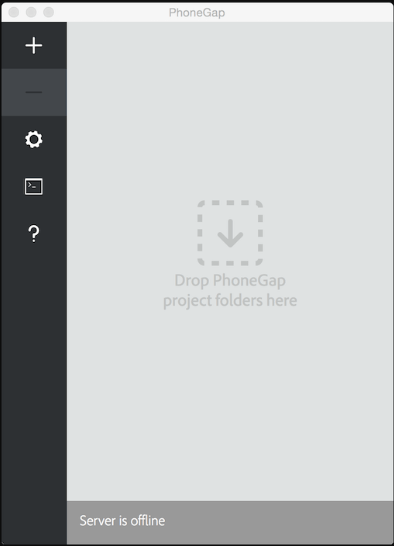
PhoneGap CLIA command-line interface to create PhoneGap applications is referred to as PhoneGap CLI. It is an alternative to the PhoneGap Desktop Application. It is designed for those users who like to do work on the command line interface. For packaging, running, and building our PhoneGap application on multiple platforms, the PhoneGap CLI provides some of the additional features as compared to PhoneGap Desktop Application. We can use the PhoneGap CLI if we are comfortable working with the command-line interface. These are some of the requirements to install PhoneGap CLI, which are as follows:
After installing both node.js and git, follow the following steps to install PhoneGap CLI:
Install PhoneGap Developer AppAfter installing the PhoneGap Desktop application, we will install the PhoneGap Developer app from any of the following marketplaces into our mobile device:
We will launch our PhoneGap Developer App by tapping on its icon from our home screen. After launching its app, we will go through the next step, i.e., Create our first PhoneGap application. 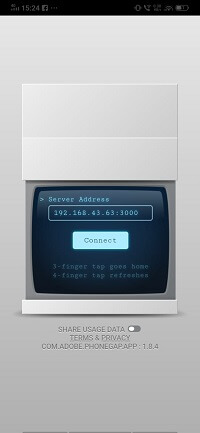
Next TopicFirst PhoneGap project
|
 For Videos Join Our Youtube Channel: Join Now
Feedback
- Send your Feedback to [email protected]
Help Others, Please Share


