| |

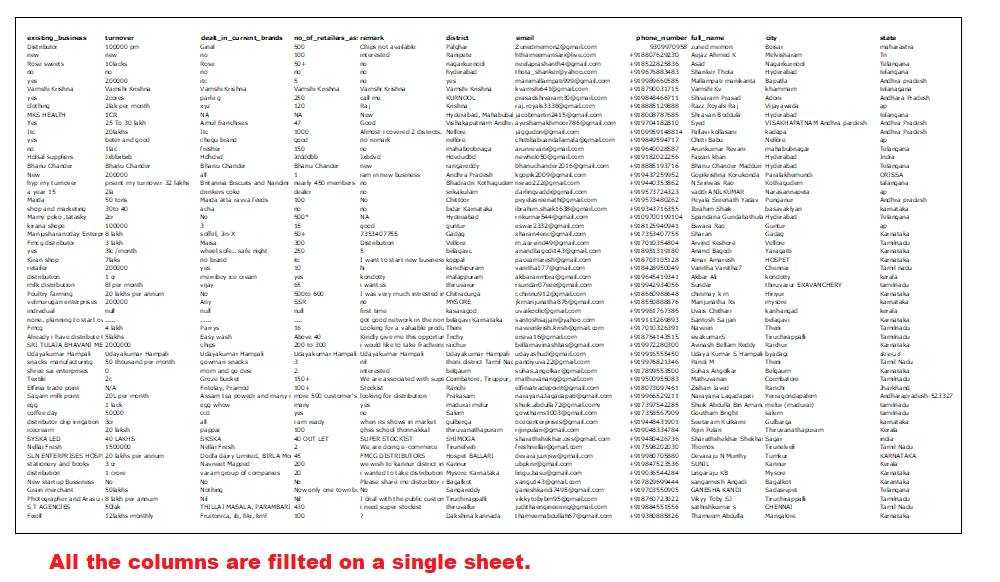
Print Titles in ExcelAlthough we live in a digital world, there is no replacement for printed hard copies. When you press the Print button in Excel, the entire worksheet gets printed by default, which often ends up printing multiple pages. The problem with multiple-page printing is that the title (or the headers) only appears on the first printed page and not others. It becomes difficult for the users to read the data without the headers, every time they have to turn the page back to checking the headings. Luckily, Excel provides the features to publish titles on every printed page easily. This tutorial will cover step-by-step instructions using the print option in the "Page Layout" tab, which will help us to print the titles of every page in the worksheet. How to Print Titles in Excel?If you want to print an Excel sheet that will end up having multiple printed pages, for that Excel provides an option to set the sheet's headings or titles on every page. By default, Excel provides headings for columns (in alphabetic order A, B, C) and rows (in numeric order1, 2, 3). You can specify the titles in your sheet that justify the content in your rows and columns. In the below given images, for example, we have marked the different angles describing the row heading, column heading, column titles and row titles.
Print row titles on every pageAs you can see from the following illustration, we are given a huge Excel worksheet. 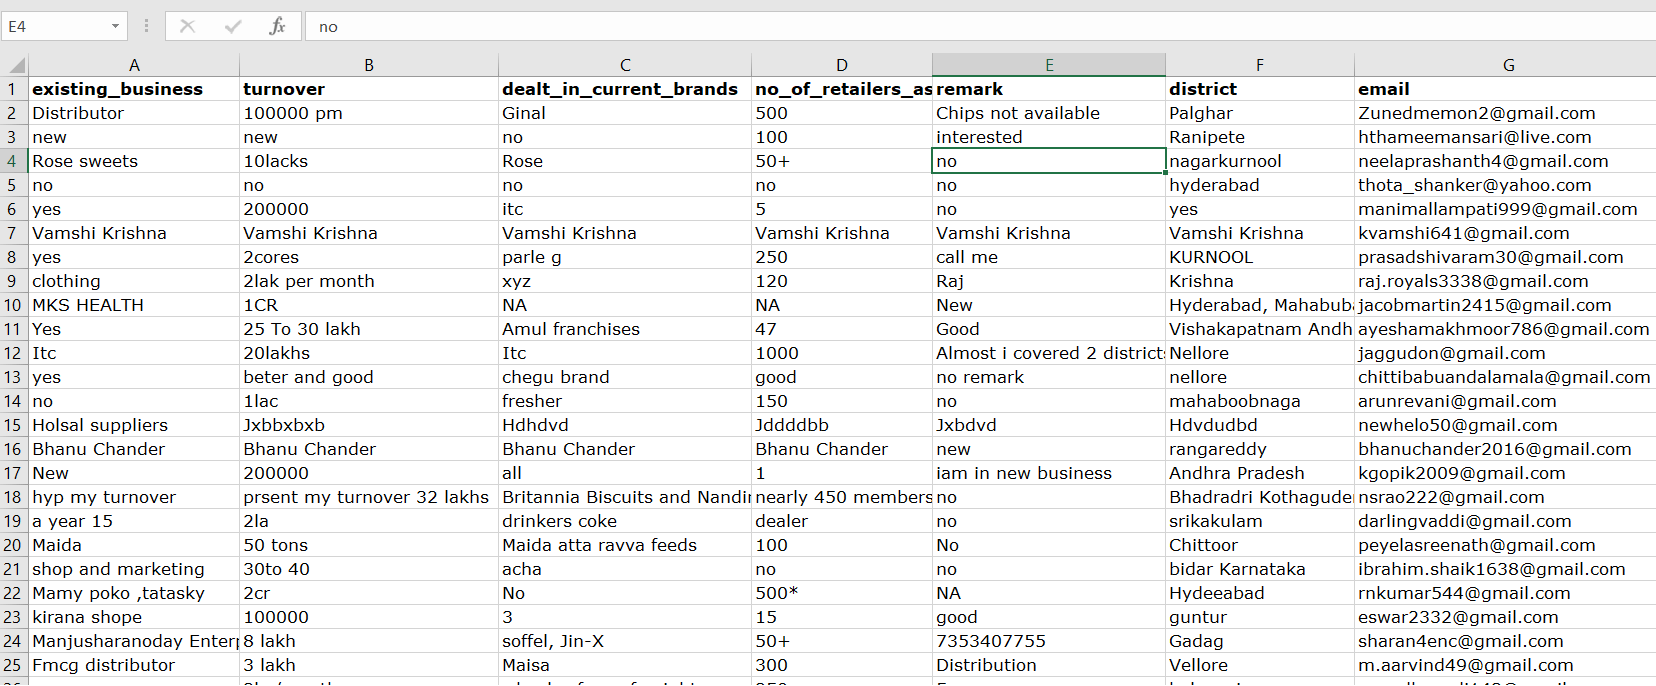
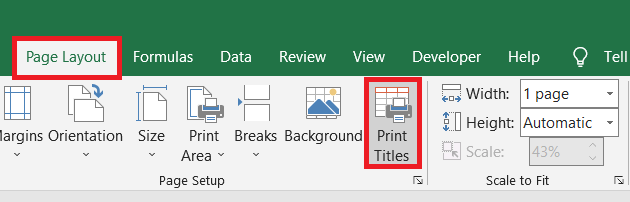
If you want to print this sheet on paper, certainly it will be printed to multiple pages. To apply row or column headers on all the printed sheets follow the below given steps:
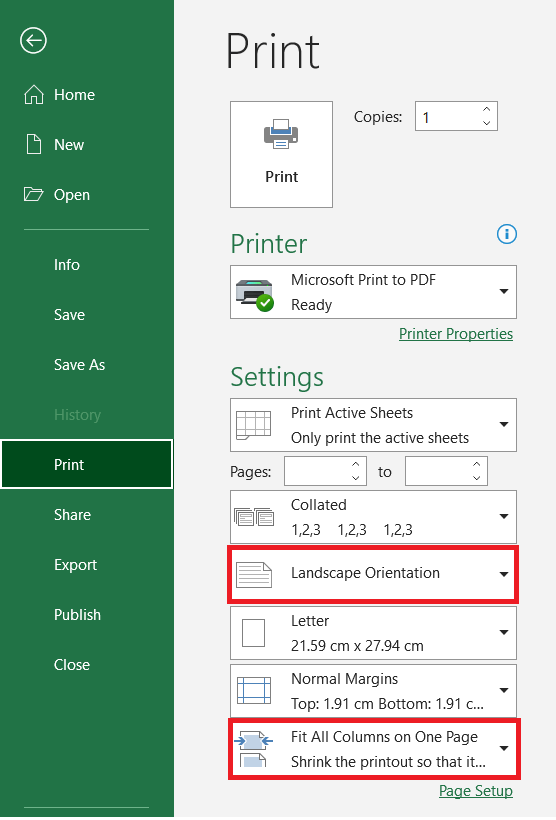
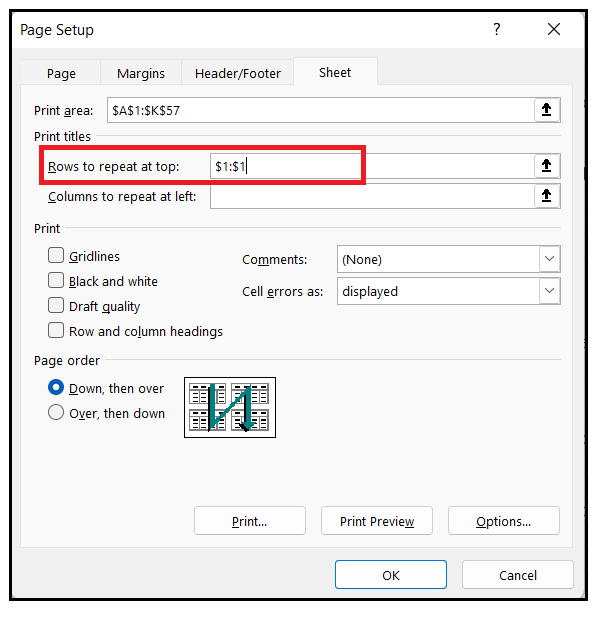
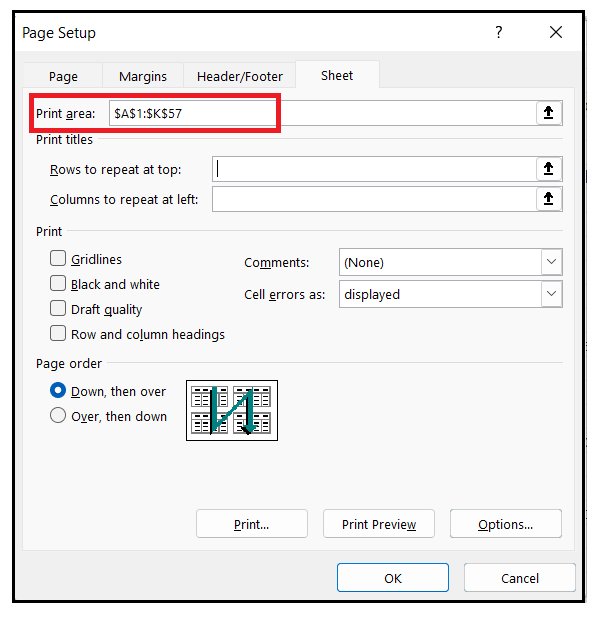
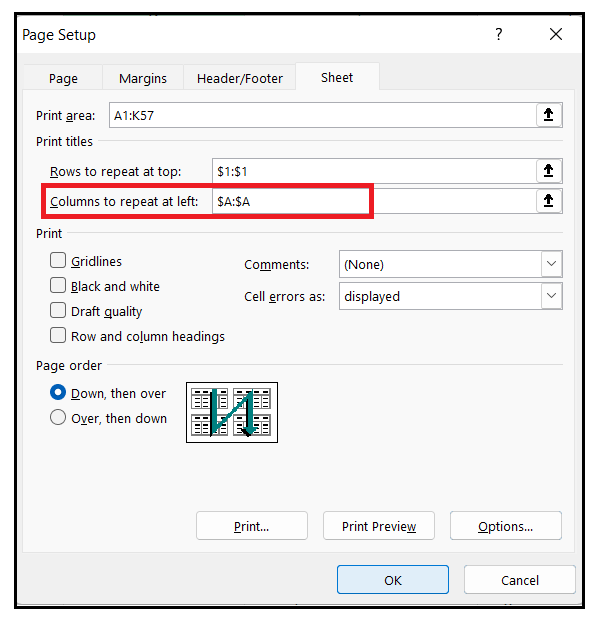
Now, if you notice, the second preview sheet also includes row headers. Hence now in the printed documents we will have the row heading across all the pages. The above steps only included the row headers. What if we want to have a column heading in all the printed documents? To your surprise, it is also possible, and the steps for printing the column titles are almost similar to having row headers across pages. We need to select the column to repeat. Print Column titles on every pageFollowing are the steps to print column headers on each printing page:
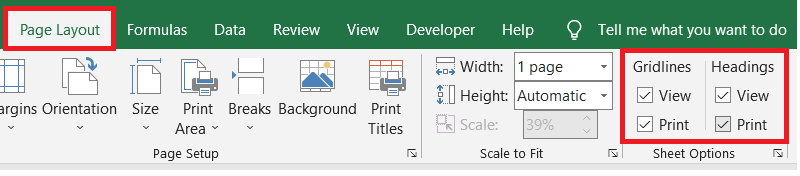
In the print preview section, move to the second preview sheet and you will notice it also includes column headers. Following the above steps, we can easily have column heading across all printing documents. Print row numbers and column alphabetsNow, we have covered the steps to print titles (both row and column) across all the printing sheets. But sometimes, we are also required to print the row numbers and column alphabets along with the header. What to do in such cases? Tampering some Excel setting can let you print you Excel row numbers and column headers. Below given are the steps to achieve the same in Excel:
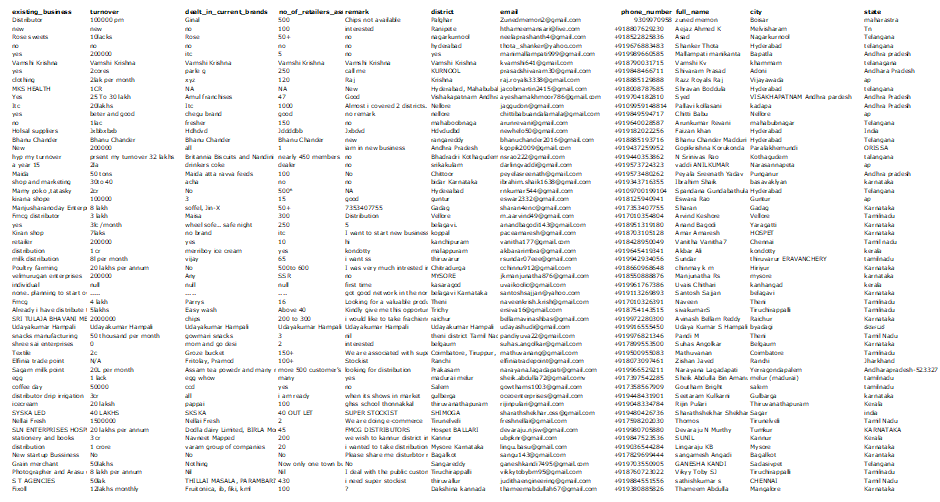
As shown in the following image, you can see how your sheet will print in the preview pane. 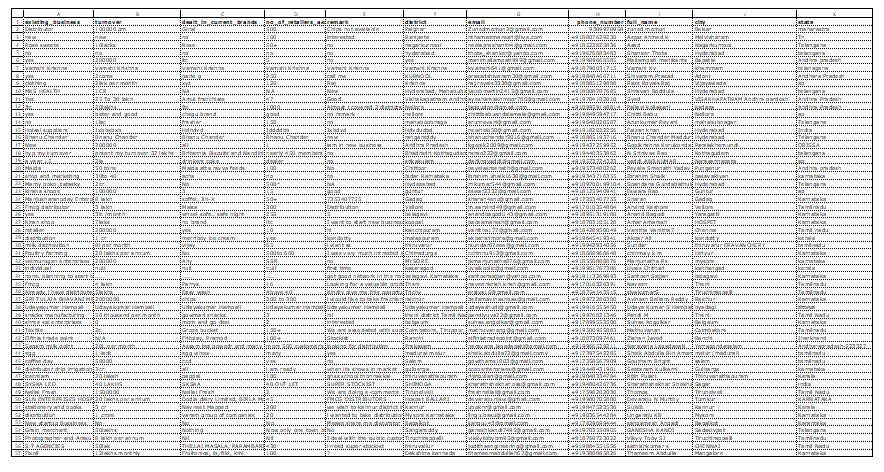
Now, we will be having the row numbers, column alphabets along with the row headers and column headers. Things to RememberWe have covered the various ways to print the titles of every page in the worksheet. But sometimes, that is not sufficient, and we must set everything intact to have a flawless output. Below given are some pointers that must check before hitting the print button:
That's all about Print Titles in this tutorial. Before printing, always make sure to freeze the rows headers and column headers, as it will increase the readability of your printed document.
Next TopicExcel Advance Filters
|

 For Videos Join Our Youtube Channel: Join Now
Feedback
- Send your Feedback to [email protected]
Help Others, Please Share


