| |

React Bootstrap InstallationThe react Bootstrap is a component-based library that serves native bootstrap features in pure React components. Instead of using bootstrap JavaScript libraries, it converts all the JavaScript function to React and bundle them with a component. The React Bootstrap is compatible with all bootstrap themes to provide a consistent user interface. However, we can use the traditional bootstrap library and classes by defining them by claasName attribute in a React component. But, this is not a good approach to being a React JS developer. It will not benefit so much from using React as your preferable UI framework. The React Bootstrap component does not render the entire bootstrap library to your web page; instead, it only renders the used component. That is why in React JS, the use of React Bootstrap is preferred. Let's understand how to install React Bootstrap in a React project. Creating a React ApplicationBefore installing React Bootstrap, let's create a React application. To create a react application, create a directory, open your terminal, and navigate to the directory where you want to create the React Application. now, execute the following command: The above command will display the below confirmation message; type Y and press Enter key to proceed. It will start a daemon process that will install the required packages and node modules required for React application. The above command will display the following output if successfully executed:
Creating a new React app in E:\jtp\React-App\myapplication.
Installing packages. This might take a couple of minutes.
Installing react, react-dom, and react-scripts with cra-template...


added 1364 packages in 5m

169 packages are looking for funding
  run `npm fund` for details
Git repo not initialized Error: Command failed: git --version
    at checkExecSyncError (node:child_process:826:11)
    at execSync (node:child_process:900:15)
    at tryGitInit (E:\jtp\React-App\myapplication\node_modules\react-scripts\scripts\init.js:46:5)
    at module.exports (E:\jtp\React-App\myapplication\node_modules\react-scripts\scripts\init.js:276:7)
    at [eval]:3:14
    at Script.runInThisContext (node:vm:129:12)
    at Object.runInThisContext (node:vm:305:38)
    at node:internal/process/execution:75:19
    at [eval]-wrapper:6:22
    at evalScript (node:internal/process/execution:74:60) {
  status: 1,
  signal: null,
  output: [ null, null, null ],
  pid: 12040,
  stdout: null,
  stderr: null
}

Installing template dependencies using npm...
npm WARN deprecated [email protected]: See https://github.com/lydell/source-map-resolve#deprecated

added 33 packages in 16s

169 packages are looking for funding
  run `npm fund` for details
Removing template package using npm...


removed 1 package, and audited 1397 packages in 8s

169 packages are looking for funding
  run `npm fund` for details

8 moderate severity vulnerabilities

To address all issues (including breaking changes), run:
  npm audit fix --force

Run `npm audit` for details.

Success! Created myapplication at E:\jtp\React-App\myapplication
Inside that directory, you can run several commands:

  npm start
    Starts the development server.

  npm run build
    Bundles the app into static files for production.

  npm test
    Starts the test runner.

  npm run eject
    Removes this tool and copies build dependencies, configuration files
    , and scripts into the app directory. If you do this, you can't go back!

We suggest that you begin by typing:

  cd myapplication
  npm start

Happy hacking!
If you are able to see the above output in your terminal. It means the react application is successfully created in your directory. Now we can run the above application to test whether it is successfully created or not. To run the React application, change the directory to the created application from your terminal by executing the following command: The above application will change the directory to our React application. Now, run the react application by executing the below command: 
The above application will start the node server and render the default application data on localhost. By default, react application uses port 3000 for serving the application data. However, the port number can be changed by specifying it in the package.json file. To access the app data, open the web browser and navigate to the following address: You will be able to see the following output: 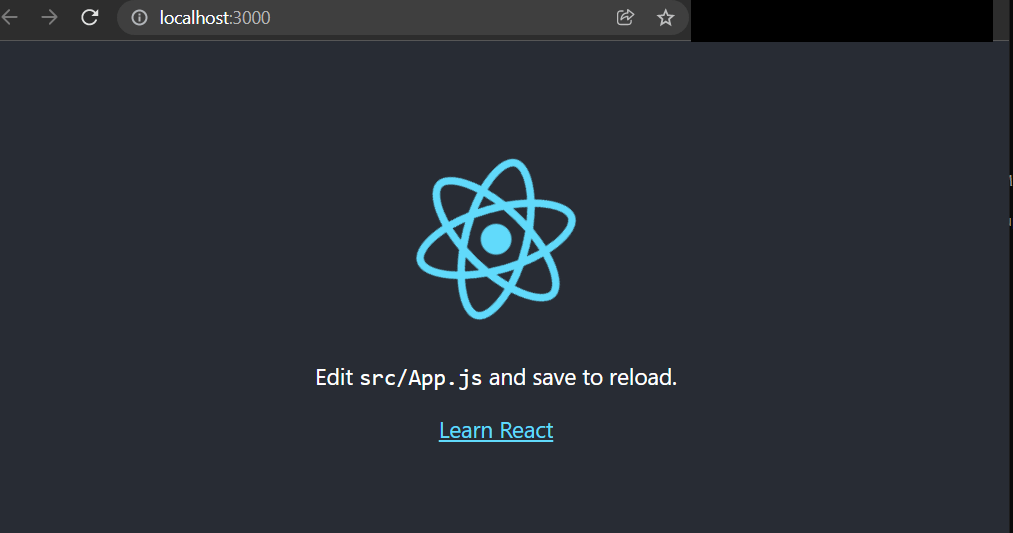
Now we have successfully created the React application. The basic structure of a React application is as follows: 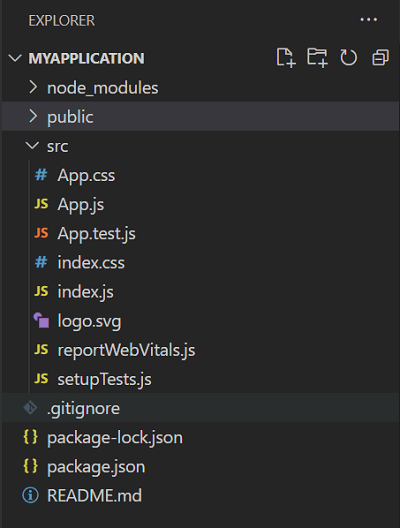
Remove the default code from App.js file. It will look something as follows: We will use this project for rendering the bootstrap component. To learn more about React project structure and installation process, visit our React JS tutorial. Now, install the React Bootstrap in this project. Install React BootstrapThe best way to import React Bootstrap library to your project is using npm package, which can be installed using the npm command. Execute the below command to install the React Bootstrap to your project: It will install the React Bootstrap and Bootstrap both the packages as per the specified version. For example, we are installing Bootstrap version 5.1.3. if the above command is successfully executed, you will be able to see the following output: added 23 packages, and audited 1420 packages in 21s 171 packages are looking for funding run `npm fund` for details 8 moderate severity vulnerabilities To address all issues (including breaking changes), run: npm audit fix --force Run `npm audit` for details. As we can see from the above output, the bootstrap packages are added to our project. To verify, open package.json file; here, we can find the entries for the react Bootstrap library. 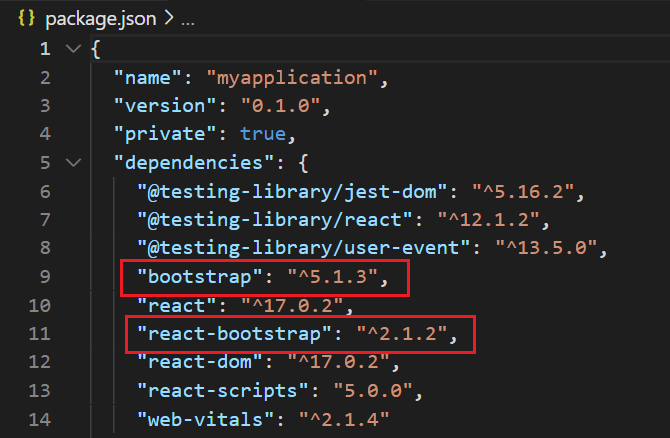
Now, React Bootstrap is successfully installed in our project. Adding StylesheetsThe React Bootstrap component does not contain styles to provide them; we have to add the bootstrap stylesheets to our application. To add the stylesheets, import them into your app.js or index.js file. To import the CSS file, include the following line in the import section (top) of the file: We can also use the CDN for adding the stylesheet. To include the stylesheet using the CDN add following link tag to the head of your index.html file: Importing the Sass File: If you want to use the Sass file instead of the CSS file, the simplest way to use the Sass file is to include Bootstrap's Sass file. The Sass file must be required in src/index.js file or App.js file. To use the Sass file instead of the CSS file, import the below file in App.js file: Also, include the following file in Index.js or App.js file: It will include the Bootstrap SCSS file in your project. Customizing the Bootstrap File: We can customize the existing bootstrap file by adding a custom CSS or SCSS file. To customize the existing bootstrap file, write the CSS in the custom file as follows: It will overwrite the existing CSS. Make sure to include the custom CSS file below the Bootstrap file and import it to the index.js or app.js file. "AS" Prop in Bootstrap ComponentThe "as" prop allows us to modify the behavior of the rendered components. With the help of the as prop, we can keep all the styles of a particular bootstrap component but switch it to a different component that will render. For example, we want to render a button component as a col component so we can use the "as" prop to do so. Consider the following example: Importing the React Bootstrap ComponentReact Bootstrap allows us to import the individual components. We can import a single component from the bootstrap library like react-bootstrap/Button rather than the entire library. It will pull only the specific component from the library and reduce the line of code in using React. For example, if we want to import the primary button from the React Bootstrap; our App.js code will look like as follows: App.js: Output: 
From the above output, we can see that the primary button is rendered to our web page. Similarly, we can import other components from the react Bootstrap library.
Next TopicReact Bootstrap Accordion
|
 For Videos Join Our Youtube Channel: Join Now
Feedback
- Send your Feedback to [email protected]
Help Others, Please Share


