React Native Environment SetupsThere is a different alternative for React Native environment setup (installation), depends upon the operating system you use. The instructions are quite different for each development and target operating system. In this tutorial, we will use Windows as a development operating system and Android as a target operating system. Developing app using React Native framework requires Node, React Native command line interface, Python2, JDK, and Android Studio. Here, we are using a favorite package manager Chocolatey for Windows. Using this, we can install a recent version of Python, and Java SE Development Kit (JDK). Steps to Setup React Native Environment1. Visit Chocolatey, and click "Install Chocolatey Now" it open another URL. 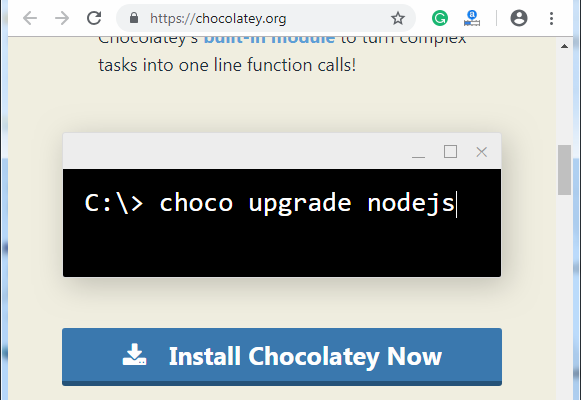
2. Install chocolatey setup, copy the code provided in Install with cmd.exe section. 
3. Open your Command Prompt in Administrative mode (right-click Command Prompt and select "Run as Administrator"), paste this code and click enter. It will install Chocolatey. 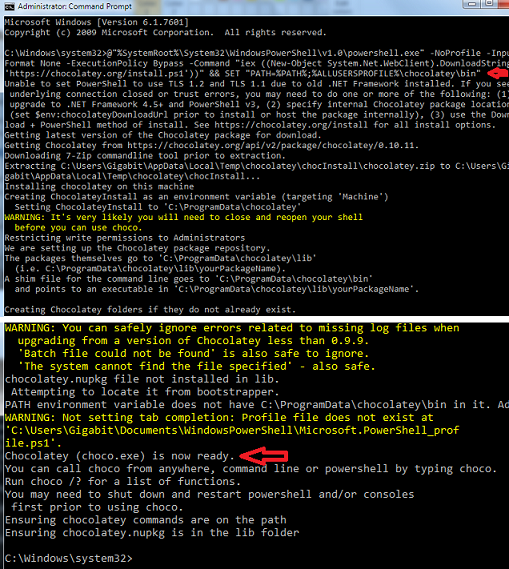
4. In the Administrative mode of command prompt, paste the code and run it (install Node.js, Python, and JDK). If you have already installed Node.js, make sure it has version above 8 and if you have already installed JDK, make it version 8 or newer version. 
5. Node comes with npm (Node Package Manager), which lets you install the React Native. Run the given code: 
Setup Android Studio1. Visit Android website and download Android Studio. 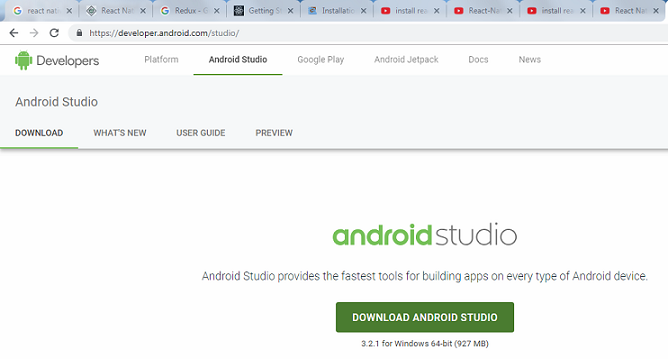
2. Run the downloaded android studio set (.exe) file and follow the instruction. 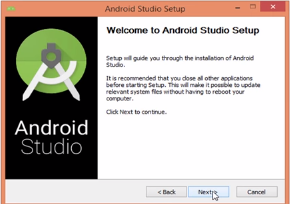
3. Choose the feature you want to install. 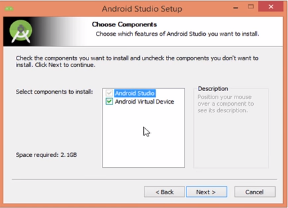
4. Select the installation location. 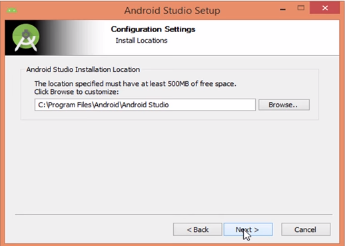
5. Let the installation proceed and click Next. 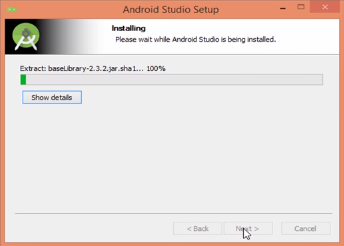
6. Click Finish to complete the installation. 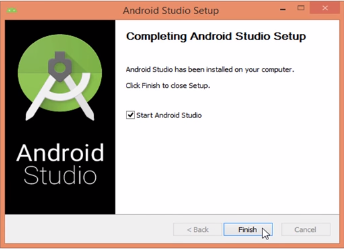
After successful installation, the Android Studio home screen will appear. 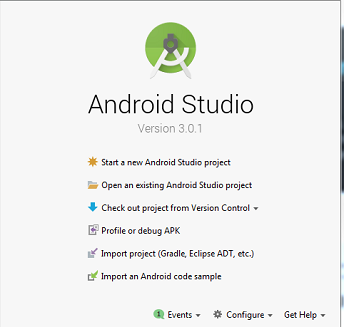
Setup Java JDK and Android SDK path1. Visit How to set path in Java to set JDK path. 2. Set Android SDK path as My Computer > Properties > Advance system settings > Environment Variables > in System variables section. Click "New..." add Android home and Android SDK as bellow screen. 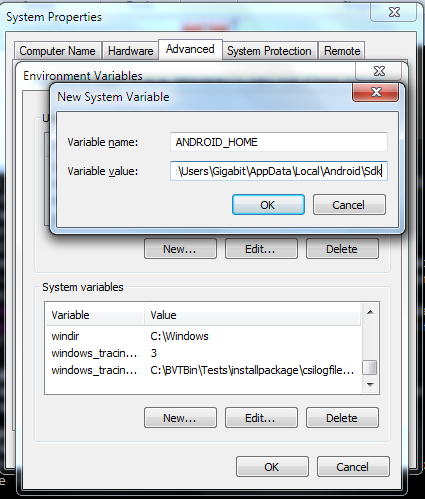
3. Install the required components, go to Tools Android > SDK Manager > SDK platforms and select the required components and install. 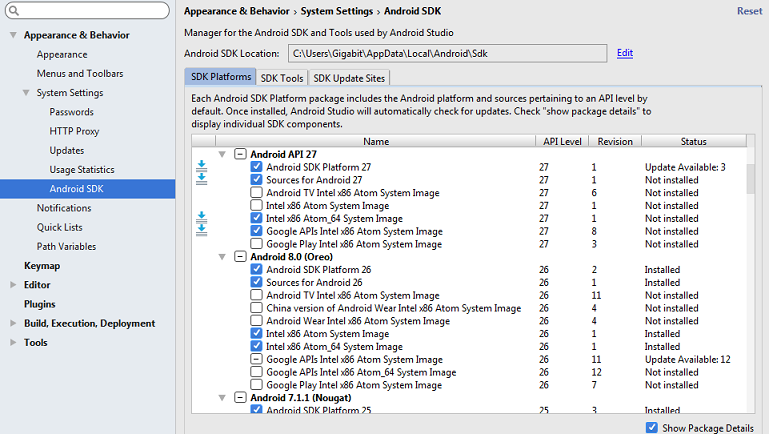
4. Let the installation proceed and after successfully installation, click Finish. 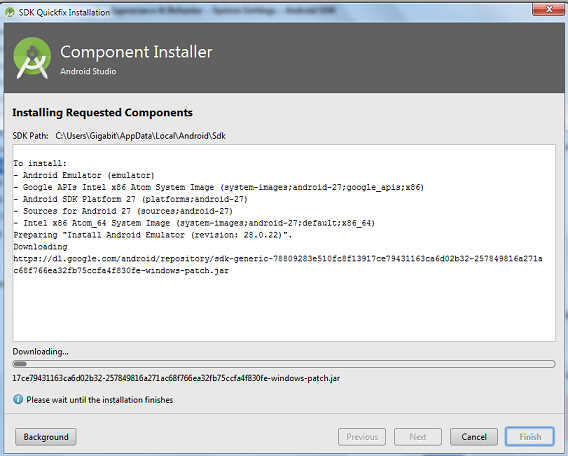
5. Create Android Emulator, a virtual Android Device, go to Tools > Android > AVD Manager > Create Virtual Device... SDK platforms and select the device type. 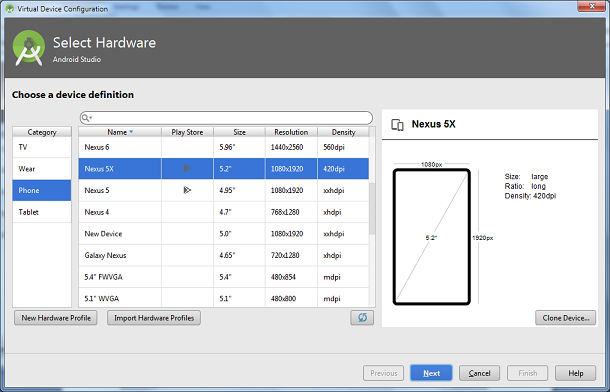
6. Select API level of Android Emulator. 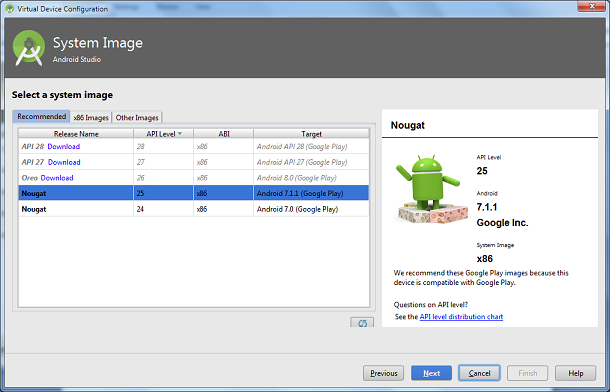
7. Provide device name and set properties by clicking Show Advance Settings. 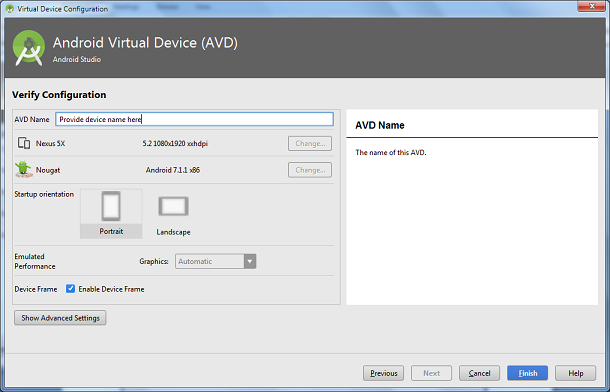
8. Launch the Emulator. 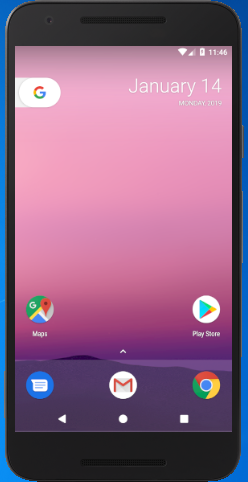
Next TopicFirst App Hello World
|
 For Videos Join Our Youtube Channel: Join Now
Feedback
- Send your Feedback to [email protected]
Help Others, Please Share


