Red Hawk-Information Gathering and Vulnerability Scanning Tool in Kali LinuxRed Hawk is a free and open-source tool available on GitHub. Red Hawk is used to collect information and scan websites to find vulnerabilities. This tool is written in PHP. Reconnaissance is performed via a PHP script. It is a powerful tool because it can detect content management systems (CMS) while scanning, it can detect Cloudflare, it can detect webserver records, and it can detect robots.txt. Red Hawk can detect WordPress, Magento CMS, and Drupal. Red Hawk looks for error-based SQL injections, WordPress sensitive files, and WordPress version-related vulnerabilities. All of the scanning is done by RedHawk using different modules. WHOIS data collection provides us information about DNS lookup, reverse IP, Geo-IP lookup, sub-domain information, Banner grabbing, and MX records lookup. RedHawk is a vulnerability scanner. Uses of Red HawkThe following are the uses of Red Hawk:
Installation of Red HawkThe following steps are used to install RedHawk: Step 1: First, we have to open our Kali Linux terminal and Move to the Desktop directory with the help of the following command: 
Step 2: Then, we have to create a new directory on Desktop and name it redhawk. 
Step 3: Now, we need to move to the redhawk directory. 
Step 4: Now, within this directory, we need to download the RedHawk too, or simply git clone from Github. 
Step 5: As we can see, now, we have downloaded Redhawk from GitHub using the git clone command. Now we need to move to the RED_HAWK directory with the help of the following command. 
Step 6: We are now in the RED_HAWK directory, where we must run the tool. Now we have to use the following command in order to list out the content: 
Step 7: We can see various files here like config.php, Dockerfile, LICENSE, rhawk.php, var.php, which are the tool's core files. Now in order to run the tool, we have to use the following command and then press enter. 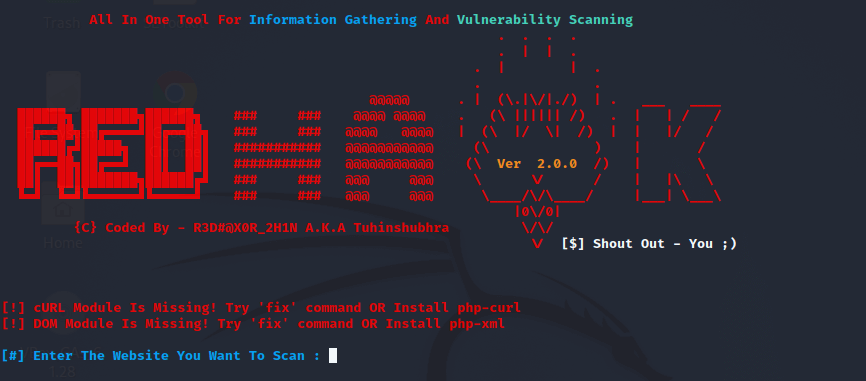
Step 8: Now, we need to select between HTTP and HTTPS. 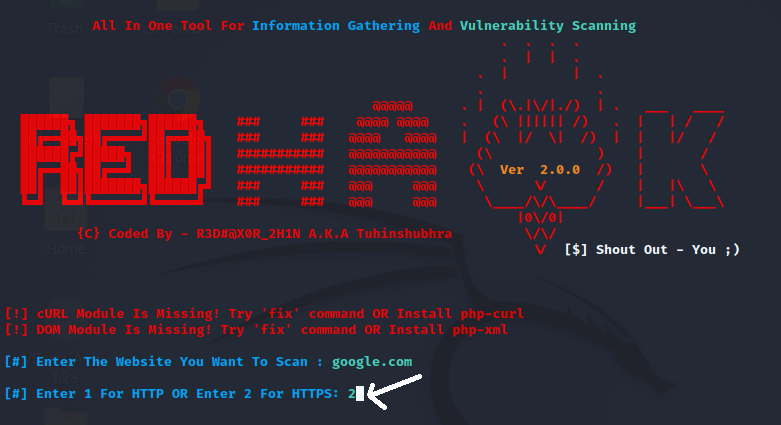
Step 9: Now, we will see a screen similar to the screen of the tool after setting the domain google.com. 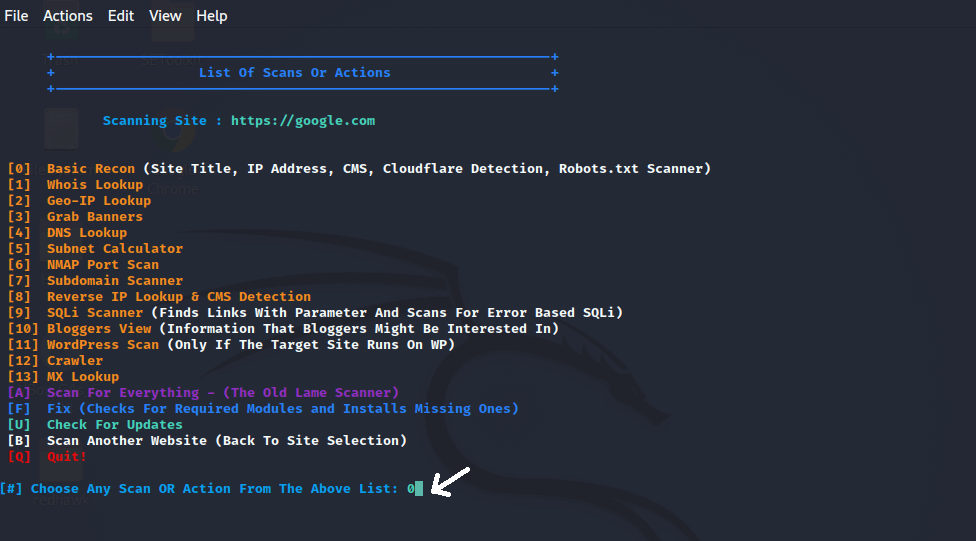
Step 10: Now, we can see that the scanning is done. 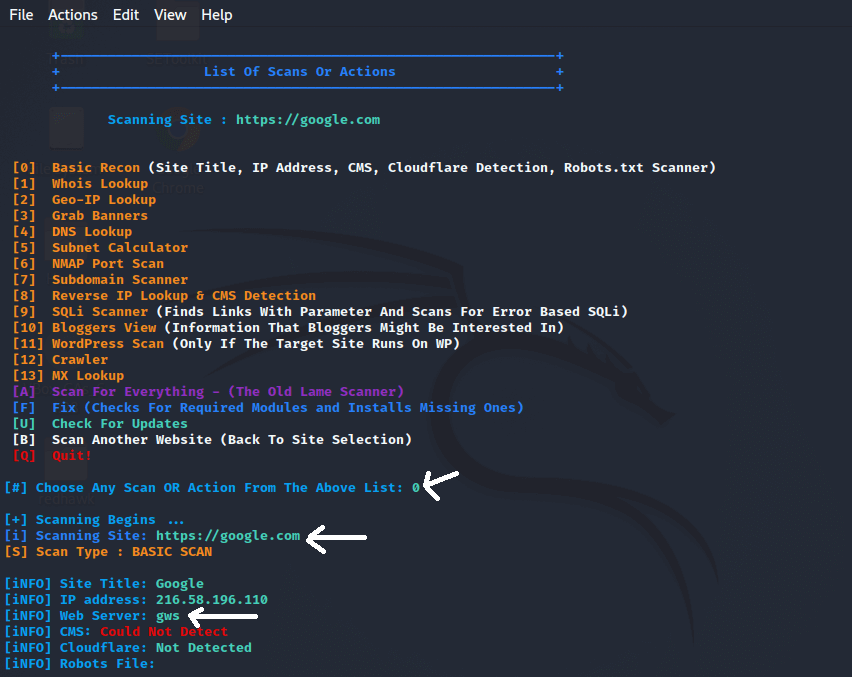
The scanning process is now complete. We scanned google.com and found the IP address 216.58.196.110, as well as the web server gws. Similarly, we can run the tool multiple times and discover a variety of vulnerabilities and options. So, that's the whole process of scanning using RED HAWK. 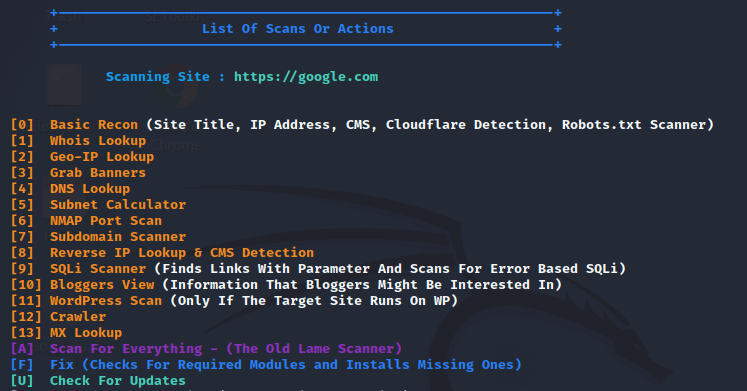
Step 11: Now select the options that best suit our needs; for example, if we wish to select option o, then we have to type 0. 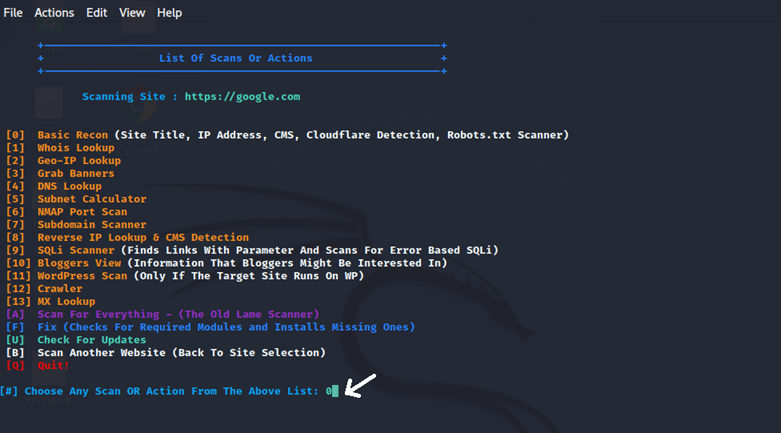
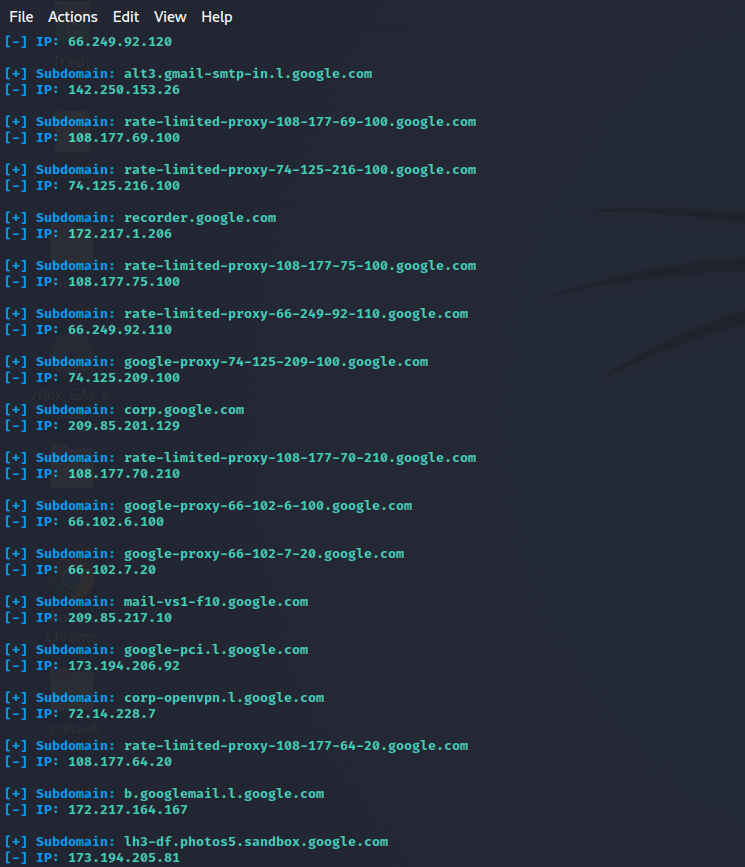
We can now select options from here based on our needs. There are several options here, including whois lookup, crawler, nmap port scan, mx-lookup, subdomain scanner, geo-ip lookup, etc. Choose options from here and stay connected with the internet while running the tool, and we will get the desired result based on the option we have selected. For example, if we choose option 7. So, type 7, and we will get all the subdomains of the domain which we've given. 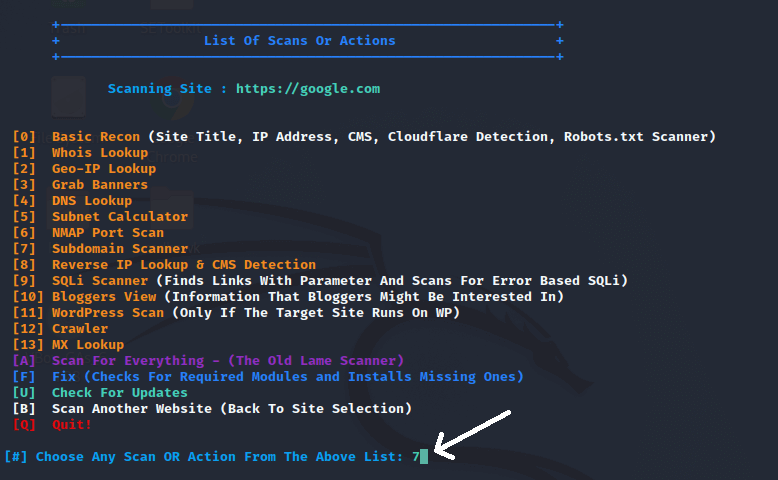
|
 For Videos Join Our Youtube Channel: Join Now
Feedback
- Send your Feedback to [email protected]
Help Others, Please Share


