| |

Simple Screen Recorder UbuntuIntroduction to Simple Screen RecorderVideo screen recorder can be very helpful for YouTube creators who release video guides step-by-step for software installation or famous video game players. Screen recorder use is not restricted to developers and creators because screen recorder can be used by any user to record instant messaging and other things. Simple Screen Recorder is a program of Linux that is created to record games and programs. There are already some programs that can do it, but this program is one of the best screen recorders available in the market. It is simple in terms that it is easy to use as compared to VLC or ffmpeg/avconv as it has a genuine user interface. Features of SimpleScreenRecorder
In this article, we will guide to download and setup SSR in Ubuntu step-by-step. Installing Simple Screen RecorderThis application is present in Ubuntu Software Center in almost all Ubuntu versions. But somehow, if we do not find it there, we can run the below command in the terminal window for installing this recorder: 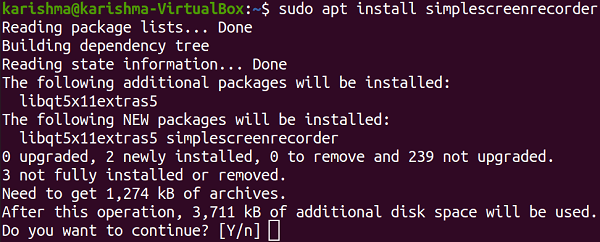
The above commands will download the necessary Installation package and install the SSR on our system. Once the installation process is finished, we can see that SSR is added to our dashboard. Setting up Simple Screen Recorder to begin Screen RecordingSSR might need a few modifications in settings before we begin recording. First, we need to launch the software using the dashboard. The following screen will occur. It is a welcome screen; just press the button, i.e., Continue, and proceed further. 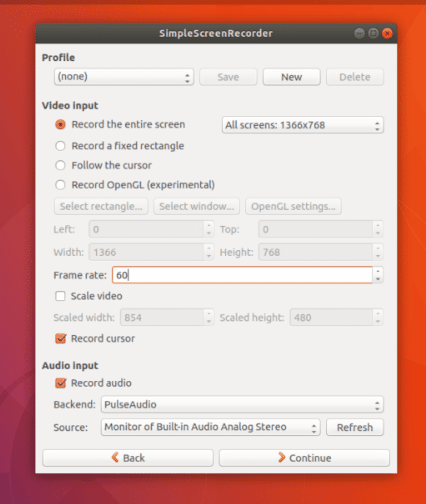
We can configure the screen resolution in the next window and choose our Video Input among Record a rectangle, Record the whole screen, Follow the cursor, and Record OpenGL. Also, here we can fix the frame rate. We can fix Audio Input Source and Backend as well. Once we are done with our preferred configuration, press the Continue button. On the next screen, we need to fix the destination folder where our recorded video file will be stored, and we can also choose in which video format our screen will be recorded and configure Audio and Video Codecs as well. Fix the parameters as displayed in the following screenshot and press the Continue button. That is it; now we are done with the configuration and ready to begin screen recording on the next screen. We can find buttons like cancel recording, save the recording, start preview, and start recording on this screen. Now we just need to press the button, i.e., Start recording, and minimize the window. That is it; now, we can implement our operation while Simple Screen Recorder records our screen in the background. 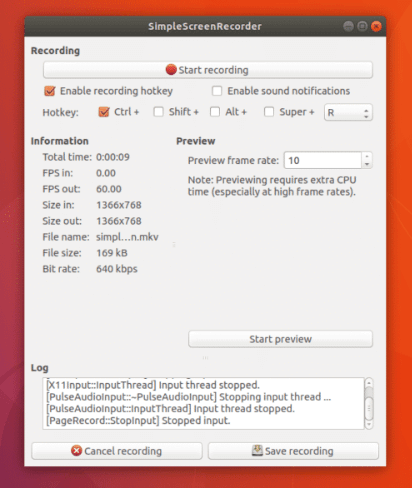
Also, we can pause the screen recording process whenever we require. When our operation is finished, just press the Save recording so the recorded video file can be saved on our computer. 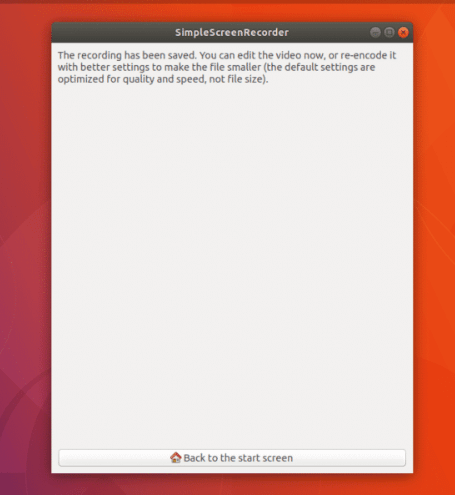
Next TopicSourcetree Ubuntu
|
 For Videos Join Our Youtube Channel: Join Now
Feedback
- Send your Feedback to [email protected]
Help Others, Please Share


