| |

Project Deployment Using TomcatIn this section, we will learn how to deploy the Spring Boot application on Tomcat Server. It includes three steps:
ExampleLet's create a Maven example to be deployed on Tomcat Setting up a Spring Boot Application Step 1: Open Spring Initializr http://start.spring.io. Step 2: Provide the Group name. We have provided the com.javatpoint. Step 3: Provide the Artifact Id. We have provided the spring-boot-war-deployment-example. Step 4: Add the Spring Web dependency. Step 5: Click on the Generate button. It wraps all the specification related to the project and download the jar file in our local system. 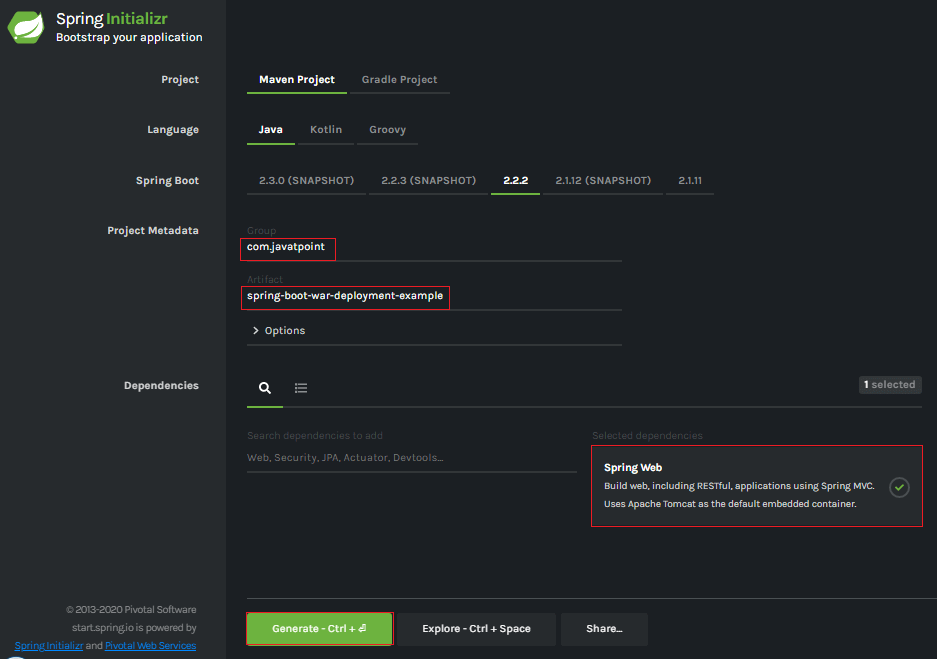
Step 6: Extract the jar file. Step 7: Import the project folder by using the following steps: File -> Import -> Existing Maven Project -> Next -> Browse -> Select the Project Folder -> Finish After importing the project, we can see the following directory structure in the Package Explorer section of the IDE. 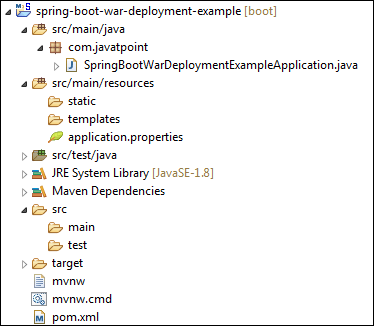
Step 8: Create a Controller class in the package com.javatpoint. We have created a class with the name DemoRestController. Inside the controller class, we have defined a method hello() that returns a String. DemoRestController.java Step 9: Run the SpringBootWarDeploymentExampleApplication.java file as Java Application. Step 10: Open the browser and invoke the URL http://localhost:8080/hello. 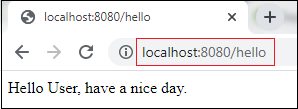
Note: Before moving to the next step, ensure that the application is running correctly.Create a Spring Boot WARIt makes use of Spring Framework's Servlet 3.0 support and allows us to configure application when the servlet container launches it. There are three steps to create a WAR for deployment:
Let's implement the above three steps in an application. Step 11: Open the SpringBootWarDeploymentExampleApplication.java file and initialize the Servlet Context required by the Tomcat. To achieve the same extends the SpringBootServletInitializer interface. Step 12: Override the Configure method. SpringBootWarDeploymentExampleApplication.java Step 13: Open the pom.xml file and marked the servlet container (Tomcat) as provided. Step 14: We need to deploy WAR file so change the package type to WAR in pom.xml file. Step 15: Modify the final WAR file name by using the <finalName> tag to avoid including the version numbers. We have created a WAR file with the name web-services. pom.xml To build our Tomcat-deployable WAR application, we execute the maven clean package. After that our WAR file is generated at /target/abc.war (where abc is assumed Artifact Id). We should consider that this new setup makes our Spring Boot Application a non-standalone application. Step 16: Create a WAR file by using the following steps: Right-click on the project -> Run As -> 5 Maven Build 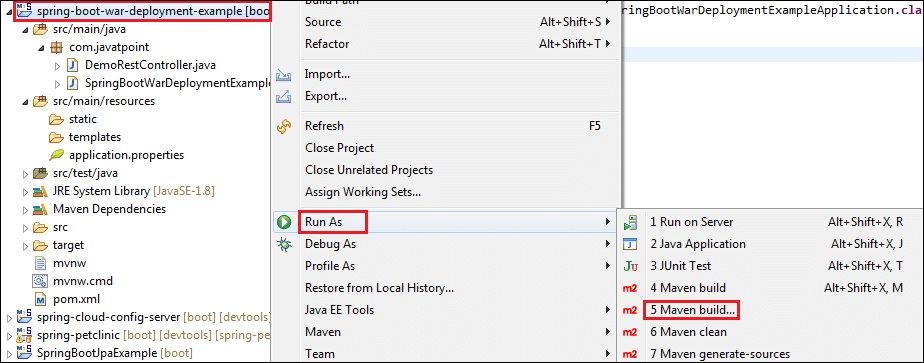
An Edit Configuration dialog box appears on the screen. Step 17: Write clean install in the Goals label and check the Skip Tests. Click on the Apply and Run button, respectively. 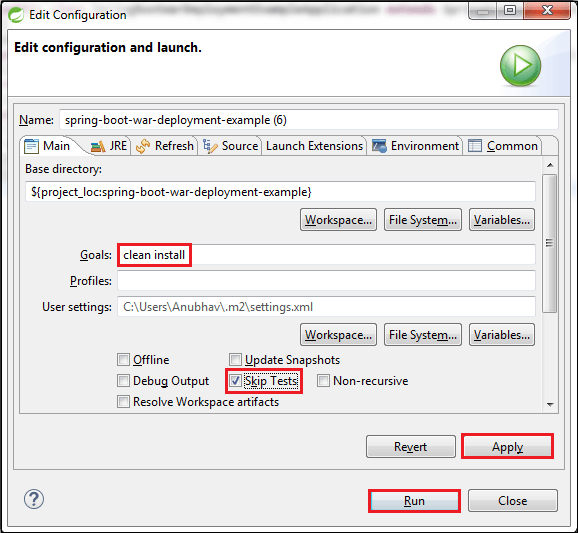
When the WAR file successfully created, it shows the WAR file path and a message BUILD SUCCESS in the console, as shown in the following figure. 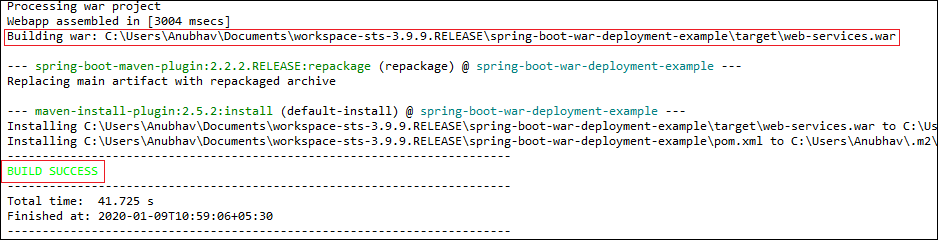
Step 18: Copy the path and access the target folder of the application. We found the WAR file inside the target folder with the same name as we have specified in the pom.xml file. In our case, path is: 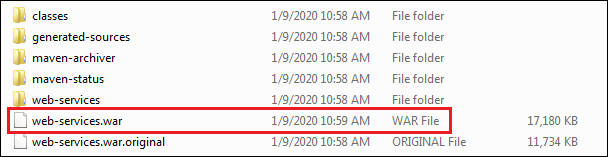
Deploy the WAR file to TomcatTo deploy the WAR file, follow the steps below: Step 19: Download and install the Apache Tomcat Server, if not installed. Step 20: Copy the WAR file (web-services.war) and paste it inside the webapps folder of the Tomcat. In our case, the location of the webapps folder is: 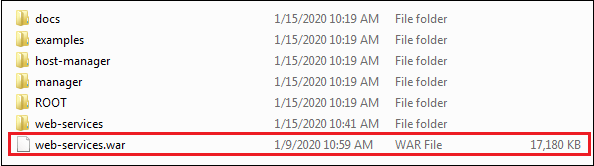
Step 21: Now open the Command Prompt and type the following commands: 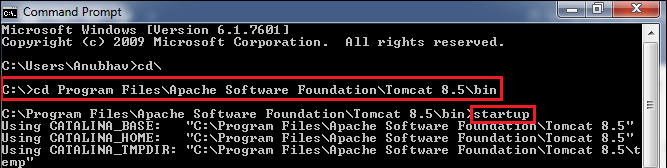
The startup command starts the Tomcat server and deploys the WAR file, as shown below. 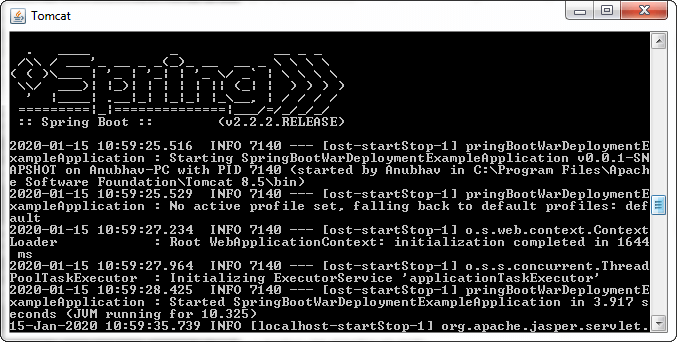
The following image shows that WAR is deployed successfully. 
Step 23: Open the browser and invoke the URL http://localhost:8080/web-services/hello. It returns the message Hello User, have a nice day.
Next TopicSpring Boot AOP
|
 For Videos Join Our Youtube Channel: Join Now
Feedback
- Send your Feedback to [email protected]
Help Others, Please Share


