| |

Text in GIMPThe adding text in GIMP is the essential task that we may need to perform repeatedly on the images. We can add 3D text, rotating text, colorful text, etc. in our images using GIMP. Adding text is useful for logo designing, graphical images, and many more. Let's see how to add text in images. How to Add text on an Image in GIMP?To add text on an image, follow the below steps:
Let's create a blank image having white as background color and black as the foreground color. To create an image, navigate to File->New and provide the image resolution: 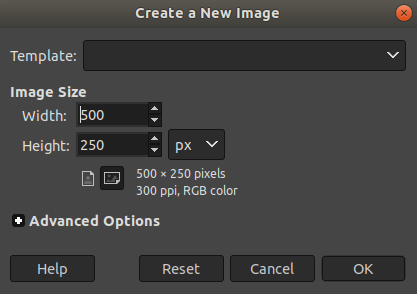
Now, Select the Text tool by navigating the Tools-> Text menu. 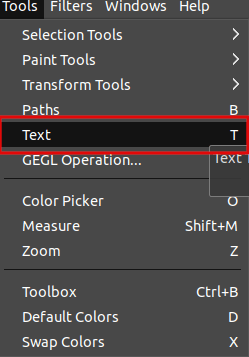
Or select it by clicking on the below icon from the toolbar: 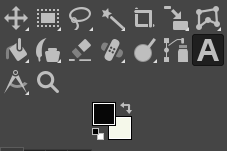
Place the cursor on your desired location, whether you want to add the text and type text. We can adjust the text size colors and fonts from the editor or tool options given at the left. When we add the text, a new layer will be automatically created. So we can freely move this text by using the move tool. 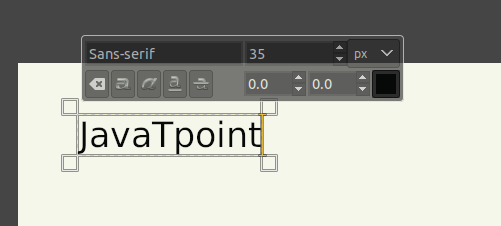
Now exit the editor, the text has added successfully to our image. Now, add colors and designs to texts to make it interactive. Let's understand text tool options. Text tool OptionsGIMP text tool options are given below the left side toolbox. The toolbox contains the following options:
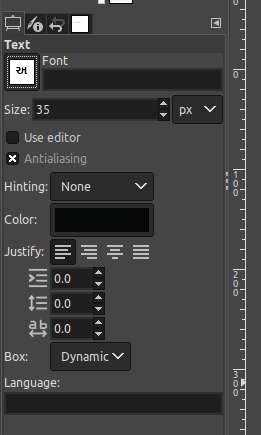
Font: The Font tool is used to change the aspect of the added text. We can select any of the given font family. Press the Aa button for all available fonts. Also, we can type the name of the needed font family. We can use any font installed in GIMP, but to use another font that is not listed, we have to download it. Size: The size tool is used to change the dimension of the added text. We can type any number as per our needs. We can also increase or decrease numbers by the given tiny arrows; The measurement unit can also be changed. The default unit is px, but we can select other units such as meter, inch, etc., as well from the given right drop-down box. But the pixel will be a better choice. Use Editor: The use editor tool provides tick and unticks the checkbox. If this option is ticked, a new floating window will appear with the text for the quick settings. If it is unticked, we have to add the text directly inside the text layer. The ticked option provides a more natural way to write the text. Antialiasing: The Antialiasing tool is also a checkbox. If it is checked, it will create the added text's border and look smoother and better. Also, it will provide a soft look to every curve and angle. By default, it always is checked. But, for any need, we can uncheck it. Hinting: The Hinting tool provides a drop-down menu having hinting value. It assists us when creating an image. It is helpful for a better image result as it will show you with tiny text that which change and setting will enhance the result. Color: The Color tool is used to change the font color of the added text. Remember, it is a different thing than a foreground or background color. It provides different options for changing the color. It will open a dialog window like: 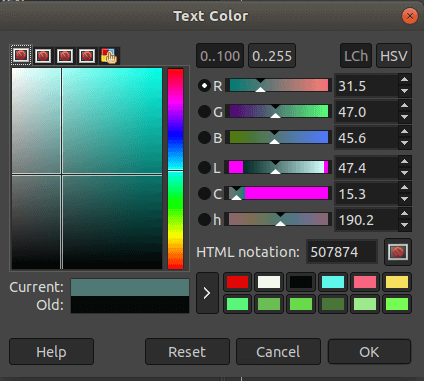
Justify: The Justify tool provides the justify text options as in word writer. We have the following four justify options:
Indentation, line, and letter-spacing: These options are used to reposition the text and defines the spacing of the words. The first option is Indentation, which is used to separate a paragraph from the left or right margins. The Second option is Line spacing, which is used to leave the space between one line of text and the next. The third option is Letter spacing, which is used to specify the distance between each letter. Box: The Box tool is used to define the text area. We can define two types of boxes that are dynamic and fixed. The dynamic box can be stretched and resized by the side arrows.
Next TopicGIMP Text Outline
|
 For Videos Join Our Youtube Channel: Join Now
Feedback
- Send your Feedback to [email protected]
Help Others, Please Share


