| |

Introduction to Unity 2DUnity is available for both 2D and 3D games. When you create a new project in Unity, you will have a choice to start in 2D or 3D mode. The choice between starting from 2D or 3D mode determines some settings for the Unity Editor, such as whether images are imported as sprites or textures. You can swap between 2D or 3D mode at any time regardless of the mode you set when you created your project. Sprites in UnitySprites are simple 2D graphic objects that have graphical images (called textures) on them. Unity handles sprites by default when the engine is in 2D mode. If you are 3D, sprites are essentially just standard textures, but there are special techniques for combining and managing sprite textures for efficiency and convenience during development. When you view the sprite in 3D space, sprites will appear to be paper-thin, because they have no Z-width. Sprites always face the camera at a right angle unless rotated in 3D space. When you create a new sprite, it uses a texture. This texture is then applied on a fresh GameObject, and the Sprite Renderer component is attached to it. This makes our GameObject visible with our texture, as well as its properties related to how it looks on-screen. Creating SpritesTo create a sprite to your game, you must supply the engine with a texture. Let's create a texture first.
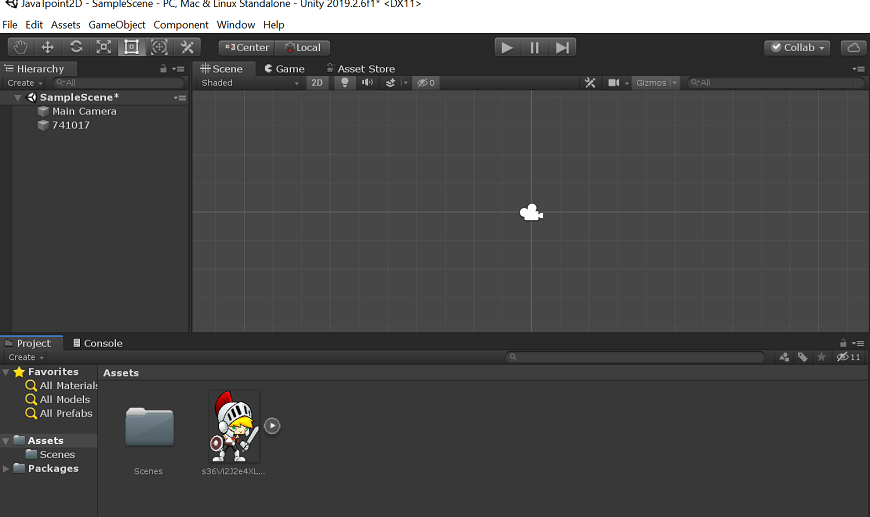
You will notice that as soon as you let go of the mouse button, a new GameObject with the name of the texture shows up in the list. You will also get the image now in the middle of the scene in the scene view. 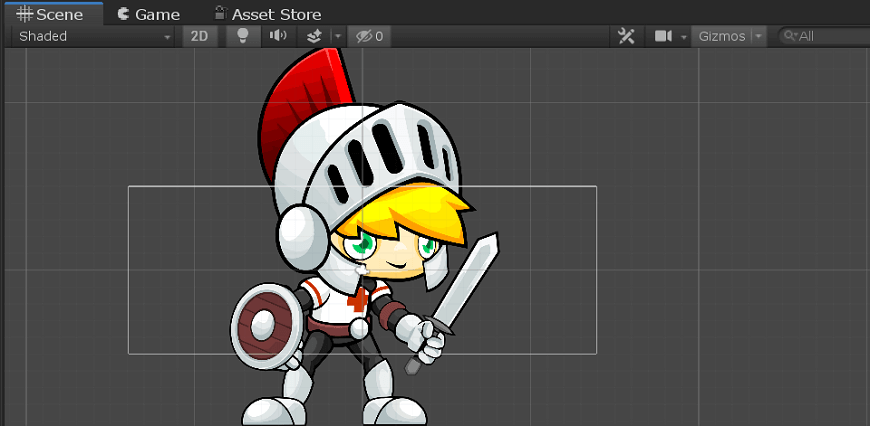
Let us consider the following points while adding a sprite:
We have now added a sprite in our scene. Sprite ModesThis setting is used to specify how the sprite graphic is extracted from the image. To choose the modes, click on a sprite in the Assets/ Sprites folder, in the inspector, there are three different modes in which you can use Sprites: 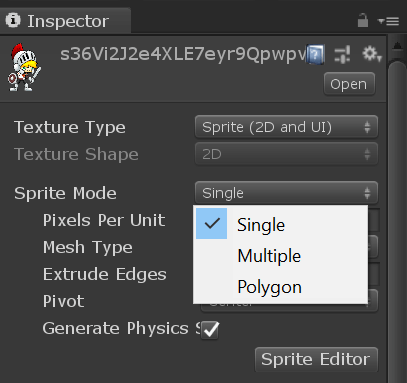
Single: It is used for a single image sprite. Multiple: It is used for a sprite with multiple elements, such as animations or spritesheets, with different parts for a character. Polygon: It is used for a custom polygon-shaped sprite that you can create many different types of primitive shapes with, for example, Square, Triangle, Pentagon, Hexagon, etc. Modifying SpritesWe can manipulate the imported sprites in various ways to change how it looks. If you look at the top left corner of the unity interface, you will get a toolbar, as shown below: 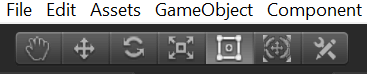
Let's see the functions of these buttons: A first-Hand tool is used to move around the scene without affecting any objects. 
The next tool is the Move tool. This is used to move the objects in the game world around. 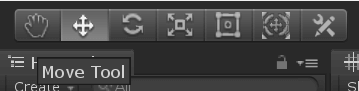
The next tool is the Rotate tool, which is used to rotate objects along the Z-axis of the game world or parent object. 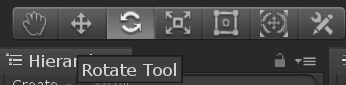
The centered tool is the Scale tool. This tool allows you to modify the size (scale) of the objects along certain axes. 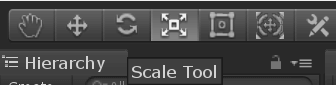
The next tool is the Rect tool. This tool behaves like a combination of the Move and the Scaling tool but is prone to loss of accuracy. It is more useful in arranging the UI elements. 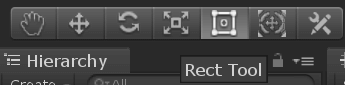
The next tool is the Move, Rotate, and a Scale tool. It is used to move, rotate, and scale the selected object. 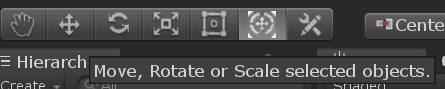
And finally, the last tool is the Custom Editor tool. 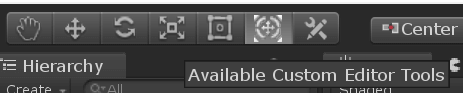
These tools are very useful and worthy as the complexity of the project increases.
Next Topic2D Sprite Sheet
|
 For Videos Join Our Youtube Channel: Join Now
Feedback
- Send your Feedback to [email protected]
Help Others, Please Share


