Wine LinuxIn this tutorial, we will learn what Wine is and how it works, how to download wine in Linux, and how we can use wine. IntroductionBasically, Wine is a sort of software, or we can specifically say that it is a type of open-source software. It is available for everyone that means anyone can download it and use it without spending a penny. It can be considered as one of the most important softwares that we may need, specifically, if we're a Linux user, as it allows us to run windows applications on several Linux and UNIX based operating systems (or other POSIX compliant operating systems). In simple words, we can say that if we are using a Linux or Unix-based operating system and we need to run some Windows applications for a certain task or just for entertainment. One can do so by installing the Wine Software. Wine Software allows it users to run the various windows application on the Linux based operating system without requiring any other additional software like a virtual machine. All we need is to install the Wine software only because, With Wine's help, we never need to install windows on wer system, which a time taking process (or using a virtual box). It may be quite possible that many users may think it is also an emulator like several other emulators available on the internet. But we are not right here because it cannot be considered as an emulator. Instead, it instantly translates Windows API calls into POSIX calls and eliminates the performance and memory penalty of other methods, and allows we to cleanly integrate Windows applications into wer desktop. Let's understand how to use it, but before knowing how to use Wine, let's take a look at how to get Wine for wer Linux operating system. How to download Wine in Linux operating system?To download Wine software in Linux operating system, we can follow the given instruction given below: Before installing the Wine software, we should need to know that our system is installed on 32 bits or 64 bits because it will help us choose the correct Wine version for our Operating System. In case we are not sure about it, we can use the following given command: Command: Once we execute the above-given command in the terminal, it will automatically display all required information about our system, as shown in the output: Output 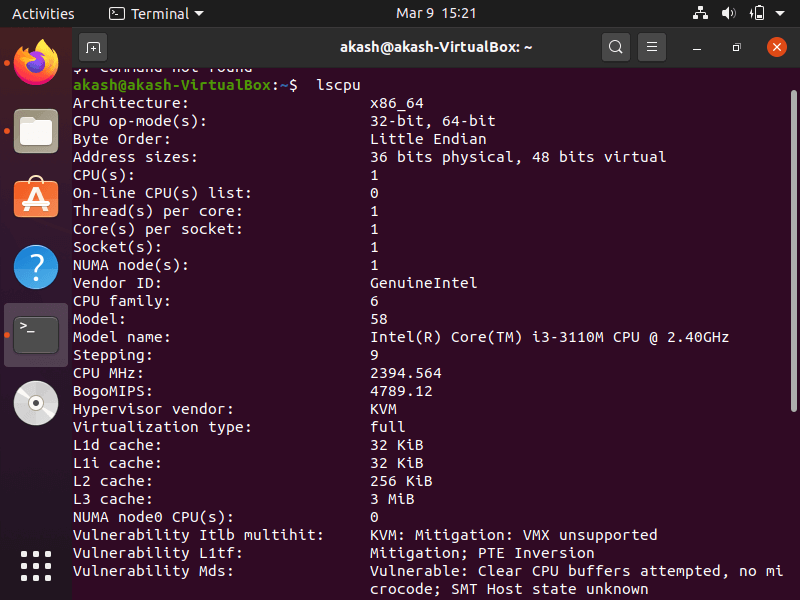
Step2. Installing Wine software using Ubuntu Repository To install the Wine software seamlessly, we will recommend installing Wine using the standard Ubuntu Repository. Through this way, we can have a more stable and reliable version on our computer. Type the following given command in the terminal and press enter: Command Output 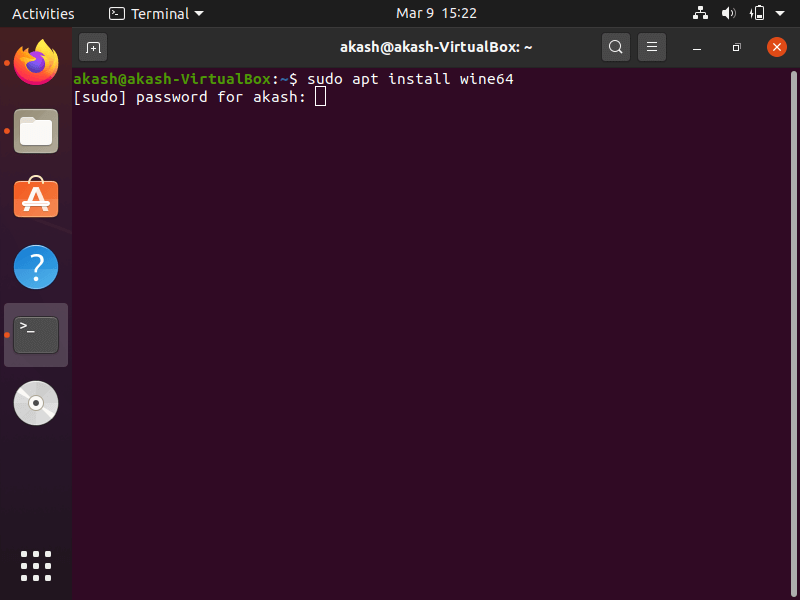
As we can see in the above-given output, it can ask us to enter the root user password, so enter the password to continue. 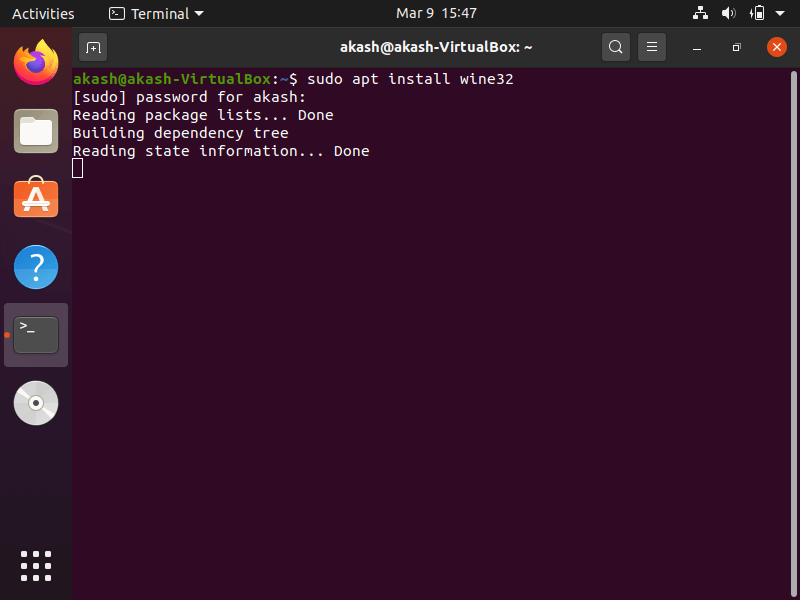
While installing the Wine, we will be prompted with the y/n option, so type "y" and press enter to continue the installation process: 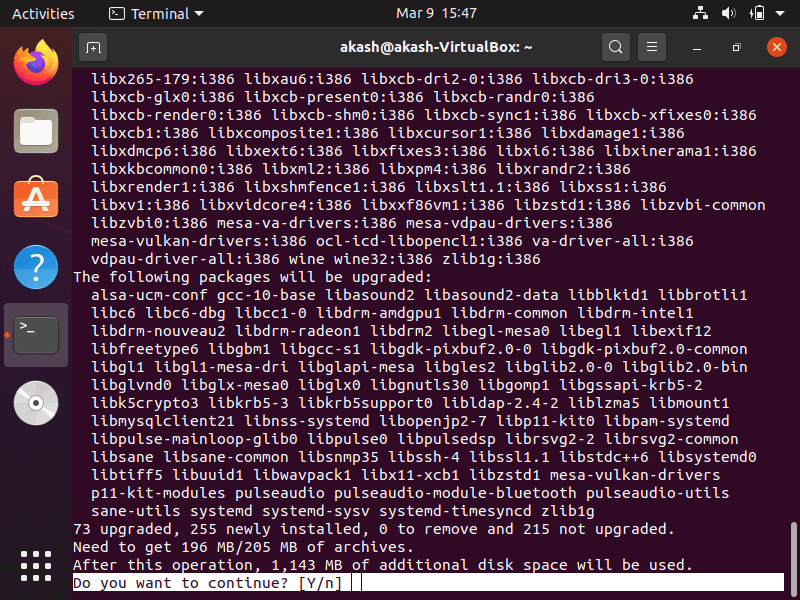
After this, it may take some time to install the Wine on the system, which is normal. 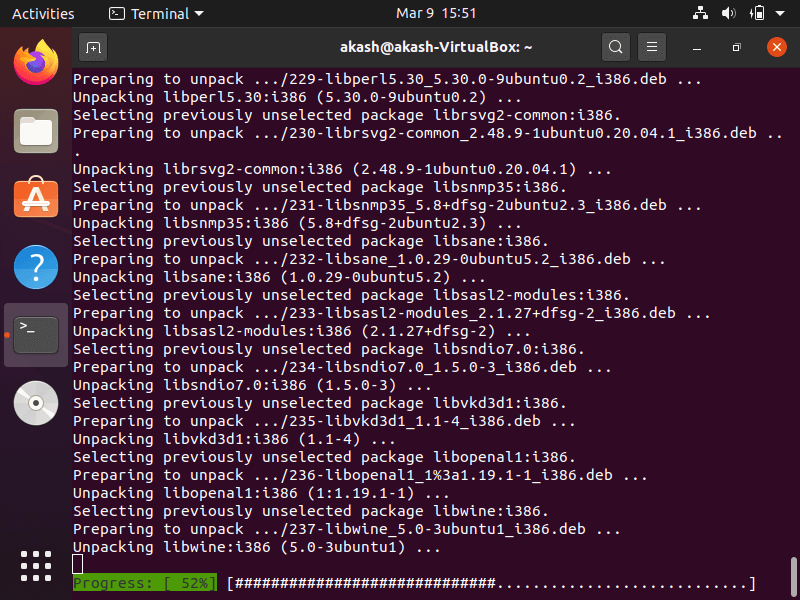
Once the installation process gets completed, exit out the terminal using the given command. Command: Once we exit out the terminal, the Wine software is all set and ready to use. If our system is installed on 64 bit, the process of installing Wine is not so different. We just need to make a slight change in one command, and the entire process will be the same. Step3. Install Wine on 64 bit's system Open the terminal and type the following given command: Except for this change in one command, the entire process is exactly the same as shown above. Now, to verify the installation of Wine software is successfully completed or not, we can use the following command: Output 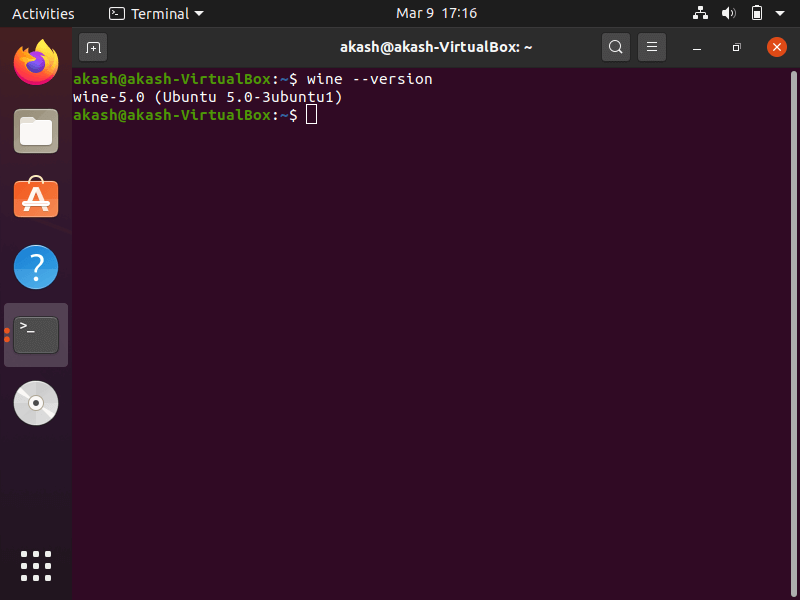
How to use the Wine?After successfully downloading and installing the Wine, let us see how to use this for running window applications. All we need is the .exe file of the desired window application that we want to run. In the given image, we can see that we have an .exe file of Notepad++, which is a window's application. To run it on our Linux operating system with the help of Wine follows the given instructions carefully: 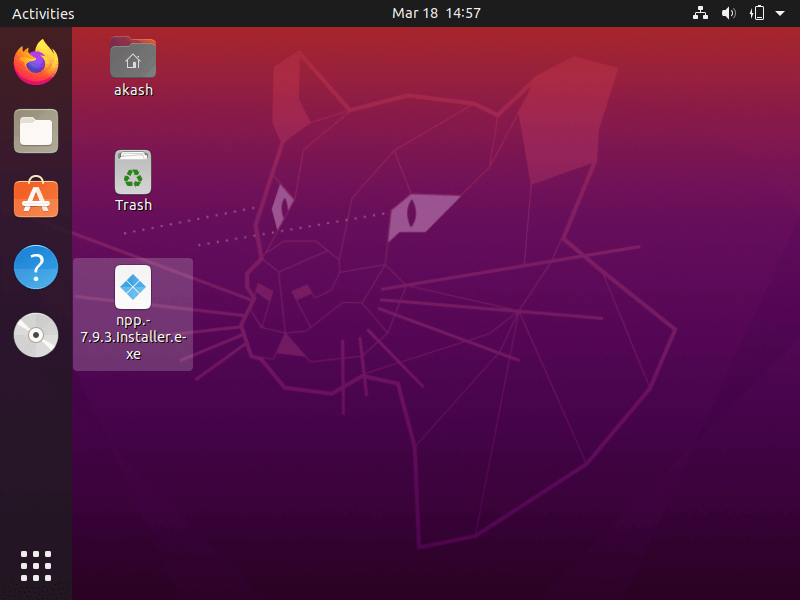
Step1. First of all, open the terminal by pressing Ctrl+Alt+T on the keyboard. Step2. Once the terminal gets open, navigate to the folder (or directory) where we have ".exe file." As we can see in our case, our .exe file is located on the desktop. 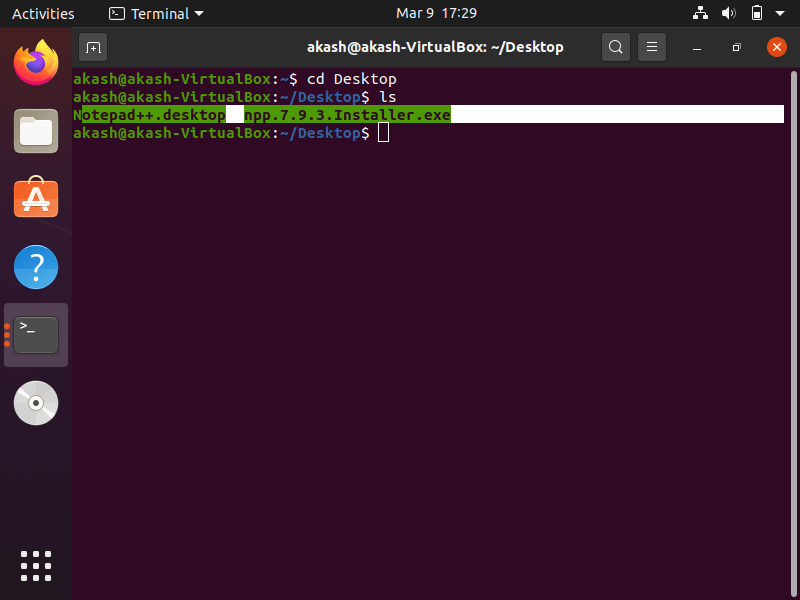
Step3. Type the following command to install windows application in our Ubuntu operating system. Command: Note: While using the above command, we have to make sure that we have provided the exact name (or correct name); otherwise, this command will not work.Output 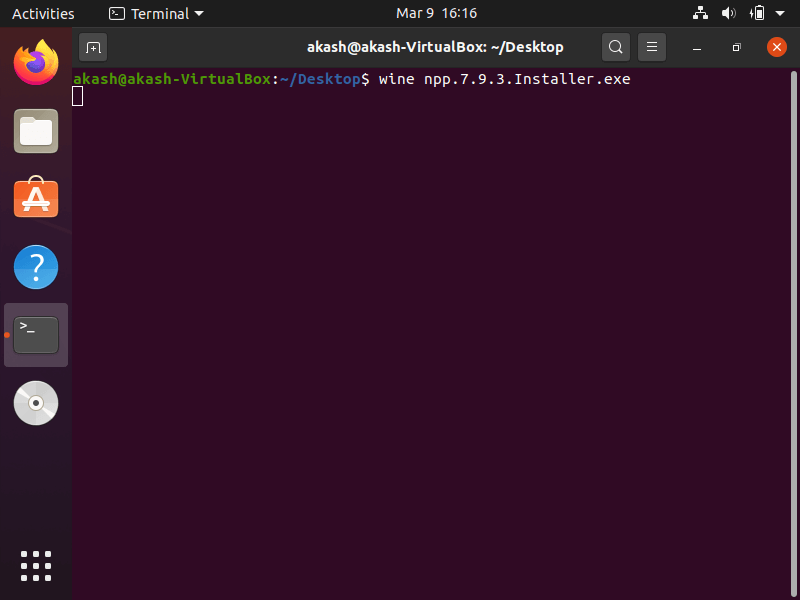
Once we press enter after typing the above command, the installation process of Notepad++ will be started: Step4. Now select the preferred language and click on "Ok," as shown below: 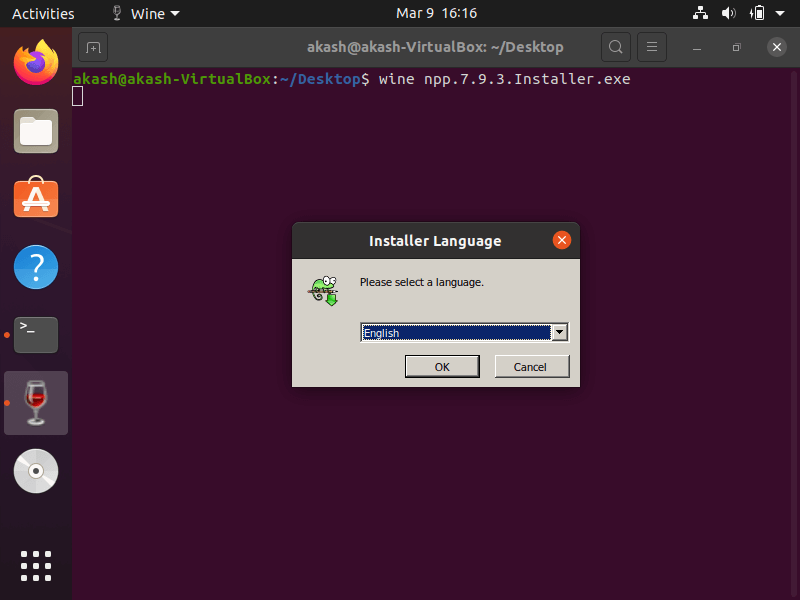
Step5. Click on the "Next >" button. 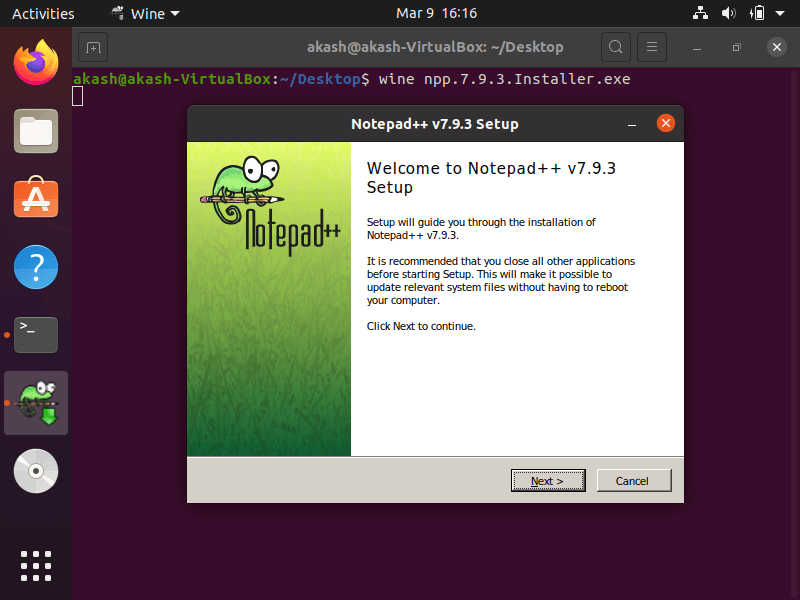
Step6. Click on the "I Agree" button" 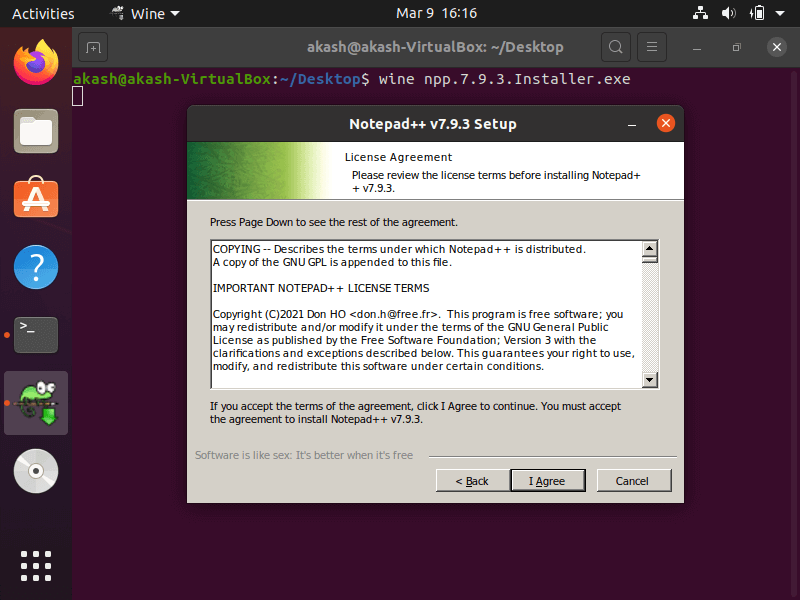
Step7. If we want to install application to a specific location, here we can provide the path or the location where we want to install it. Or we can just click on "Next >" as shown below: 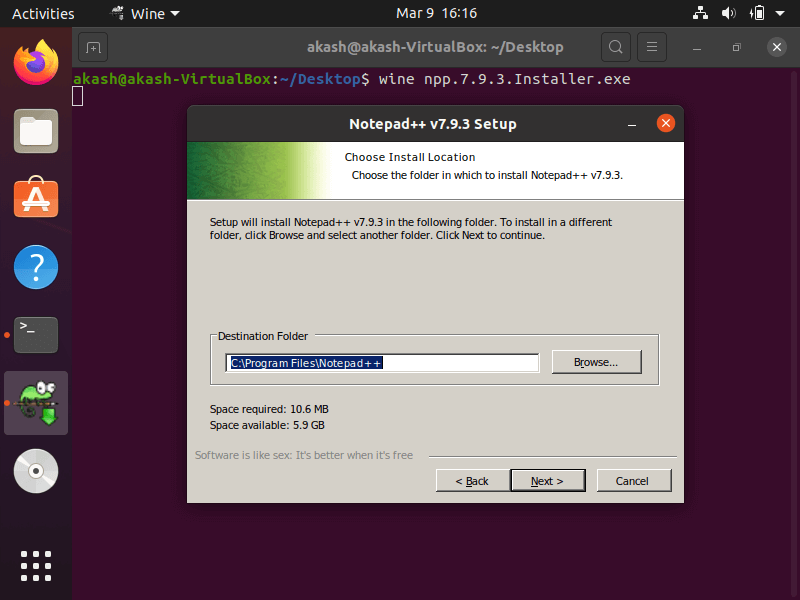
Step8. Here, check the components we want to install and Click on "Next >" to continue as shown below: 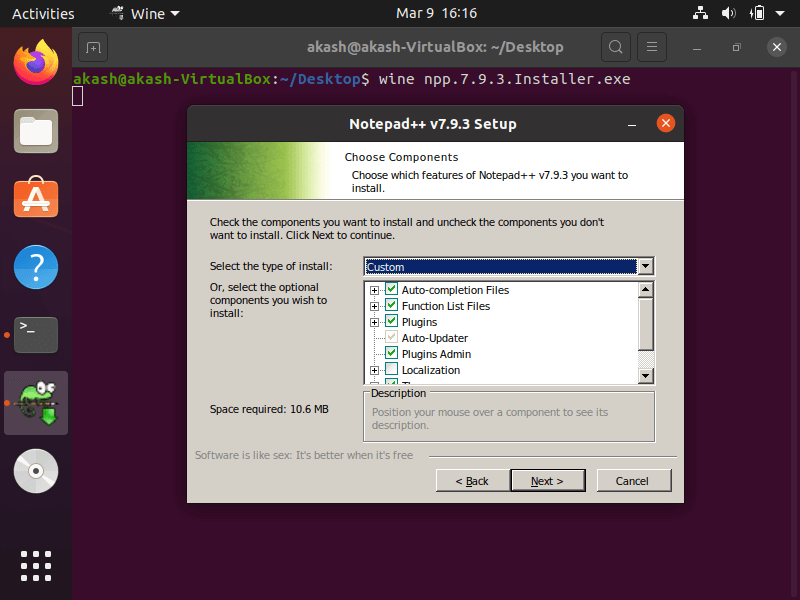
Step9. Now, check the option labeled as "Create Shortcut on Desktop" if we wish to and click on "Install": 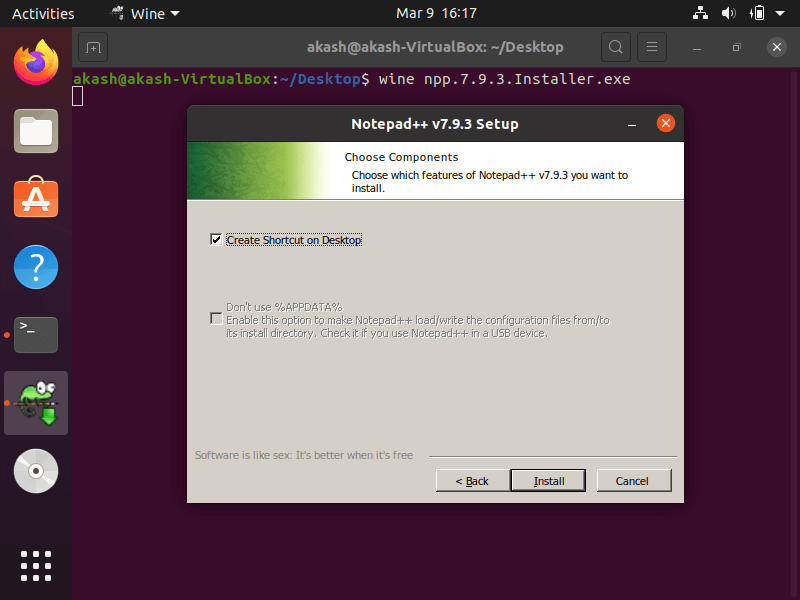
Step10. We may have to wait for some time until the installation process is complete 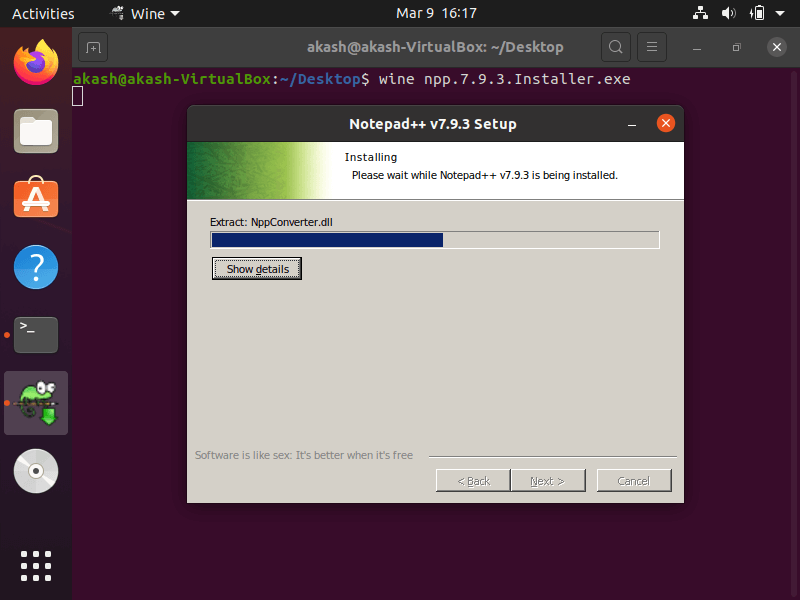
Step11. Once the installation process gets completed, we will get an output something like as given below: 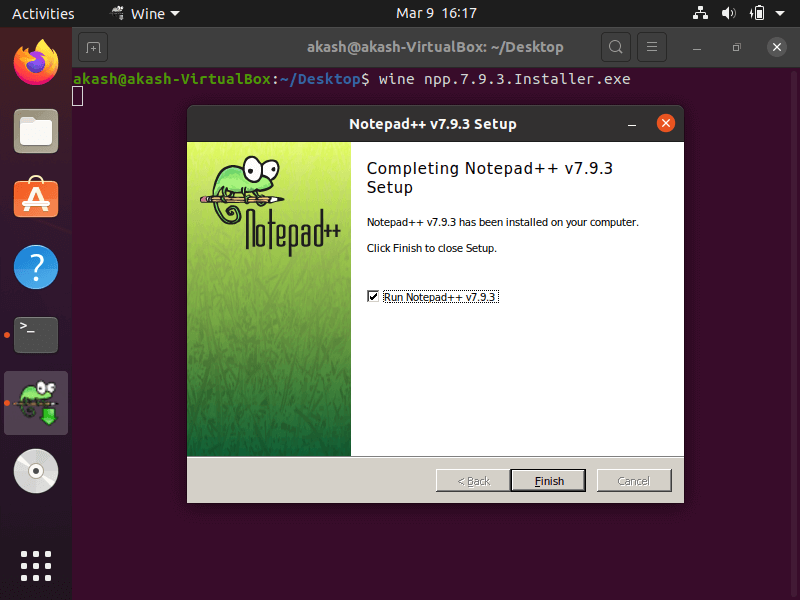
Step12. Now click to check the "Run Notepad++ v79.3" if we want to run it now. Otherwise, just click on the finish button. Step13. We can verify that Notepad++ is successfully installed by simply running it: 
We hope this tutorial will help you to run your Windows application on any Linux-based operating system without forcing you to change your current Operating system.
Next TopicLinux Commands to Check Disk Space
|
 For Videos Join Our Youtube Channel: Join Now
Feedback
- Send your Feedback to [email protected]
Help Others, Please Share


