
CodePen HTMLIn this article, we will learn about CodePen HTML. Let us know about CodePen first. What is CodePen?CodePen is an online community that is used for checking the code written in HTML, CSS and JavaScript. It is an open-source online code editor which means anyone can use it for free. It was founded 11 years ago in 2012 by Alex Vazquez, Tim Sabat and Chris Coyier. It is one of the best code editors that a developer or a web designer can use to write code and check the code easily without even installing anything. Below is the picture of CodePen: 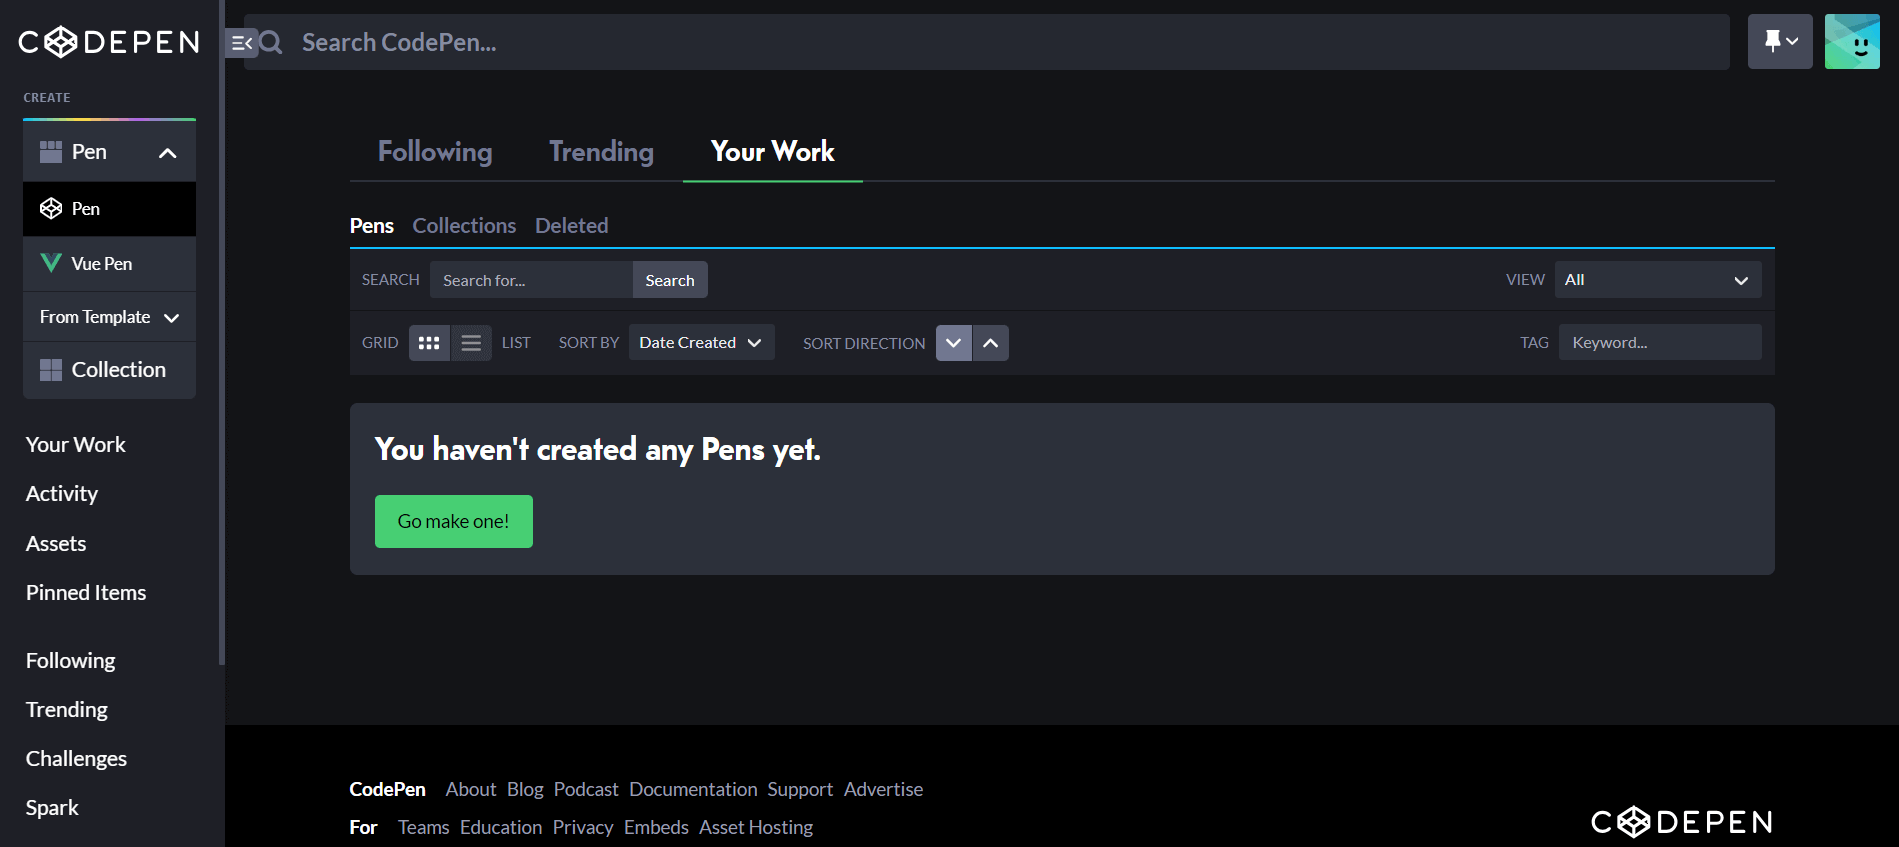
You can simply click on the Go make one! BUTTON and start writing the code. There are three parts in the CodePen. The first part is for writing HTML code, the second part is for writing CSS code, and the third part is for writing JavaScript code. It also provides a Settings option where you can customize the code editor as per your requirements. If you are creating any project, then you should definitely use CodePen editor. It is like a blank canvas that you can fill with your imagination. It allows you to run and test new frameworks. It is user-friendly as it provides a lot of features that help you write the best code without making any mistakes. You can simultaneously see the HTML editor, CSS editor and JavaScript editor. It can be used on the laptop browsers or mobile browsers. If you become a pro then you can change other settings like pen details, add a personalized screenshot, etc. Uses of CodePen:
How to use CodePen?Creating a CodePen account:You need first visit the website, i.e., codepen.io and create an account for better efficiency. You can click on Sign Up for Free BUTTON as shown below: 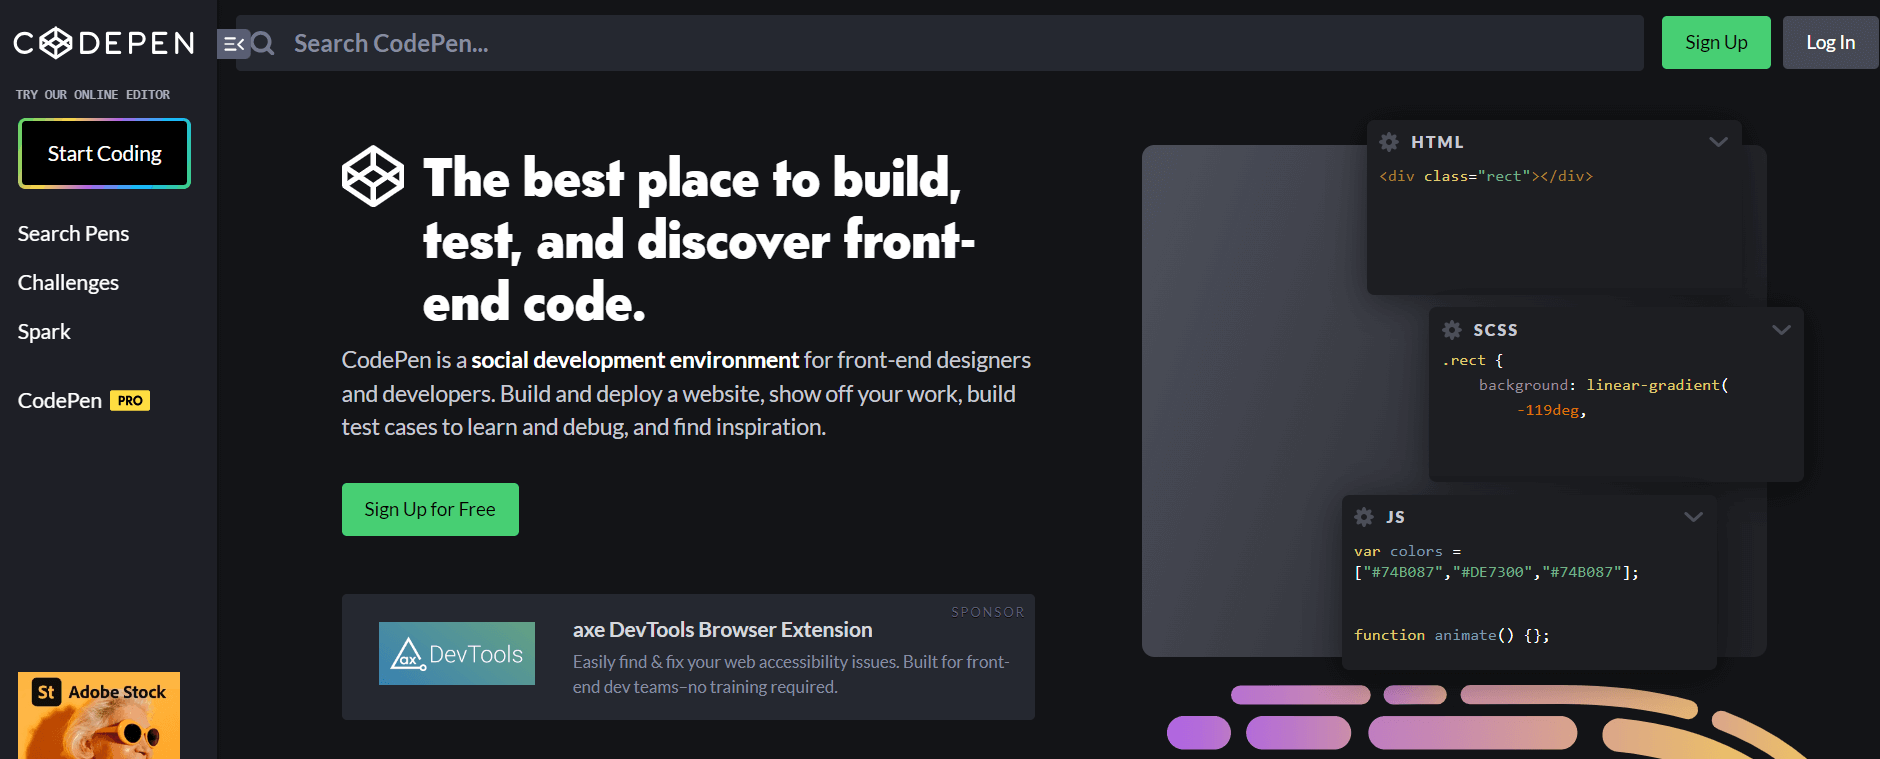
A page that you witness below will open where you can sign up for CodePen for free using Google, GitHub, Facebook, or Email. 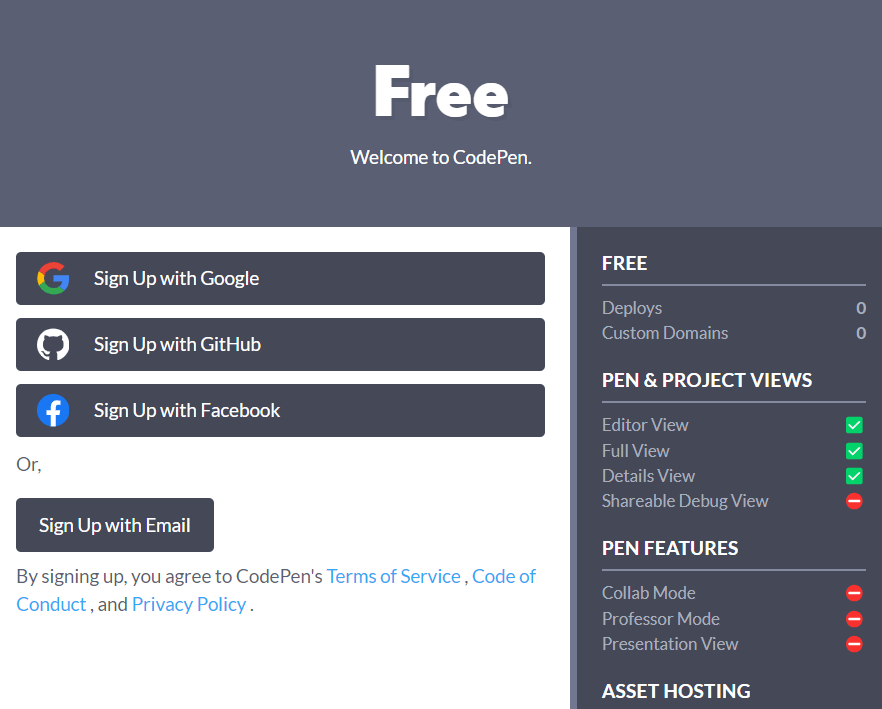
After you create the account then you will get an email from the CodePen to verify the email address. The email will look like you can witness below: 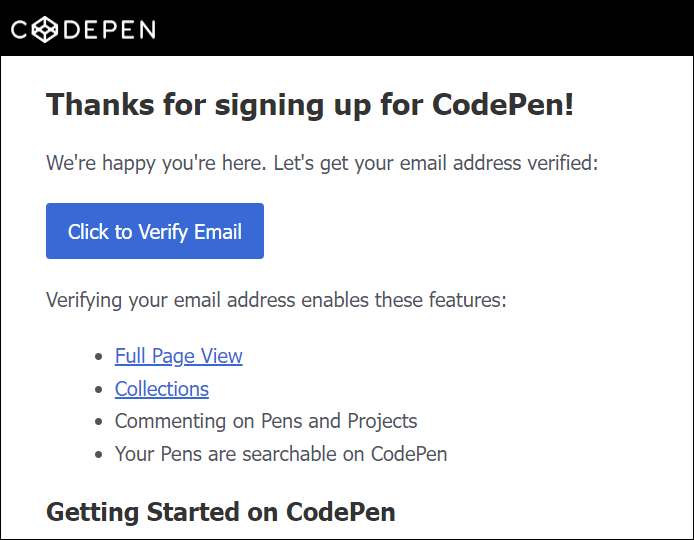
You have to click on the "Click to Verify Email" and verify your email address. User Interface ExplorationAfter when your email is verified then you will land on the CodePen dashboard where you can see your work such as pens you have created, collections, deleted items, activity, assets, pinned items, etc. The interface will look like you can witness below: 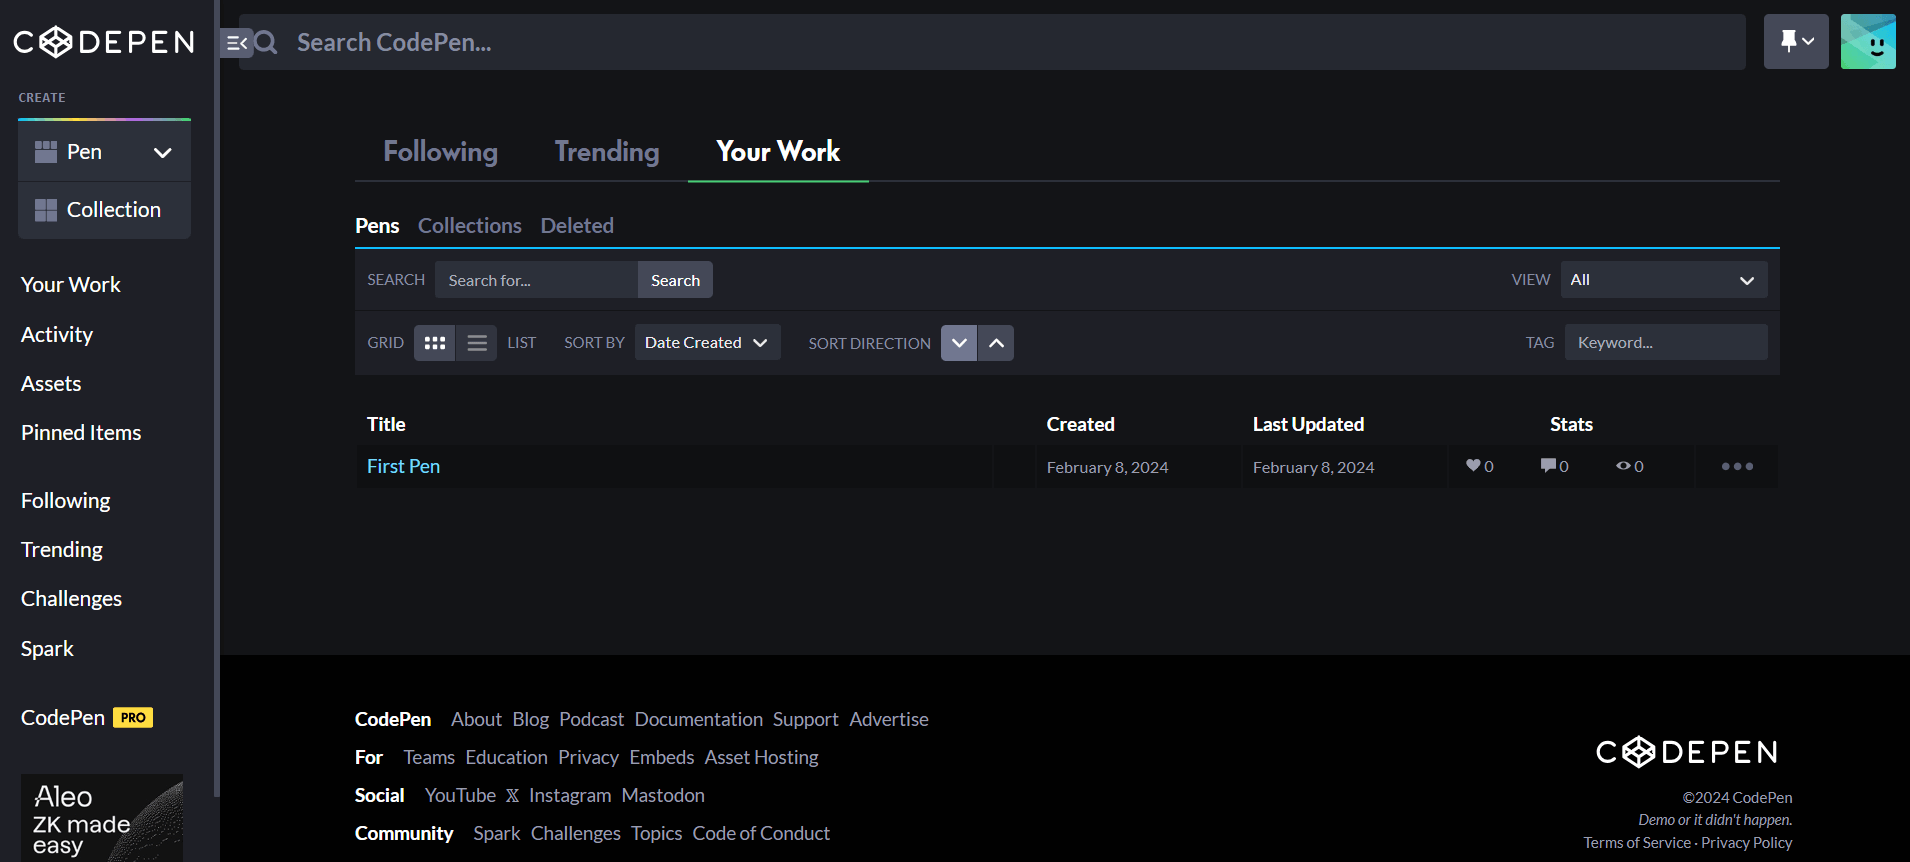
Creating the first penClick on the Pen option visible on the upper left side of the CodePen dashboard and then click on Pen under it, as you can witness below: 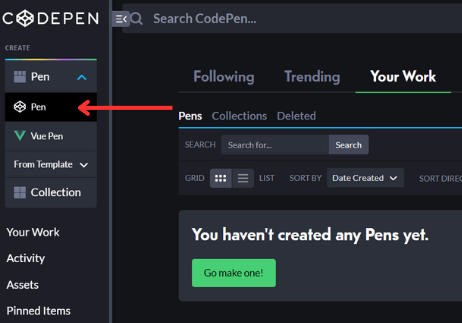
You will see the code editor interface below which is divided into three parts: HTML, CSS and JS. 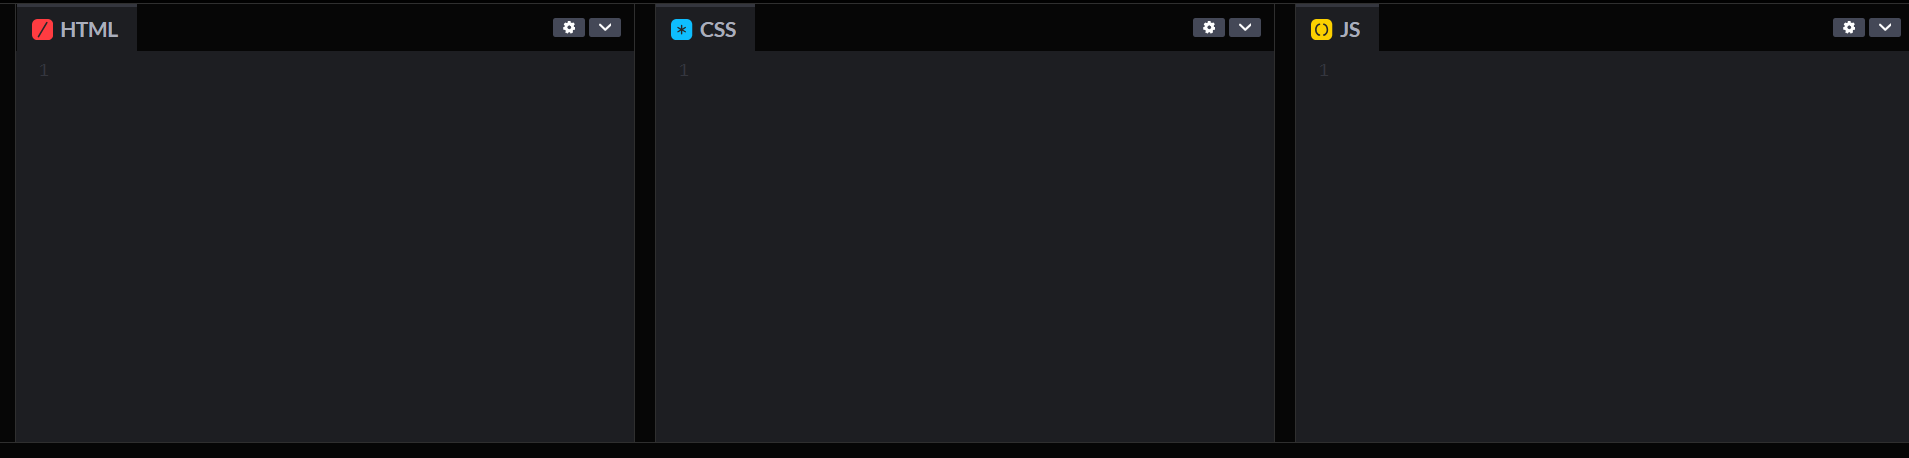
The HTML code is written under the HTML section, the CSS code is written under the CSS section and the JS code is written under the JS section. You can even give the title to your pen. Save and share your workSaving Pen: After writing the pen, you can save the work. Although the work will be automatically saved in the CodePen but it is a good habit to click on the save button as it make sure that the progress is saved. Sharing Pen: You can share your work by sharing the Pen link with others so that they can view your code and interact with it. CodePen permits you to embed your Pen on the website. Features of CodePen editor:
Features of CodePen PRO editor:
Conclusion:We have understood the CodePen HTML in this article. We have understood how to use CodePen, how to create a CodePen account, how to create a first Pen, how to save a Pen, how to share a Pen, features of CodePen editor, features of CodePen PRO editor and applications of CodePen.
Next TopicHTML Gradient Text
|
 For Videos Join Our Youtube Channel: Join Now
Feedback
- Send your Feedback to [email protected]
Help Others, Please Share


