| |

Angular AWSPrerequisite
Create angular applicationLet's start with creating our Angular project. First, we need to install the latest version of Angular CLI by running the following command. After running the above command, you can verify the latest CLI version by running the ng version. It will show the version as below: 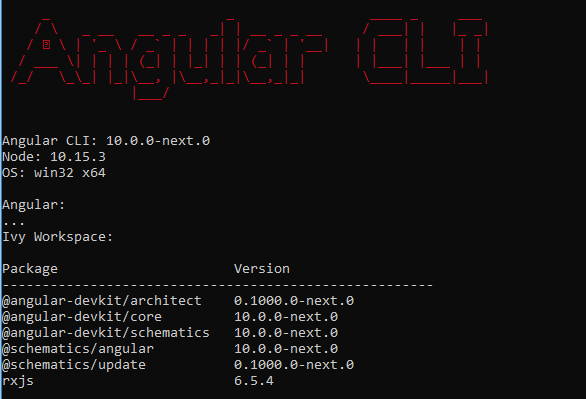
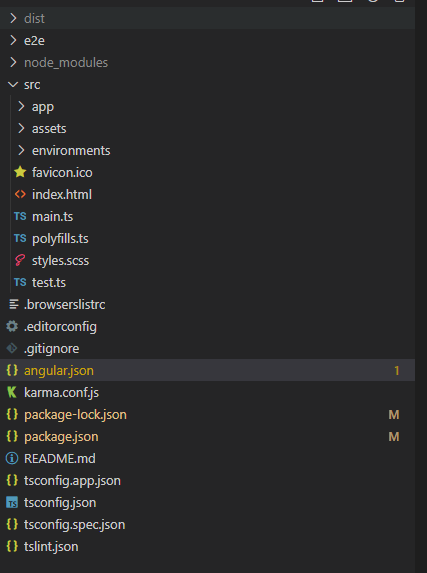
Now, let's create a new angular application. You can navigate to the workspace where you would like to create your angular project and run below command For this example, we won't add routing, and we will use SCSS format for the style sheet The Angular CLI will install all the necessary npm packages and create the angular app under the selected workspace. If you are using VS Code for your development, you can view workspace as follow along with all the necessary files.
Build the application and generate the output folderWe can generate build files by running the below command. It will generate the output folder specified in the angular.json file. This folder will serve the AWS S3 bucket, which we will see later in this post. You can verify the output path configured in the angular.json file. 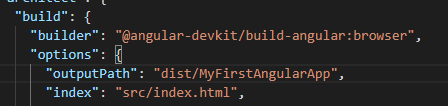
After successfully building the application, dist/MyFirstAngularApp will output the files as follow. 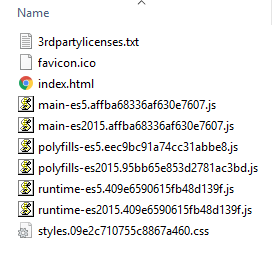
Serve the application on the localhost.Go to the workspace and run the ng serve command to build the application and start the development server on the localhost. You can open the link in the browser and validate the landing page as below. 
Deploy Angular app to AWS S3 service Next, let's deploy our angular application to a serverless S3 service. To continue, you will need an AWS account. You can create a free account on https://aws.amazon.com/console/. They offer a lot of free services for the first year under their free tier. For S3 specifically, you can get the following stuff free for the first year. 
Once you have successfully created an account and logged in, you can navigate to S3 under the services -> storage option. The first step is to create an S3 bucket name. The bucket name is unique across all AWS account, and hence the generic name should not be chosen as it may be possibly taken. Also, it would help if you chose the bucket name wisely as S3 exposes the URL in the following format. Following the bucket name, you need to select the region. It makes sense to select the region closer to the user's location, which will provide faster application performance to the users. Below is the configuration I have defined for my bucket. 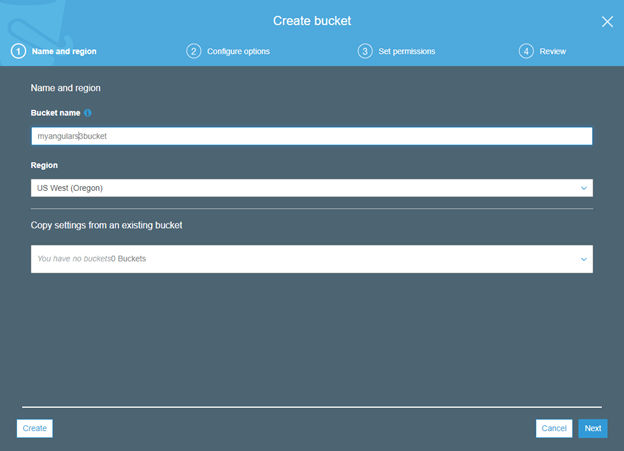
Let's click on the Create button to create our S3 bucket finally. Once the bucket is successfully created, you can find it under the S3 bucket list as below. 
Click on the newly created bucket and then click on the properties tab. You will see a list of cards. 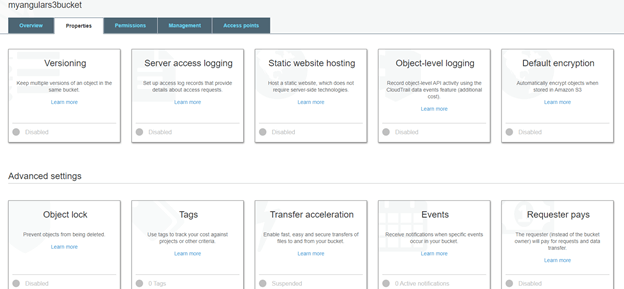
Click on the "Static website hosting" card to define our application's entry and error page. You will see three options there, and you need to select "Use this bucket to host a website". Here, you need to define the index and error document. In our case, we will define both the document as an index.html page. Also, you can see the endpoint URL, which will launch the application in the browser. 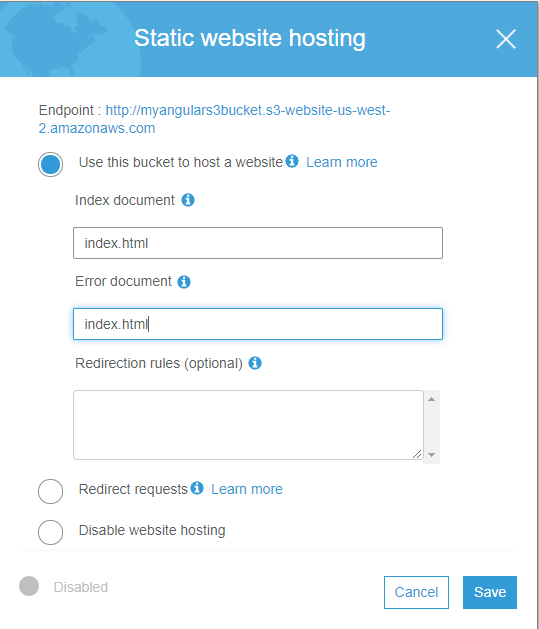
Let's click Save and hit the browser with the given endpoint URL. At this stage, we are getting the following 403 forbidden errors. The reason is all S3 bucket policies by default are private, which will make the application inaccessible to all the users. 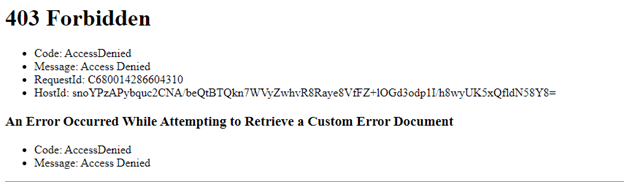
We can manage the bucket policy under the "Bucket Policy" tab and grant all users public access. First, let's go to the Permissions tab and click on the Edit button. Here, the following two options, "Block public access through new public bucket" and "Block public and cross-account access through new public bucket", are set to true by default. Let's uncheck them and click Save. 
Next, you need to apply a policy that will grant anonymous users to access our data. We can copy the following policy and paste it under the Manage bucket policy section. It would help if you changed the bucket name with your current existing bucket in the Resource property of the JSON object. 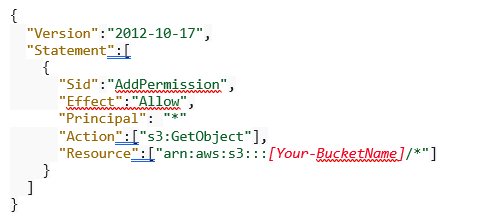
I have updated the bucket policy as follows. Also, it's very important only to grant GetObject to the users and not PUT, DELETE, etc., any kind of Edit access to prevent any security issues. 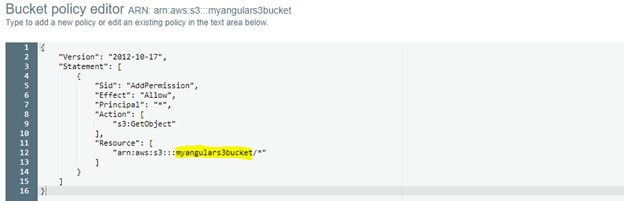
Deploy the Angular buildNow let's copy the angular build output that we discussed initially in the article generated at the dist/MyFirstAngularApp path and upload it in S3. 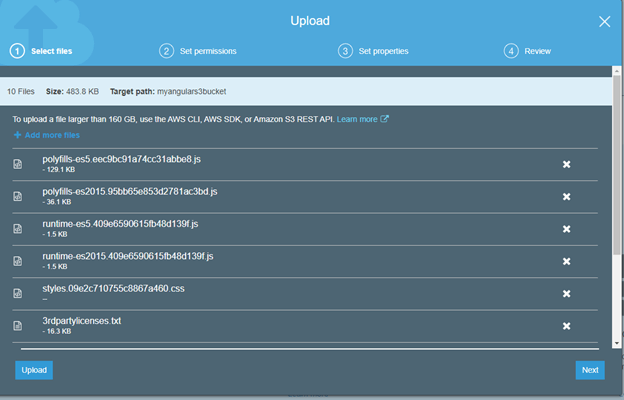
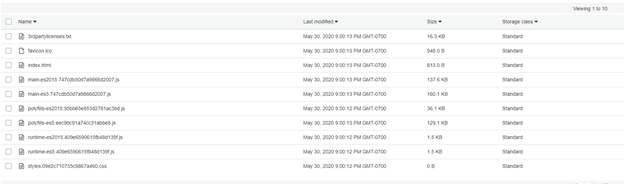
Once the files are successfully uploaded, you can navigate to the S3 endpoint URL and verify the application is up and running. [Your-BucketName].s3-website-[Your-BucketRegion].amazonaws.com 
We have just created our first angular app and deployed it in AWS serverless S3.
Next TopicAngularJS API
|
 For Videos Join Our Youtube Channel: Join Now
Feedback
- Send your Feedback to [email protected]
Help Others, Please Share


