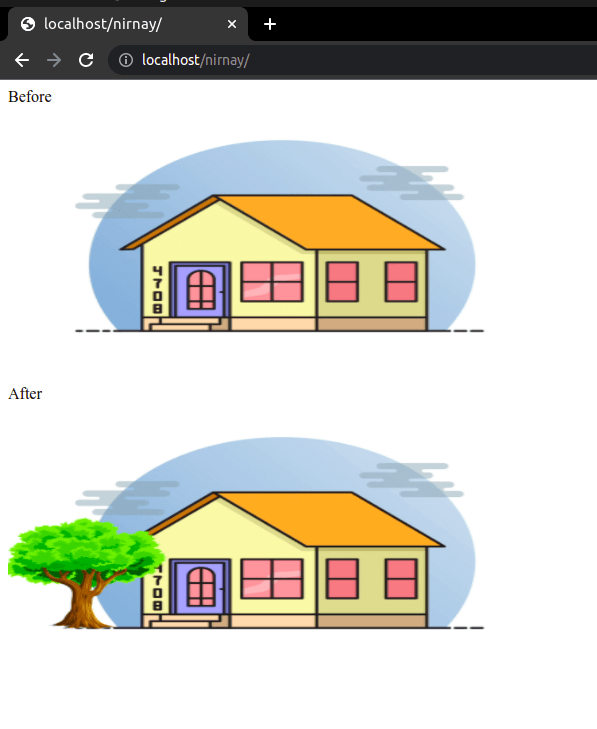
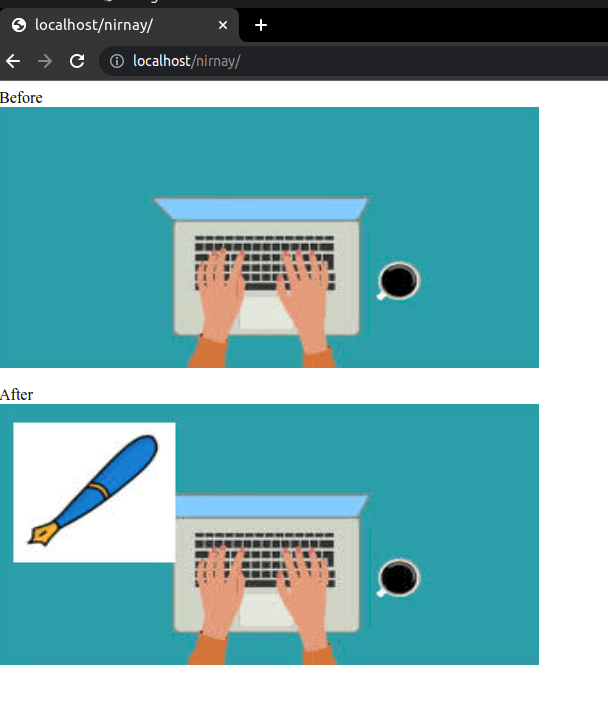
Imagick addImage() FunctionThe Imagick::addImage() method is a PHP built-in function for adding new images to the Imagick object image list. Following the operation, the iterator is relocated to the end of the list. This function adds a new picture to an Imagick object based on the source object's current position. Imagick has the capacity to hold and manipulate numerous photos at the same time. Syntax:ParametersThere is only one parameter to the add Image function in PHP. This one parameter depicts the absolute path of the image on which we want to perform the insertion operation the name of the file along with the path specified as a parameter to this function will be used to add in the specified location. Return ValueThe return type of add Image function is of the Boolean type which means the returning value of the add image function is determined by the success or failure of the insertion of the image. The return type of the add Image function is true when the image which is specified in the parameter of the Add Image function is successfully added whereas on the other hand if the insertion operation of the specified image is successful or cannot be completed due to some reasons then the return type of this function will be changed to false. Sample CodeOutput: 
The above-written code is one of the sample codes examples, which depicts the usage of add Image function in PHP in this example first of all we have created an object of the Imagick after the creation of the object with the help of that newly created object to having called the add Image function and the parameter to the add Image function is the absolute path of the PNG image that we want to add. Example:Output: 
Another example where we will be using the add image functions in a much broader scenario where we will be using this function to convert one input image type into our desired output type and geometry. In this example first of all we have created an Imagick object with our source image after the successful creation of the source image object we have retrieved the geometry of the source image with the help of get image geometry function once we have the width and height of the input image that next step is to scale the source image for scaling the source image we have used scale Image function once we have this scaled output now the next step is to crop the image for the cropping of the image we have to store the image into one clone object that clone object will be later used so after the cloning for which we have used the clone function we have used the write Image function and the add Image function to store the resultant image into our final image and after successful saving of our required image the intermediate objects which were created during the process are destroyed with the help of destroy function the various objects which are destroyed with the help of the destroy function are source image object, icon object and also the clone object. Example 2:Finally, in this example, we have shown the use of the addImage function in one another scenario. In this example, we have taken four images and these images are appended together to form a final single image. in our example, first of all, we have created a Canvas object after the successful creation of the Canvas object we have set the background colour to grey with the help of the set background colour function once the background colour is set next step is to iterate over a set of images and creating an Imagick object for each of the image and After the creation of image object again we have set the background colour of each image to grey with the help of set image colour background function and after changing the background colour we have resized the image to our desired width and height and for this operation, we have used the resize Image function and then we have used the add Image function to add that resized or cropped image. Once we have done for each image by iterating over the set of images, we have appended these four cropped images into one single image and stored the result into our Canvas object once we have the resultant image in our Canvas object, we have to call the append images function with the help of that function we were able to get all the four images as a single image output and we have saved in a JPG format. Thus, in this article, we have seen how we can use the Add Image function, which is provided by PHP to add a new image into our desired location so for adding a new image we just have to call the add image function with the parameter representing the actual path where the image that we want to add is actually stored.
Next TopicImagick addNoiseImage() Function
|
 For Videos Join Our Youtube Channel: Join Now
Feedback
- Send your Feedback to [email protected]
Help Others, Please Share


