PHPMyAdmin Login
Introduction
phpMyAdmin is the free software tool specified in PHP, designed for handling MySQL administration on the web. This software tool supports a huge operation's range on MariaDB and MySQL. Mostly used operations are permissions, users, indexes, relations, columns, tables, managing databases, etc. It can be implemented by a user interface. Still, we have the capability to run the SQL statement directly.
phpMyAdmin uses a huge documentation range and users will be able for updating wiki pages and distribute ideas for several operations. It will support us in case we face any issue. We can apply the support channel's variety to get support.
Also, phpMyAdmin is very well documented inside a book explained by the developers- Mastering phpMyAdmin for Effective MySQL Management, available in Spanish and English.
Key points:
- phpMyAdmin supports both RTL and LTR languages and converted into 72 languages.
- phpMyAdmin is one of the most widely used mature projects along with a flexible and stable code base. We can find more about its history, project, and awards it collected.
- This project is the Software Freedom Conservancy member. The Software Freedom Conservancy is not-for-profit enterprise that supports improve, promote, develop, open-source Software, Libre, and defend free projects.
Features of phpMyAdmin:
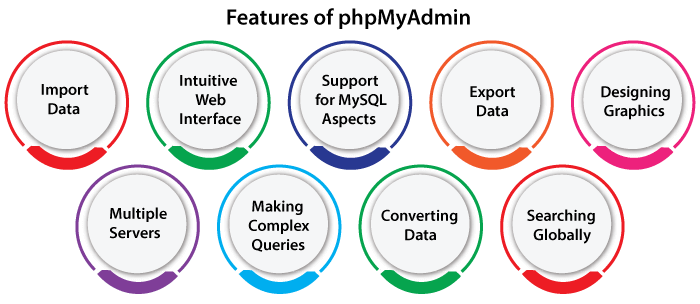
- Import data through SQL and CSV
- Intuitive web interface
- Support for MySQL aspects:
- Drop and browse databases, indexes, fields, views, and tables.
- Alter, rename, drop, copy, and create databases, indexes, fields, and tables.
- Maintain tables, databases, and server with proposals on the server
- Bookmark, edit, and execute batch queries and SQL statement.
- Manage MySQL privileges and user accounts.
- Manage stored triggers and procedures.
- Export data for several formats: PDF, XML, SQL, JEC/JSO, CSV.
- Designing graphics of our database layout within several formats.
- Multiple servers.
- Making complex queries with QBE (Query-by-example).
- Converting stored data into a format with predefined functions set, such as showing BLOB- data as download-link or image.
- Searching globally within the database or any subset of it.
phpMyAdmin Connection
phpMyAdmin can be accessible when using the hostname 127.0.0.1 for various security reasons. We should make the SSH tunnel that directs the requests to any Web-server through 127.0.0.1 for accessing it through the remote system. It indicates that we should be able for connecting to our server on SSH to access the applications remotely.
Note: Make sure that our database server and Web are running before going to proceed with the following steps.
For accessing phpMyAdmin by the SSH tunnel, we need the SSH client. Inside the instructions below we've selected PuTTY. PuTTY is the SSH client (free) for LINUX and Windows platforms. The initial step is the PuTTY configuration.
Once we've our SSH client configured correctly and we've confirmed that we can access our instance with SSH successfully, we need to create the SSH tunnel for accessing phpMyAdmin. Consider the following steps:
- Within the section "Connection -> SSH -> Tunnels", include the new port via introducing the below values:
- Source Port: 8888
- Destination: localhost:80
Note: If we are redirecting requests of HTTP to an HTTP port, we must consider port 443 rather than 80.
It will make a protected tunnel via forwarding the port over a remote server for any port on a local host (localhost or 127.0.0.1).
- Press the button, i.e., "Add" for adding the protected tunnel configuration to any session. We will see an added port within the "Forwarded ports" list.
- Save our modifications by pressing the "Save" within the section "Session".
- Press the button, i.e., "Open" to open the SSH session for a server. This SSH session will add a protected tunnel among the two described ports.
- Access phpMyAdmin console from the protected tunnel we created via browsing to http://127.0.0.1:8888/phpmyadmin.
- Now, log-in to the phpMyAdmin via using the below information:
- Username: root
- Password: application password
Access phpMyAdmin over MacOS and Linux
To access an application suing our web-browser, make the SSH tunnel, as mentioned as follows:
- Open the terminal window (new) on our local system (in the Dash within Ubuntu or MacOS, using "Finder -> Applications -> Utilities -> Terminal").
- Ensure that we have our SSH credentials (also described as .pem key file) in hand.
- Execute the below command for configuring an SSH tunnel with the use of the key file of SSH. Remember for replacing the KEYFILE using a path to our SERVER-IP and private key with the host-name or IP address (public) of our server:
- Execute the below command for configuring an SSH tunnel with the use of the password of SSH. We need to replace the SERVER-IP using the host-name or IP address (public) of our server. Enter the password of SSH when prompted.
Note: The command will create the SSH tunnel. However, it will not show any result over the server console.
- Access phpMyAdmin console from the protected tunnel we created, via browsing to hhtp://127.0.0.1:8888/phpmyadmin.
- Now, log-in to the phpMyAdmin via using the below information:
- Username: root
- Password: application password
|

 For Videos Join Our Youtube Channel: Join Now


