| |

Telnet commandsIt was developed in 1969 to provide a command-line interface for establishing communication between remote devices or servers. However, sometimes it is used for the remote management tool but also used to initial device setup such as network hardware. If we look at the security point of view, Telnet itself has some big problems that we will discuss later. However, the main issue with it is that it does not have any type of encryption, making it somewhat outdated in terms of modern security. It will not be completely fair to consider it outdated because when it was developed, there was no such a considerable adaption of the internet. However, it is hugely overlapped by the SSH protocol, which also has some security measures, at least on the public internet. To understand the telnet commands in detail, we will go through the following topics:
How does it work?Telnet usually provides a bidirectional interactive text-oriented communication system through the virtual terminal connection over the 8 bytes. In general, the user's data is interspersed in-band with the telnet control information over the transmission control protocol or the TCP. One of the primary reasons for developing the telnet protocol is that the computer systems of that time are usually massive and expensive, which makes them inaccessible to everyone. So, only limited and well-authorized persons can access them. This was not the only issue with computer systems at that time. One of the significant issues with the computer of that time was they were huge in size, bound to the specific location. This makes them very difficult and expensive to be moved from one place to another. To make these substantial computer system resources available in the big companies and organizations, the Unix operating system was developed at the end of 1960, and Telnet was the appropriate protocol service. This allows anyone with the proper authority to run, maintain, and use applications on these massive computers for their own personal use as well. Another reason why the Telnet was created was that it is usually used for the text-based program on the application server. For example, the Free internet chess server can still be used through the telnet connection. Where is the Telnet used?For a long time, Telnet has been used as an appropriate protocol for network and server administrators. Its ability to remotely manage devices on the network is particularly useful for admin tasks (or operations) as most devices supported it at the time. It can also be used to check the availability of the ports (or to check the ports)and detect the errors on the e-mail server directly by sending the e-mail form the servers. Telnet solution is also considered as one of the most effective and efficient methods to configure servers. Example: A user can test the functionality of an HTTP server or the e-mail server through a simple request. This versatility is more enhanced by the fact that this connection protocol can be used across on all most all platforms. There are only a few devices that do not support it. Telnet CommandsHere we will discuss some of the primary and commonly used commands of the Telnet that the clients use to set up the connection. Explanation This command is used to start or set up the connection, which is generally completed after the user's username and password have been entered. The prerequisite for using Telnet is that the control device has user recognition. The entry hostname represents the device name in the network. A user can also specify the correct IP address and connection request through the desired port by using the following given command. Let's look at some other standard commands that the user can partially extend with arguments, executing via telnet commands:
Note: One of the most essential things about telnet commands is that they are usually the same on almost all different telnet-supported platforms such as Windows, Unix, and Linux.Now let's see some pros and cons of the TelnetPros of the Telnet
Cons of the Telnet
How to activate the telnet on your system?Usually, the simple Telnet client is pre-installed and useable on several famous network-capable operating systems. However, it may need different steps to start the respective application on the different operating systems that the client is using. For example, usually on Windows Vista, the client needs to be activated on the Microsoft operating system first. Telnet on Windows 10 Like most of its predecessors, Windows 10 also comes with a pre-installed remote program. To use it, you just need to enable it because it comes disabled by default. You can then set up the client and operate it using tried and tested patterns. You can consider following the given instructions to set up the clients: 1. Open the overview of installed programs and features by accessing the system control via the start menu, select 'Programs and Features' as shown below: 
2. In order to activate the Telnet Client, select 'Turn Windows features on or off' and check the appropriate box. Now confirm the selection by clicking on the 'OK' button as shown below: 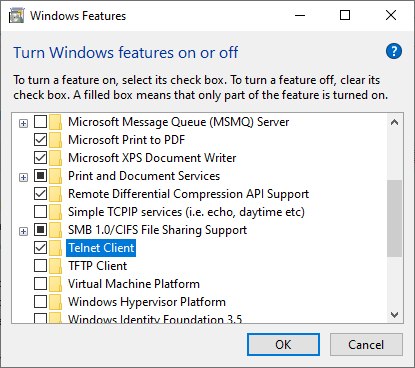
3. Once you click on the "OK" button, a short loading process may start, after which you will be notified that Telnet has been successfully activated and is ready for use as shown below: 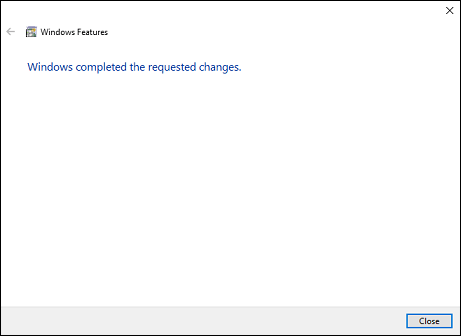
4. Now to open the "telnet," you can type Telnet in the search box, and it will be listed on top of the list: 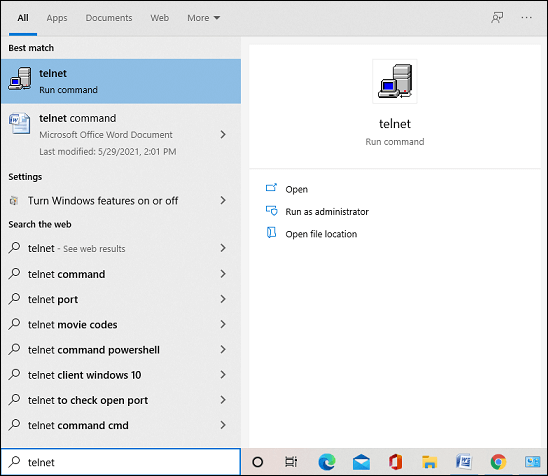
5. Click on the "Run as Administrator," and the "telnet" will be open as shown below: 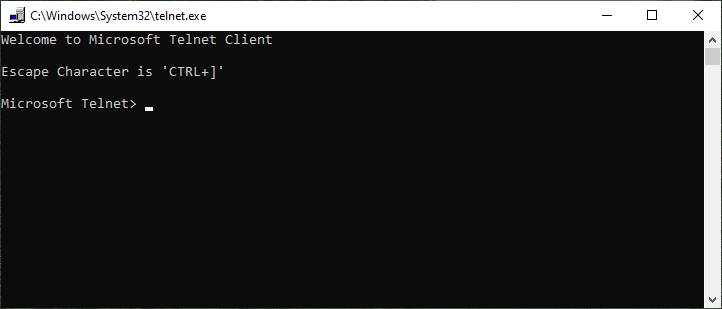
Next TopicTypes of Precipitation
|
 For Videos Join Our Youtube Channel: Join Now
Feedback
- Send your Feedback to [email protected]
Help Others, Please Share


