COBOL - InstallationThere are many free Mainframe Emulators available for the Windows operating system, which can be used to write and learn simple COBOL programs. One such emulator is Hercules, which can be easily installed on Windows operating system by following some simple steps as given below:
Once you go to the site, you will see the following link: 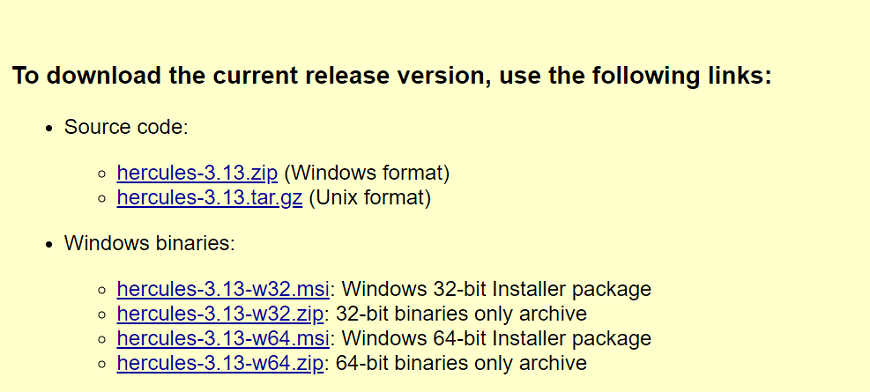
Select the above link and then install it on your system.
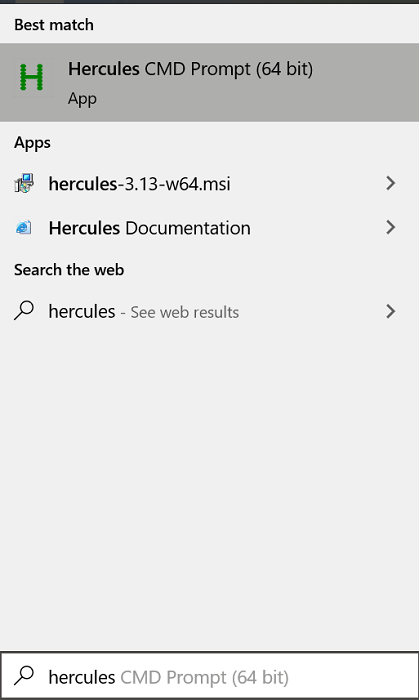
You can see the command prompt. 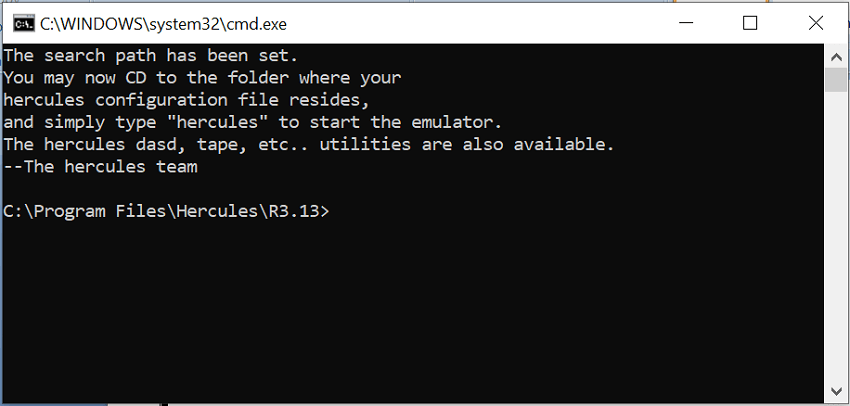
COBOL IDEYou can also use COBOL IDEs to compile and execute your COBOL programs; it is simple and easy to install and configure. OpenCobolIDE is a simple, easy to use, and a lightweight COBOL IDE based on the GnuCOBOL compiler. We can install it on GNU/Linux, Windows, and Mac OSX. To download the OpenCobolIDE on your Windows, click here. And select Windows Installer. 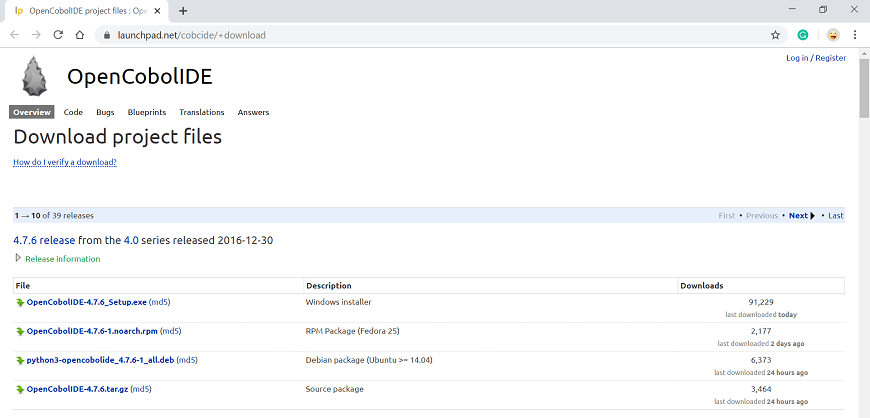
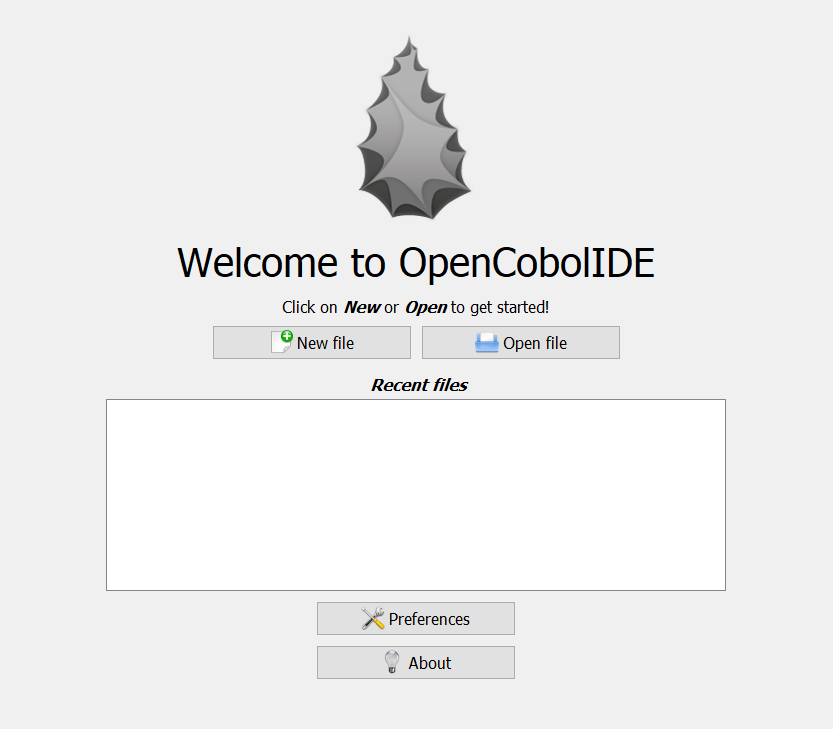
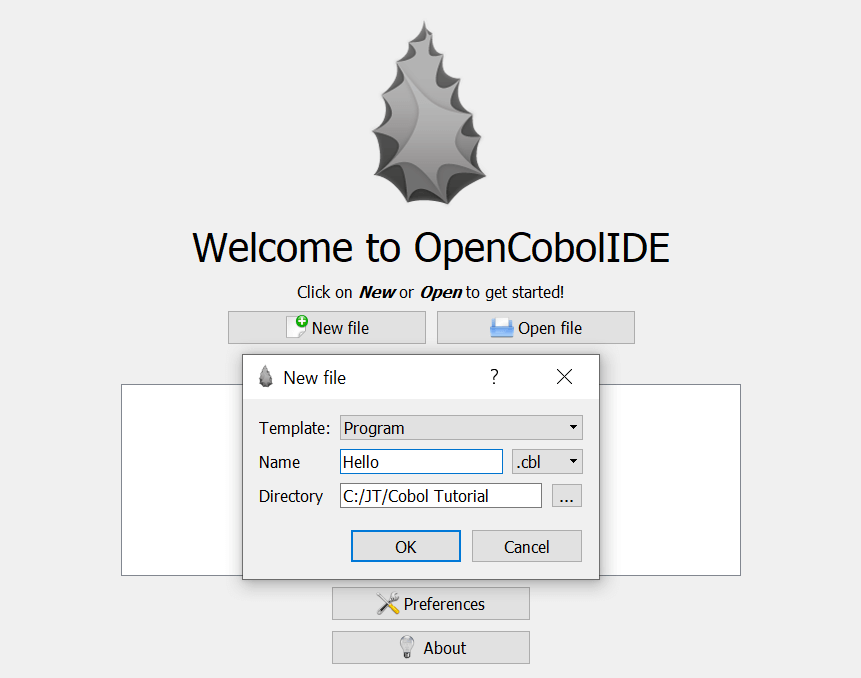
Now download and install it. Creating your First ProgramTo create new files in your OpenCobolIDE, follow the following steps:
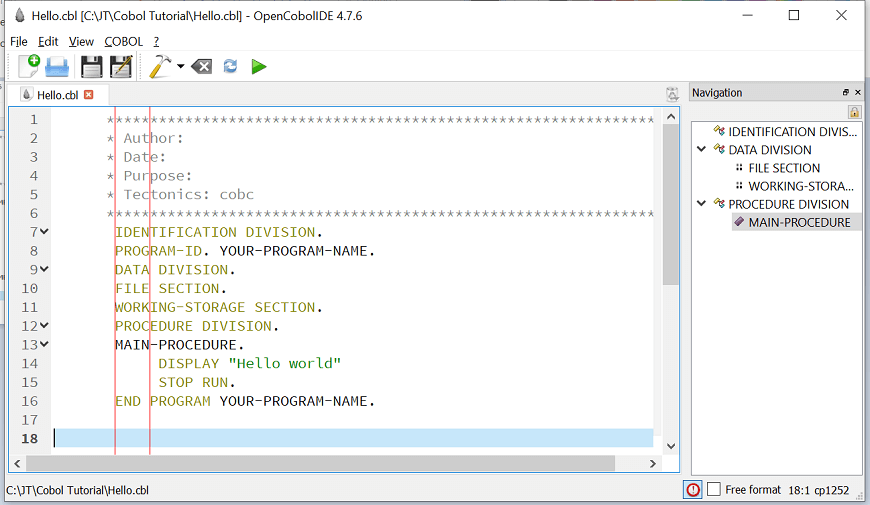
To compile this program, click on the hammer icon button. 
When your program is successfully compiled, it will display the following result: 
And after a successful compilation, select the green play button. 
When you execute the program, the following output will generate: 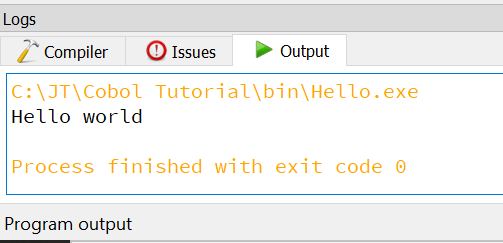
Next TopicCOBOL Program Structure
|
 For Videos Join Our Youtube Channel: Join Now
Feedback
- Send your Feedback to [email protected]
Help Others, Please Share


