Kivy Tutorial
Kivy tutorial provides basic and advances concepts of Kivy. Our Kivy tutorial is designed for beginners as well as working professionals. Kivy is a multi-platform application development framework for Python. It allows us to develop multi-platform applications on various platforms such as Windows, Linux, Android, macOS, iOS, and Raspberry Pi. In our Kivy tutorial, we will discuss the following topics -
What is Kivy?
Features of KivyThere are the following cool features of Kivy - 1. VideoKivy includes various modules to play video files and streams. Kivy Video player also supports some common requirements related to videos such as play, pause, stop buttons, text that can be used as a subtitle, display messages to the user on videos, and more. Example: pygame video provider supports MPEG1 on Linux. 2. Multi-touch and gesturesKivy uses a wide range of widgets that support multi-touch and gestures. Kivy developers provide a gesture library to record the user's gesture. There are the following three gestures that we can record -
3. UI featuresKivy comes with a number of widgets and controls to make our mobile interface more attractive and beautiful. It is also used to improve one-handed usability, navigate gestures, create new icons or design elements, dark mode, and new animations. 4. Visual effects and OpenGLKivy uses PyGame for easily creating new games. PyGame comes with various modules to drawing shapes, dealing with colors, and playing music. 5. FlexibleKivy is more flexible because it can run on a variety of devices, including Linux, mobile phones, windows, tablets, iOS, and Raspberry Pi. Kivy is flexible so it can adapt to new technologies quickly. 6. FreeKivy framework is completely free to use. To work with Kivy, you must have 1 GHz 32 bit (x86), or 64 bit (x64) CPU, 1 GB of RAM, 128 MB of graphical memory, and Python installed on your system. Advantages and Disadvantages of KivyAdvantagesA list of advantages of Kivy is given below -
Disadvantages
Kivy ArchitectureThe below screenshot shows the Kivy Architecture - 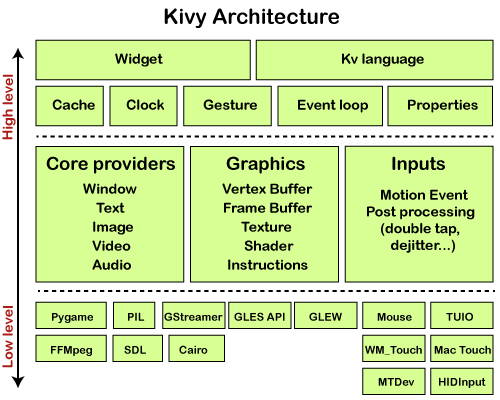
Kivy Architecture contains the following components - 1. Core Providers and Input ProvidersKivy Providers mainly abstract the various core tasks includes opening a window, displaying images and text, playing audio, spelling correction, fetching images from a camera, and so on. An input provider is a piece of code that helps us to add support for a specific input device such as TUIO, mouse emulator, or Apple's trackpads. We can also add support for new input devices by providing a new class that reads our input data from our device and transform them into Kivy events. 2. GraphicsKivy Graphics APIs have the ability to automatically optimize the drawing commands. 3. CoreCore provides the following features -
Note: We can also create a new cache in the Kivy with the limit of 10 objects and a timeout of 5 seconds.
4. UIXThe UIX module commonly contains Widgets and Layouts to quickly create a user interface. Widgets Widgets are the user interface components that we add to our program to provide some kind of functionality. Example: file browser, buttons, lists, sliders, and more. Layouts Layouts are used to arrange widgets. 5. ModulesModules are the classes that can be loaded on the Kivy when we start the Kivy application. The config file is used to manage the loading of modules. Note: In Kivy, we can also write our own modules.6. Input EventsKivy Input events are an essential part of the kivy Architecture. Kivy abstract contains different input events such as touches, mice, TUIO, Mouse, MTDev, and HIDInput. We can also add 2D onscreen-position with any individual input event. All input types are characterized by an instance of the touch () class. A touch () class instance can be one of the following three states.
7. Widgets and Input DispatchingThe term Widgets are most frequently used in GUI programming to describe that part of the program which interacts with a user. In kivy, widgets are works as an object that receives input events. All widgets are arranged in the form of a widget tree. One widget may contain any number of child or none child. Whenever new data is available, Kivy sends one per touch. Every event is first received by the root widget of the widget tree. Kivy Installation on WindowsTo install the kivy on Windows, first, we need to install Python and Anaconda on our system. Follow the below steps to install Python - Step 1: Copy-paste the below link on any browser or you just simply click on the below link - https://www.python.org/ Step 2: The following page appears on the screen, in which click on the Downloads and select Windows from the drop-down menu. 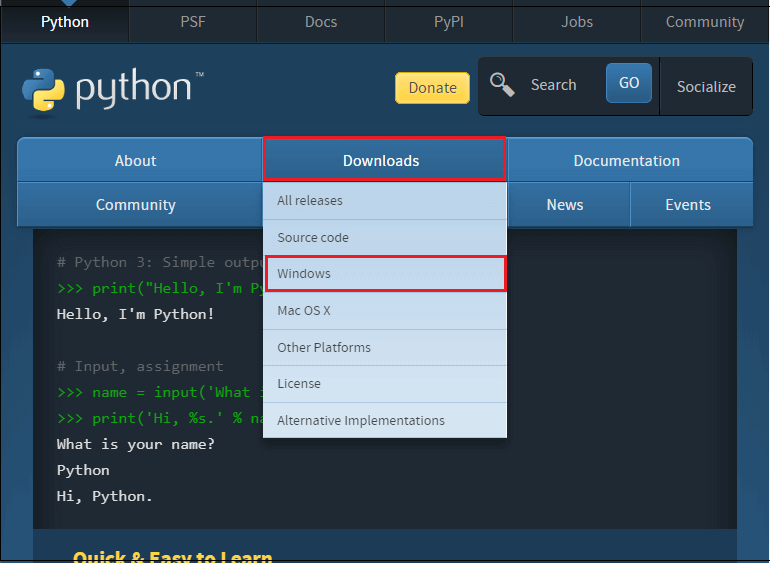
Step 3: Select the Python Releases version for windows. 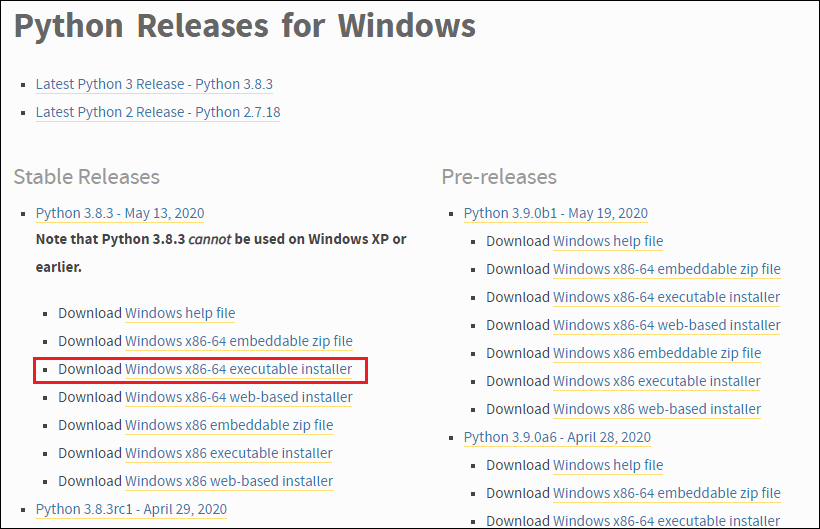
Step 4: Double click on the downloaded file, the below window appears on the screen in which click on Install Now. 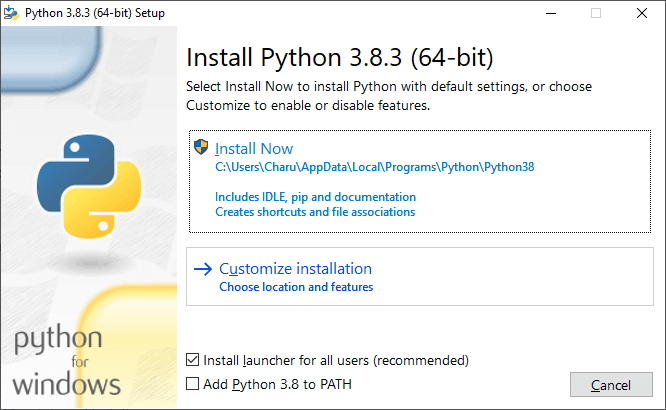
Step 5: The below screenshot shows that Python installation is in progress. 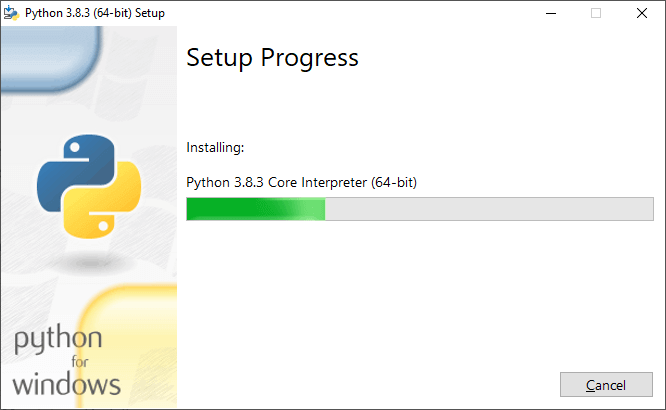
Step 6: The below screenshot shows that the setup is installed successfully. You just simply click on the Close button. 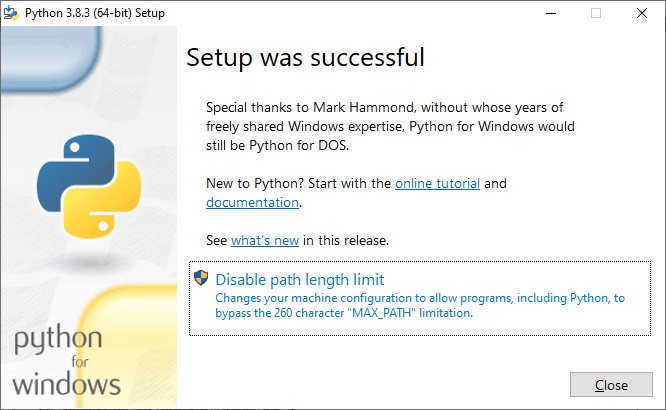
Now, follow the below steps to download the Anaconda - Step 1: Click on the below link to install Anaconda https://www.anaconda.com/products/individual Step 2: The following page appears on the screen. Scroll down the window and click on 64-bit Graphical Installer (446 MB) at the bottom of the screen. 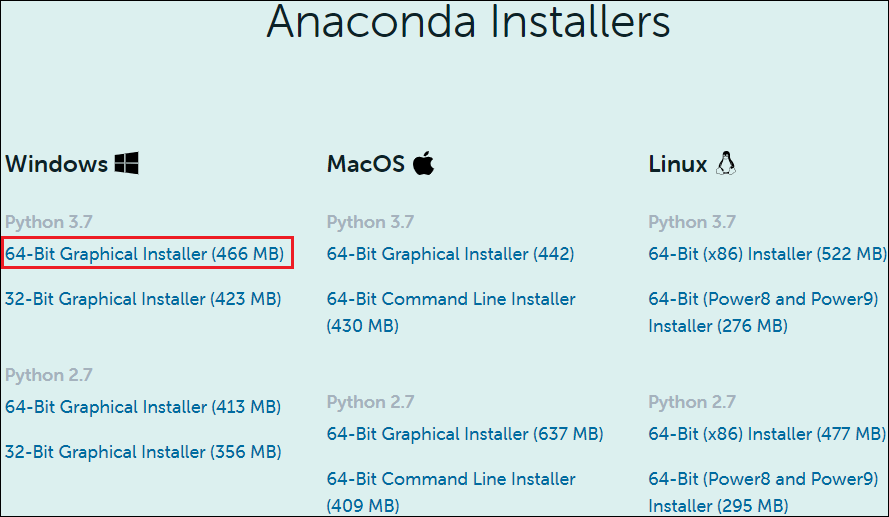
Step 3: You can see that Anaconda Graphical Installer is to started download. Once the file is downloaded, double click on that executable file. The following window appears on the screen in which click on the Next. 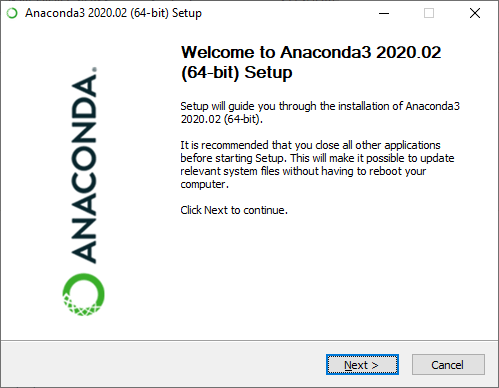
Step 4: A License Agreement window appears on the screen, in which click on the I Agree. 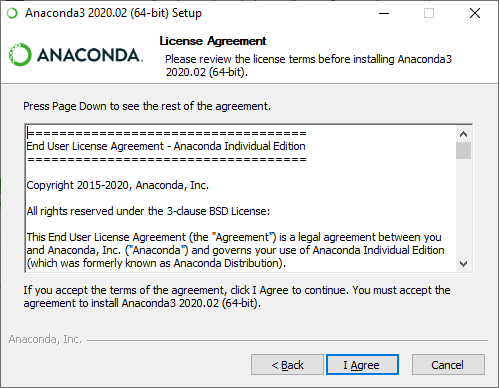
Step 5: In Installer type, select Install for Just Me (recommended). 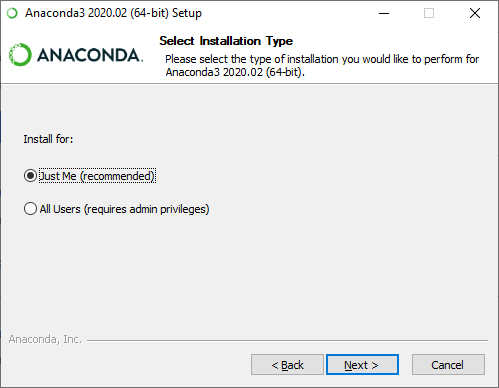
Step 6: Browse the location where you want to install Anaconda and click on the Next. 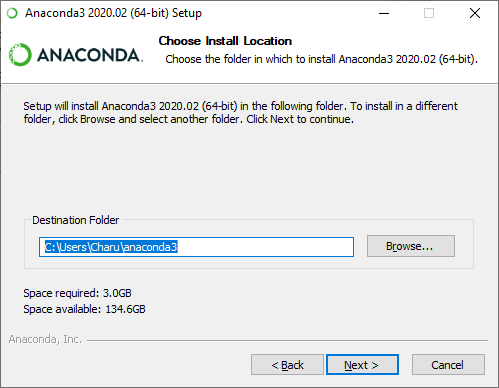
Step 7: An Advanced Installation Options window appears on the screen, tick on Register Anaconda3 as my default Python 3.7. And click on the Install. 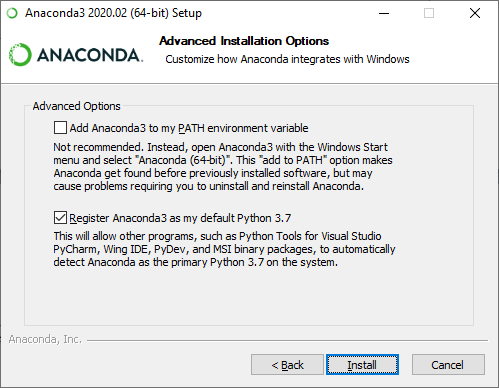
Step 8: The below screenshot shows that Anaconda Installation is in progress. 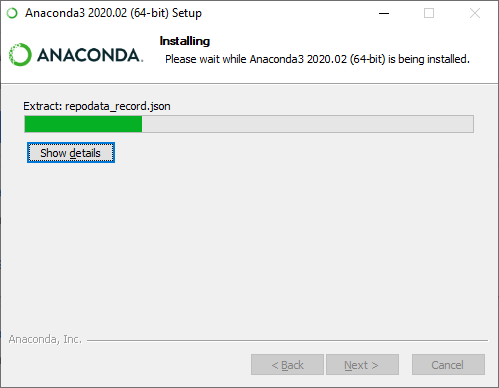
Step 9: Once the Installation process is completed, click on the Next button. 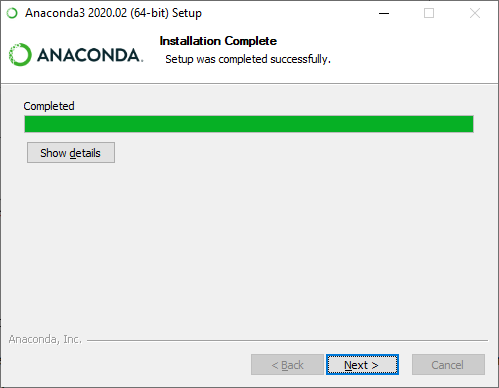
Step 10: The following window appears on the screen in which click on the Next. 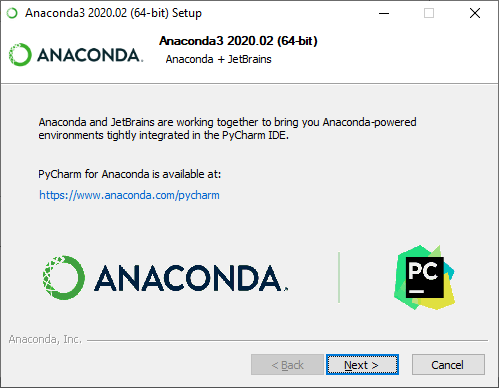
Step 11: A completing Anaconda set up window appears on the screen, simply click on the Finish on that window. Install KivyOnce you installed the Anaconda, now we are able to install kivy. There are the following steps to install kivy - Step 1: Go to the Anaconda Prompt. Step 2: Before installing kivy, first update the pip by using the following command. Step 3: Install the Dependencies There are the following 3 dependencies that we need to install while installing the Kivy. Step 4: Install Kivy Use the following command to install Kivy. Create a Hello World program in KivyThere are the following steps to create a Hello World program in Kivy - Step 1: Open any text editor (Notepad or Notepad++) Step 2: Write the following code on the Editor. Step 3: Save the file with .py extension for example Javatpoint.py Step 4: Open the Anaconda Prompt and provide the valid path where your kivy program is saved. Step 5: To run program, use the flowing command and press Enter. When you run the command following output appears on the screen. 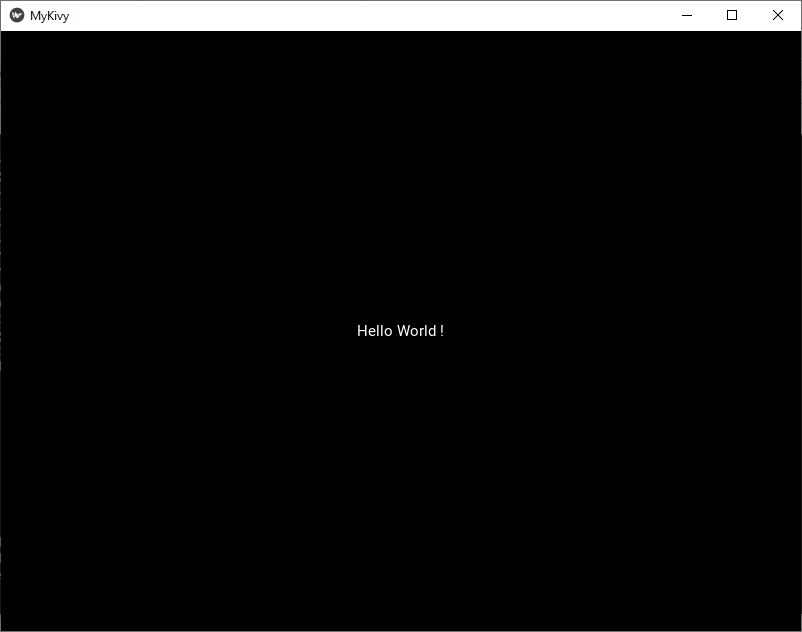
Add image widget in KivyKivy image widget uses kivy.uix.image module to display image. There are the following two ways to add images in Kivy. From SystemFrom system, image widget is used to load images from the system. The below code is used to add an image widget in Kivy. When we run code, the following output will appear on the screen. 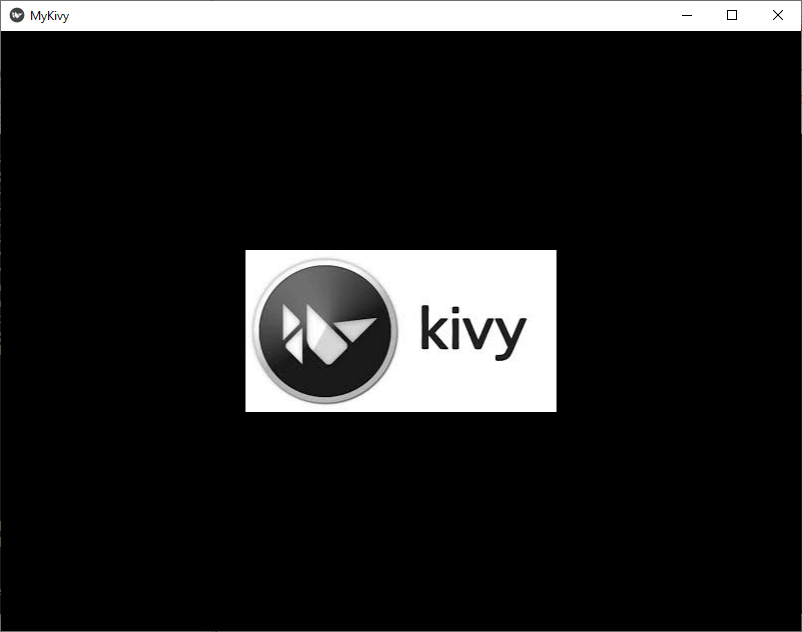
Asynchronous LoadingThe asynchronous loading e image widget is used to load images from the external web server. We can use the following code to add an image from the external web server. The below screenshot shows that an image is added from the external web server. 
Kivy ButtonsButtons are an essential part of every application. It performs some specific tasks when we click on the button. The main advantage of a button is that it allows users to interact with the software and application directly. To create a button in Kivy, we need to import Button form kivy.uix.button. Output: 
Create a stylish buttonIn Kivy, we can also design a stylish button using various different background colors, size_hint, and pos. The below screenshot shows the output of a stylish button. 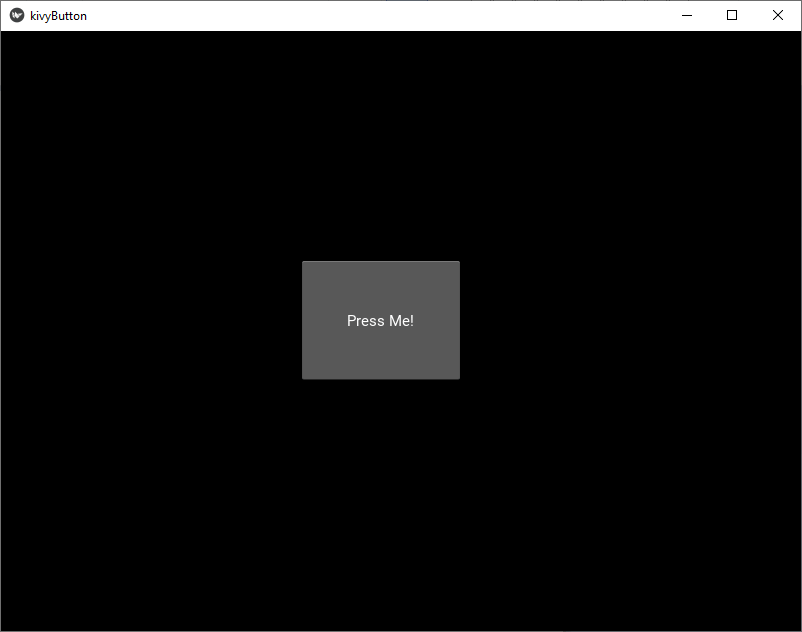
Add an image in the buttonKivy allows us to add an image in the button to make the button more effective and attractive. To add an image in the button, we need to import the following module: Code: Output: 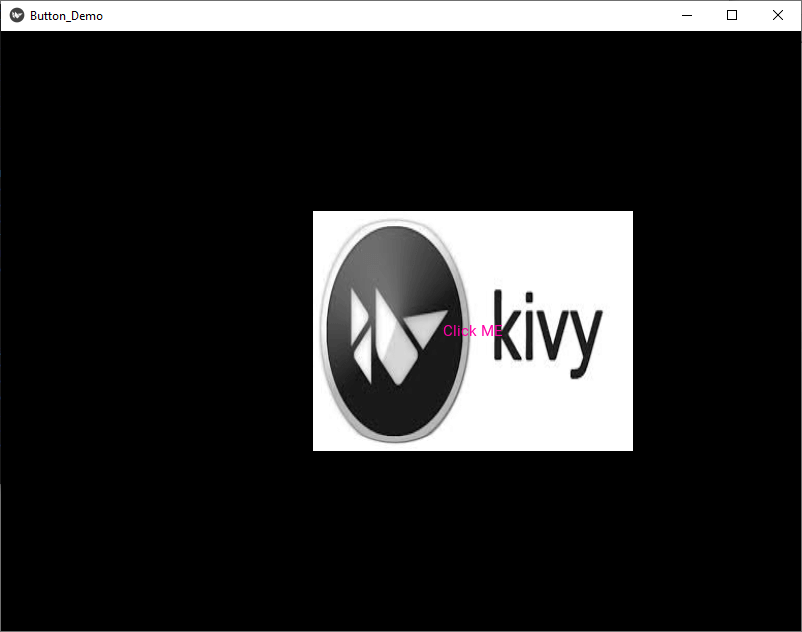
Kivy WidgetsKivy Widgets are used to develop GUI interfaces in kivy. Kivy widgets allow us to create Labels, Canvas, drop-down menu, and more. 1. Label WidgetsLabel widget is used for rendering the text. To make labels more attractive, we can add font size, color, and text color in the label. To create label, we need to import from kivy.uix.label import Label module. Code: Output: The below screenshot shows the output of the label. 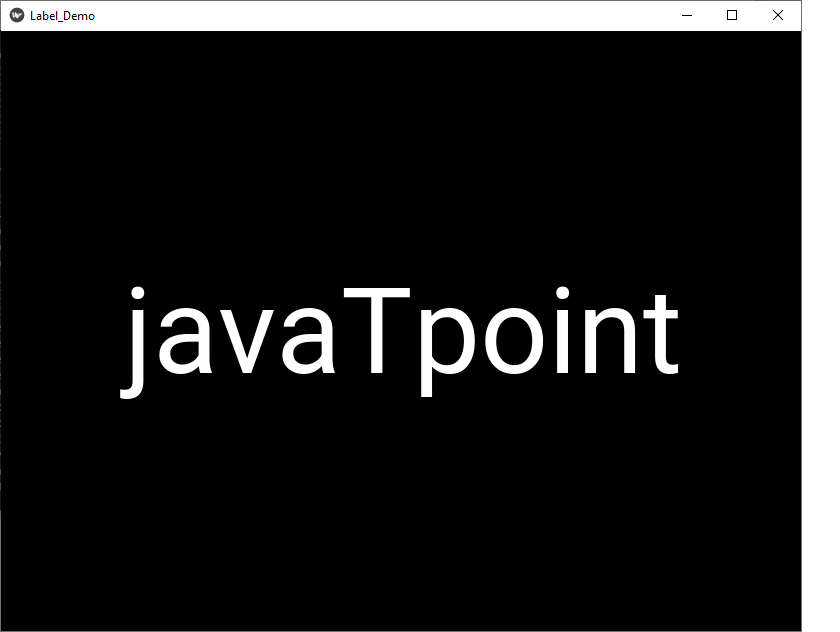
3. CheckboxCheckbox is also referred to as a selection box, tick box, and checkmark. It is used in the forms to make forms options easier to read and answer. Code: The below screenshot shows the output of checkbox: 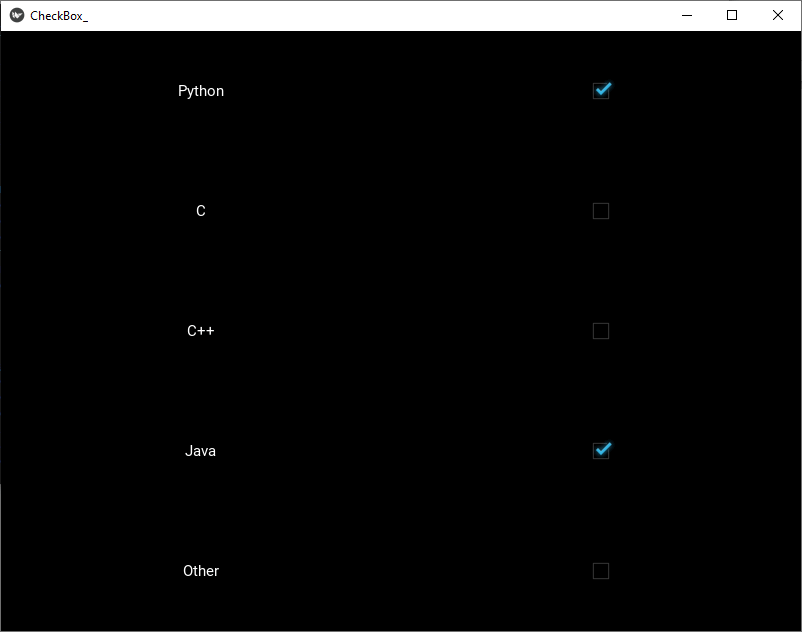
SliderSlider is used to handle a specific numeric value within a range (minimum to maximum values). Mostly, Sliders are used in mobile phones to increase and decrease the volume as well as the brightness of the mobile phone. To create the slider, first, we have to import from kivy.uix.slider import Slider Module. In Kivy, we use the below code to create the Range Slider: Code: The below screenshot shows the output of the slider. 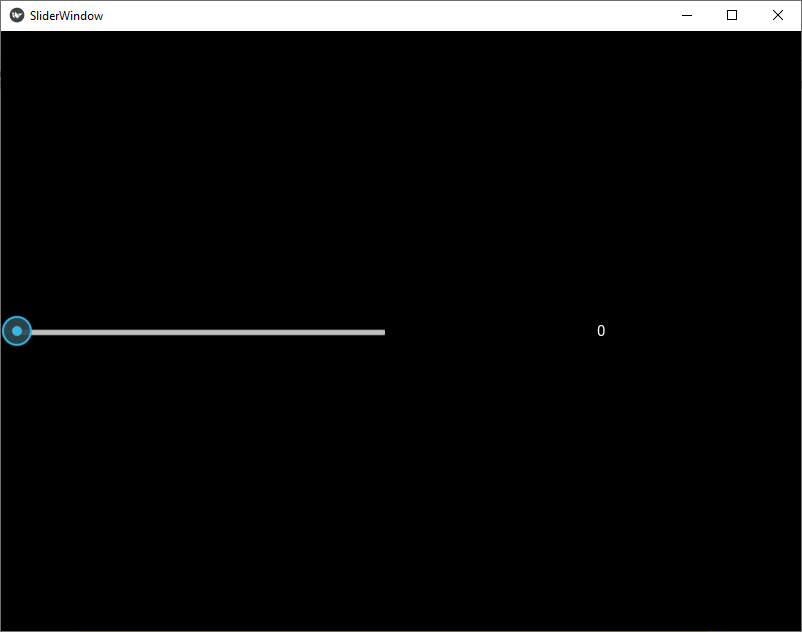
Note: Kivy also supports normalized slider, which contains minimum value 0 and maximum value 1.Switch WidgetSwitch widget contains only two states (On or OFF). To create a Switch widget, we need to import from kivy.uix.switch import Switch module. Code: Output: The below screenshot shows the output of the Switch Widget. 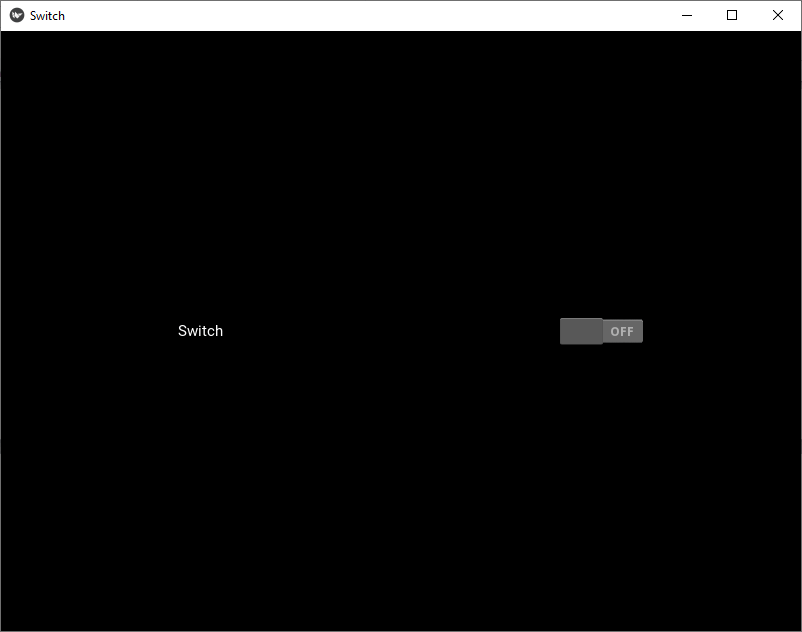
Progress BarProgress Bar in one of the most important graphical control element, which is used to analyze the progress of operation such as downloading progress, file transfer progress, loading app, saving updates, and installation progress. To create a progress bar, fist import the below module: from kivy.uix.progressbar import ProgressBar Output: 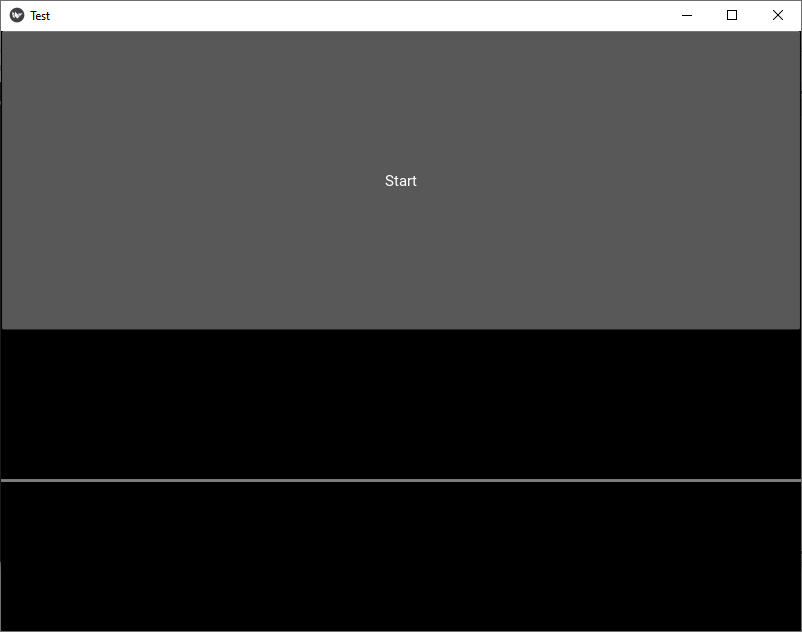
When we click on the Start, the below progress bar appears on the screen. 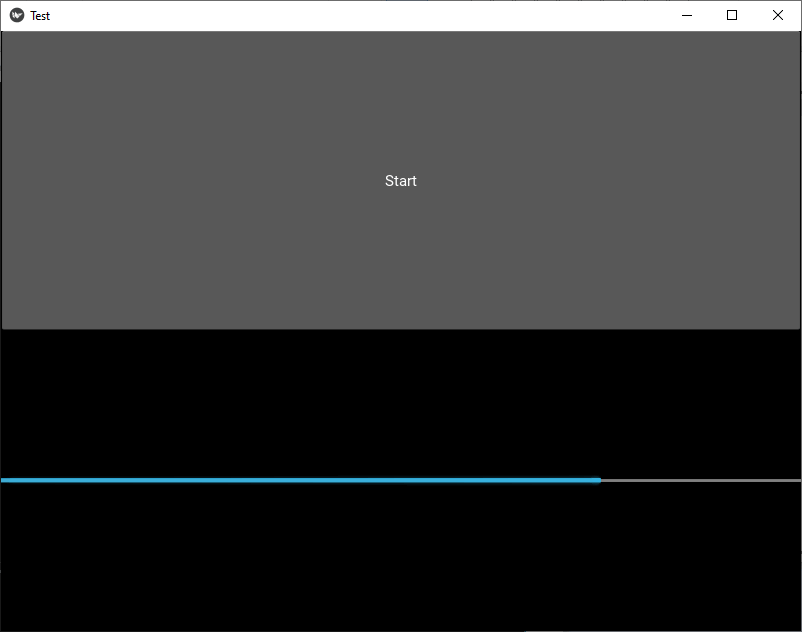
Kivy LayoutsLayout is the most important term in graphics design. It is used to arrange elements for a better look. There are the following different types of layout that we generally use in the Kivy. 1. GridLayoutGridLayout is designed to arrange the components in the form of a rectangular grid. In GridLayout, every rectangular grid is exactly the same in size. To create Grid layout in Kivy, first, we need to import the following GridLayout module - Implement Grid Layout: The below screenshot shows the output of the Grid Layout. 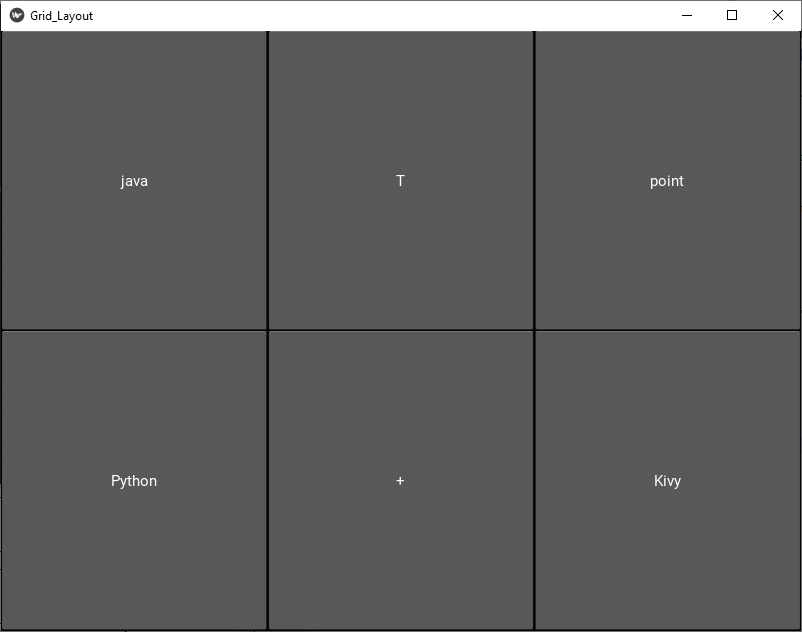
2. BoxLayoutBoxLayout is used to arrange the component based on the axis's [along X-axis (horizontally) and along Y-axis (Vertically)]. To import BoxLayout, we need to import BoxLayout using below module: Implement Box Layout: The below screenshot shows the output of the Box Layout: 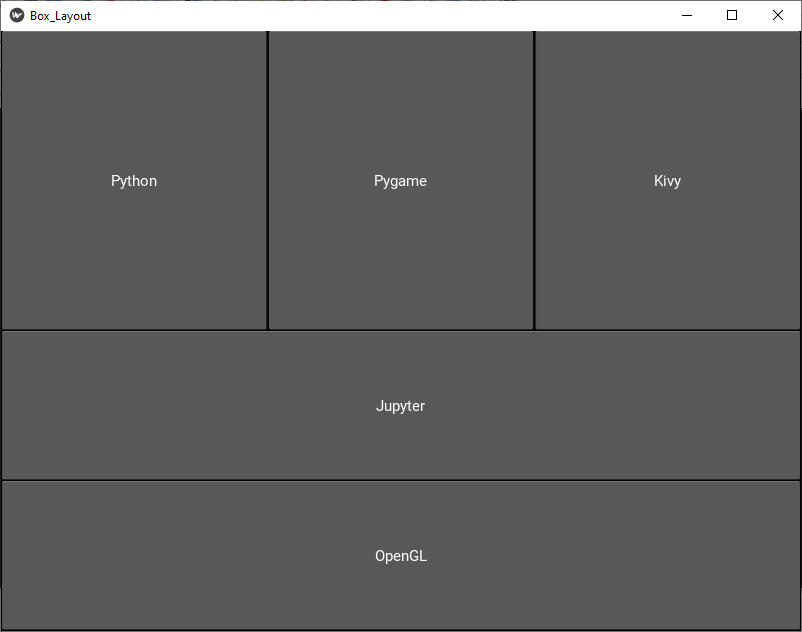
3. FloatLayoutFloatLayout is used to place element according to the size of the current window (in terms of height and width of window). FloatLayout contains pos_hint and size_hint, which are the properties of its children. Note 1: FloatLayout is mostly used in the Mobile Applications.Note 2: By default, size_hint is (1,1) for all widgets.To create FloatLayout, we need to import the below module: Implement FloatLayout: The below screenshot shows the output of the FloatLayout: 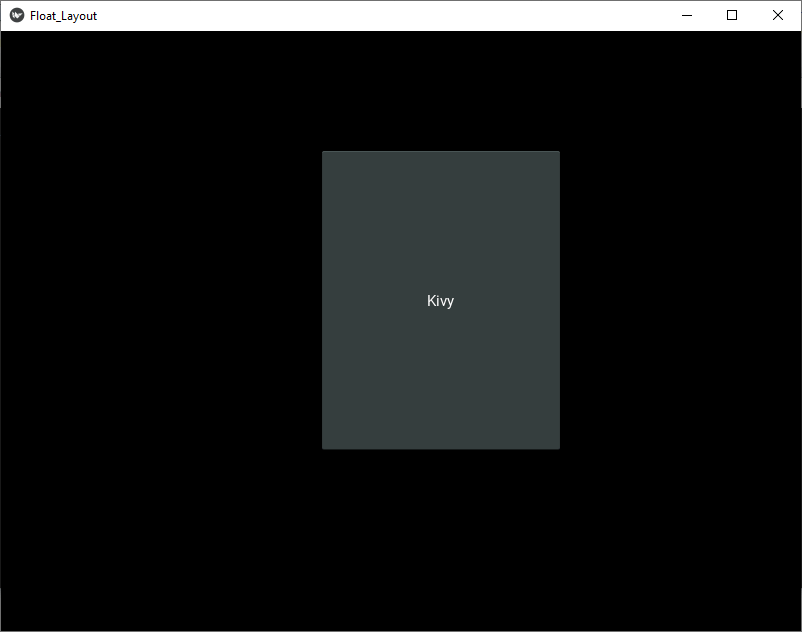
4. AnchorLayoutAnchorLayout is used to align the border top, bottom, left, right, or center. AnchorLayout is initialized using the below parameters:
We can implement Anchor Layout using the following module: The below code is used to create AnchorLayout. Output: 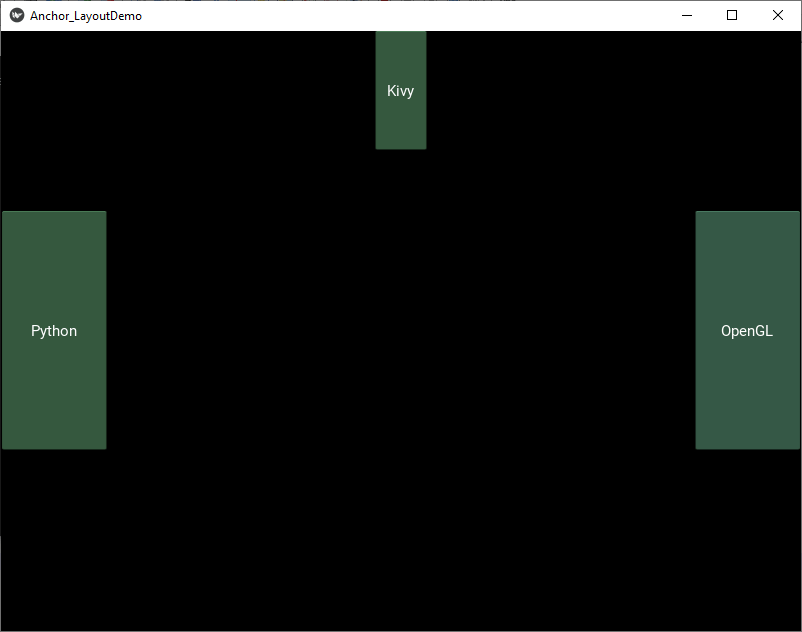
5. StackLayoutStackLayout helps us to arrange buttons vertically and horizontally. In StackLayout, it is not compulsory that the sizes of all buttons are the same, so we can arrange buttons according to our requirement. To create StackLayout, we need to import the below module: Code: The output of the StackLayout is shown below: 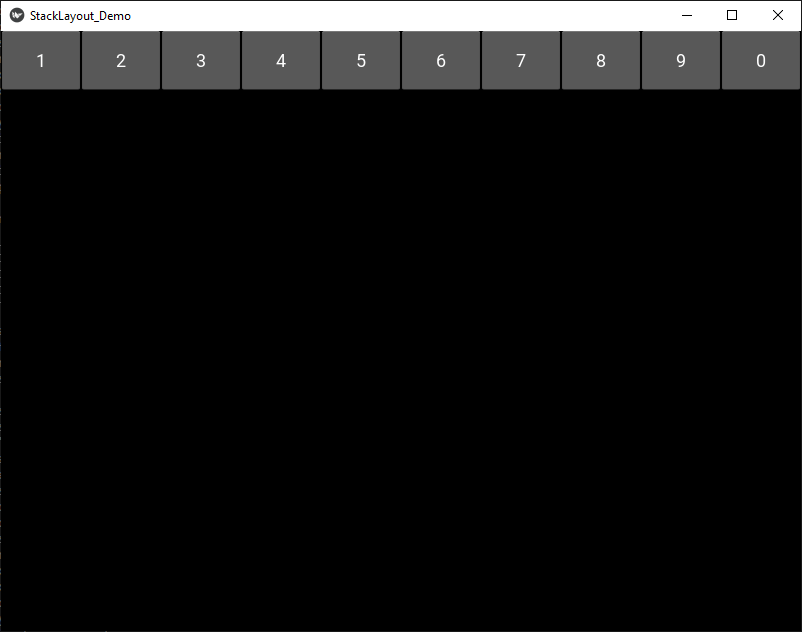
Create a Popup Window in KivyPopup window is a type of window that suddenly pops up on the screen. Generally, a popup window appears to users when they visit a page or closes a window. In Kivy, we create a popup window using the below code: Output: The below screenshot shows the output of popup window - 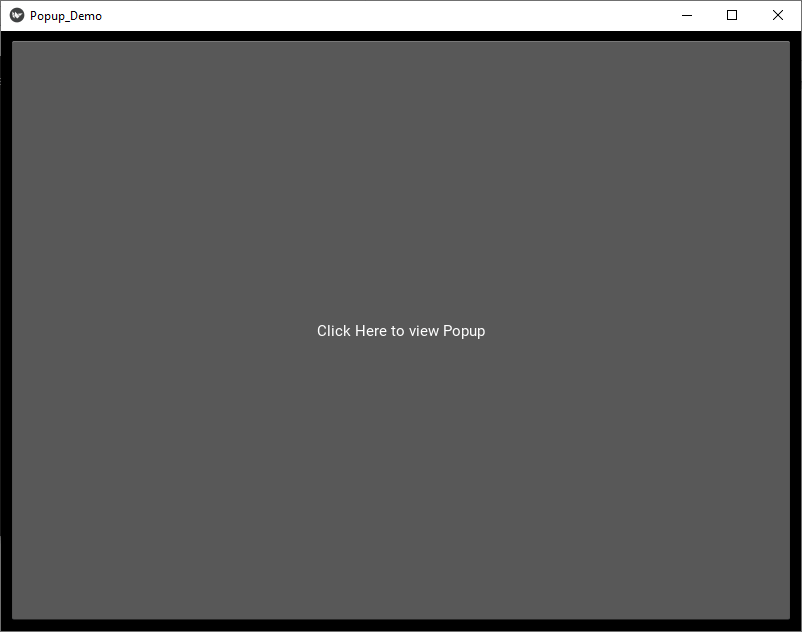
When we click on the popup window, the following screen appears on the screen. 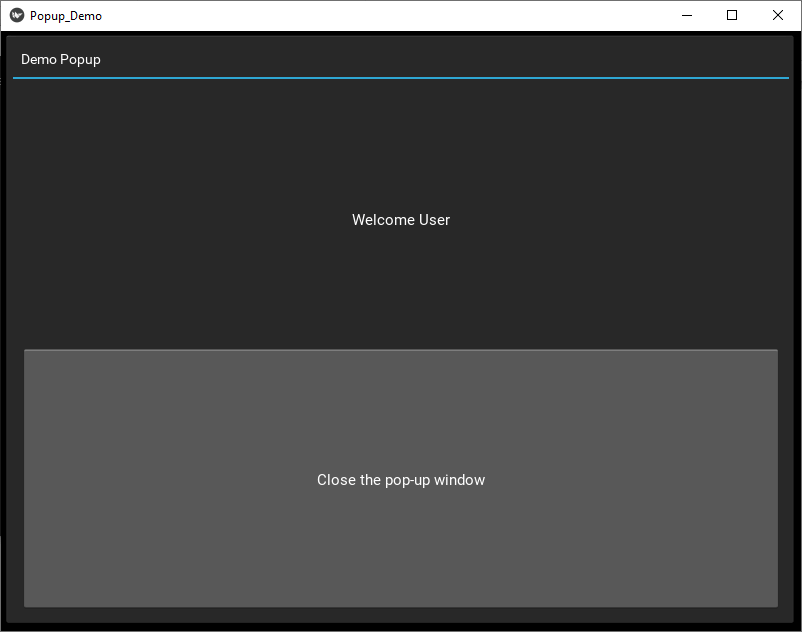
Create a Sign in Window in KivyNow, we are going to create a simple sign in page using Kivy. To create a sign in page in kivy, we need to create the following two files -
Note: Here, we are using .kv file to create Sign in window..py file .kv file When we run the code, the following window appears on the screen. 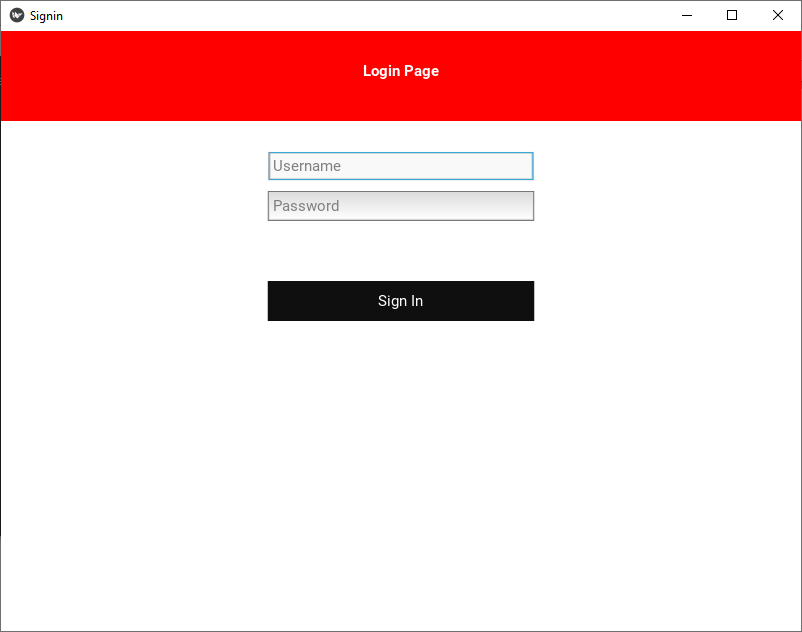
Case1: If the username and the password are empty, then the following screen appears on the screen. 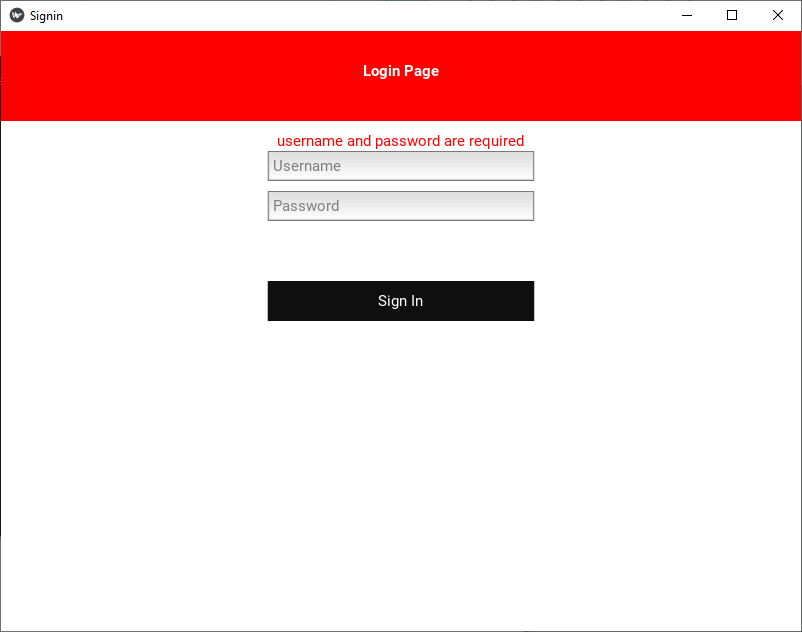
Case 2: If we enter an invalid username and password, the following screen appears on the screen. 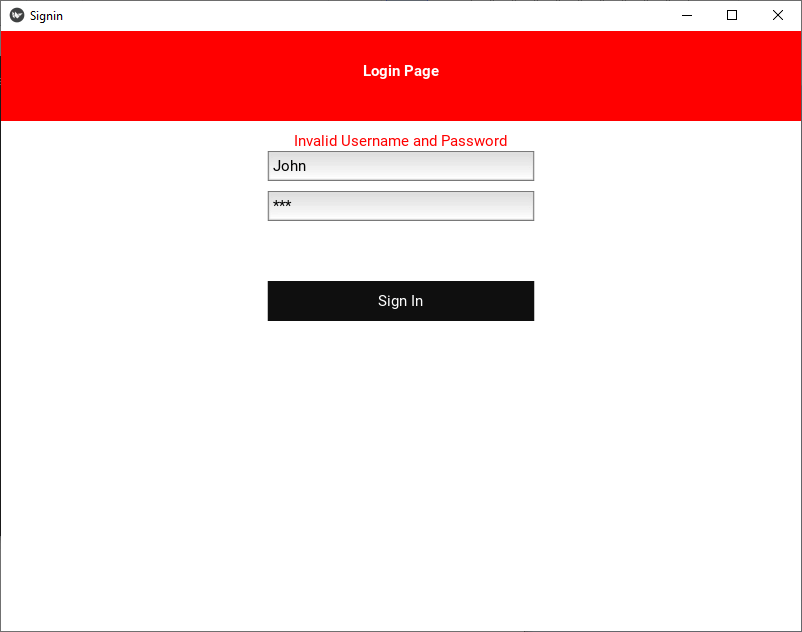
Case 3: If we enter username admin and password is admin then the following screen appears on the screen 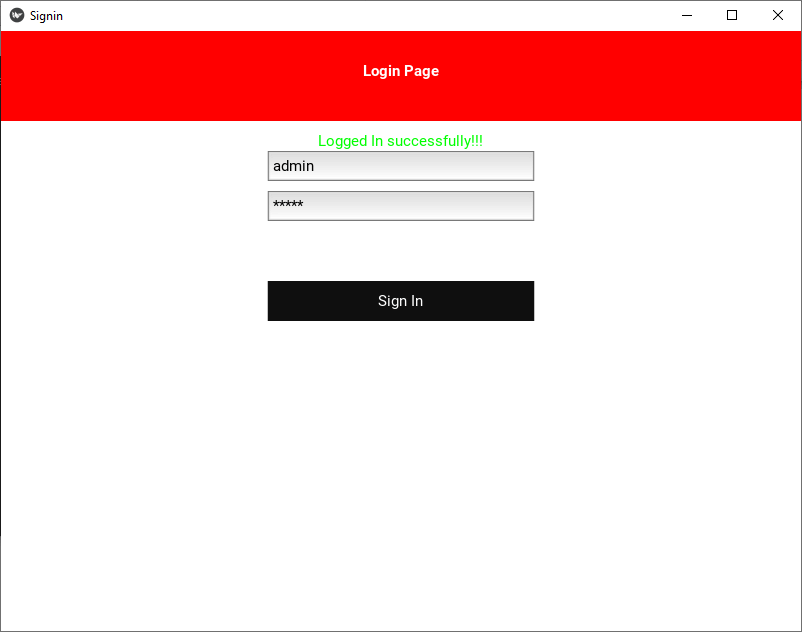
PrerequisiteBefore learning Kivy, you must have the fundamental knowledge of Python so that you can understand the Kivy concepts easily. AudienceOur Kivy tutorial is designed for beginners and working professionals. ProblemWe assure you that you will not find any difficulty while learning our Kivy tutorial. Buts if there any mistake, kindly posts the problem in the contact form.
Next TopicDropdown List in Kivy
|
 For Videos Join Our Youtube Channel: Join Now
Feedback
- Send your Feedback to [email protected]
Help Others, Please Share


