| |

XnView
XnView is a free image viewer & manager tool. It is useful for viewing, organizing, editing, converting images. It also provides a general file manager for managing images. It provides screen capture, batch renaming, and hex inspection tools. It is available for Windows PC & Mobile and was previously available for Unix-based operating systems as well. It's extended version XnViewMP is available for Windows, macOS and Linux systems. It supports all the popular image formats such as JPEG, PNG, PSD, GIF, TIFF, camera RAW, etc. Besides opening an image, it also allows basic image manipulation operations such as color adjusting, image resizing, cropping, and more. The XnViewMP provides some other advanced features such as batch renaming, batch converting, dupli finder, etc. Further, we can create contact sheets and slideshows using XnViewMP. XnView has the following products:
In this section, we will explain how to download & install XnView. Further, we will see how to use XnView. Platform Support: The XnViewMP is available for all the major platforms. It supports Windows, macOS, Linux for both 32 bit & 64 bit systems. Features of XnViewSome useful features of XnView are as following:
How to Download & Install XnViewLet's understand how to set up XnViewMP in the easiest possible way. The MP in XnView stands for multiplatform. To download the XnViewMp, visit https://www.xnview.com/en/xnviewmp/#downloads. It will open the download page of XnViewMP: 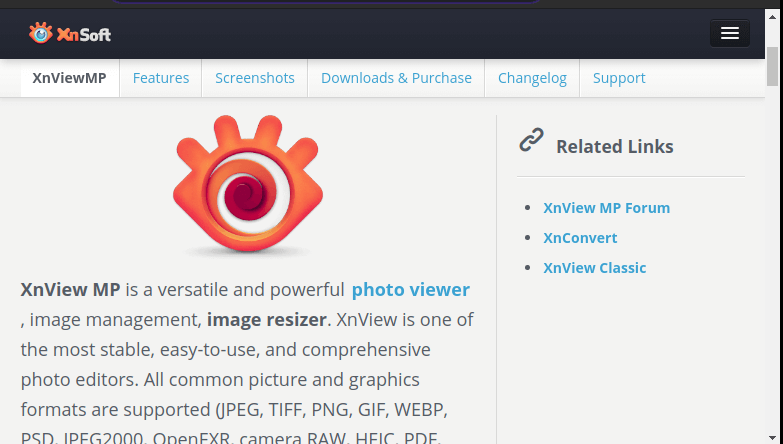
Scroll down this page and navigate to download links. 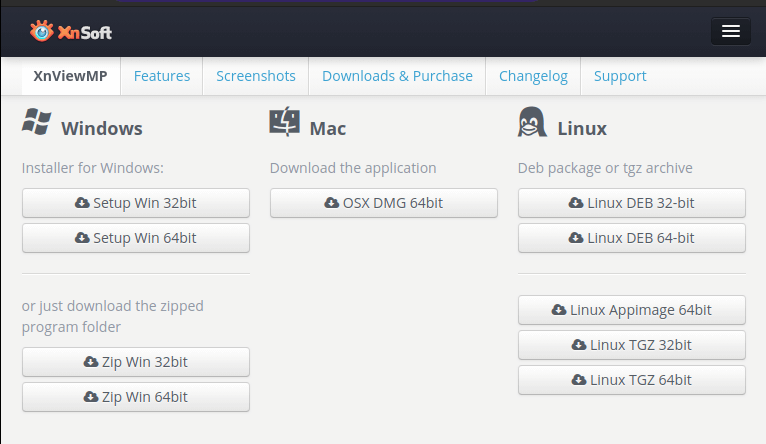
Select the download package as per your system configuration. It will start downloading the installer file. Now, run the installer file and follow some basic prompts. It will install the XnView on your system. We can also install it from the terminal on our Linux system. For the Linux operating system, we can execute the following commands to download & install it: For 32 Bit system: For 64 Bit system: The above commands will install the XnViewMp on your Linux system. When we open it for the first time; it will show the startup wizard: 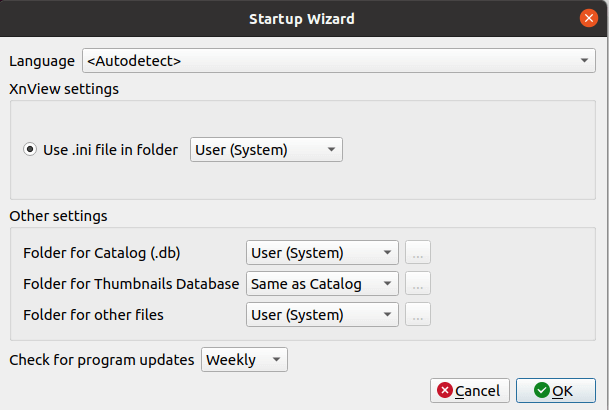
Click OK to use it. How to Use XnViewThe XnView tool comes with a straightforward interface. We can easily use it like other image viewing tools. It is a combination of image viewer and editing tools, so some more interfaces are added to it. It has several modes such as Browse Mode, Image View Mode, Editing Mode. It provides context menus & hotkeys. Browse Mode By default, XnView Opens in Browse Mode. It contains a menu bar & some toolbars. It offers several tools for managing photos. The window of the screen contains three panels:
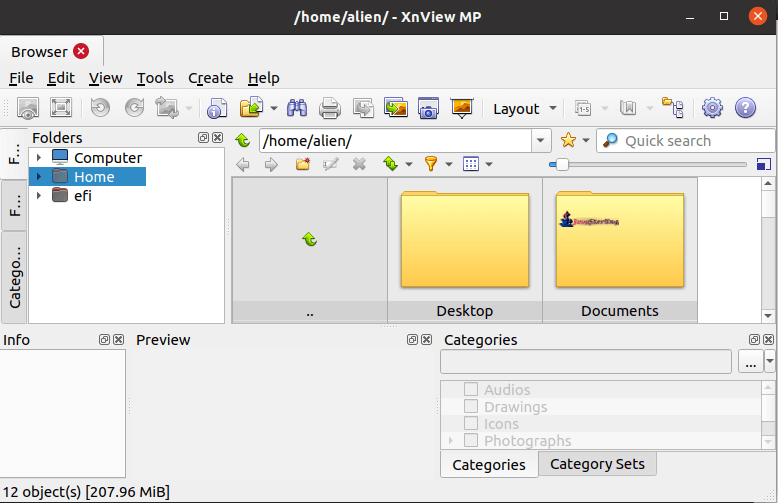
Image View Mode The View Mode is activated after clicking on an image's thumbnail. It opens the image in a new tab. 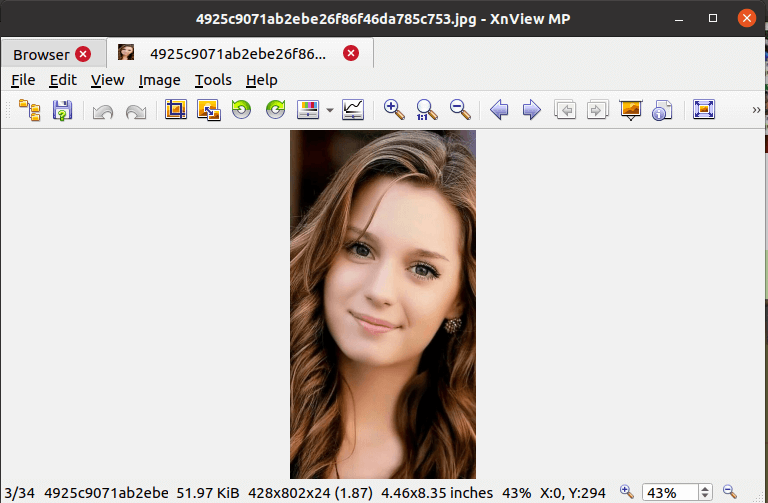
We can open multiple images; each image will be opened in a new tab. We can navigate or close the image by changing the tab or clicking on the cross icon, respectively, like a web browser. These images may or may not be from the same folder. We can open the image from different folders by selecting it from the file explorer. The View mode has a menu bar, several selection tools & options from the browse mode. We can perform basic editing such as crop, rotate, resize, adjust, zoom, etc., using the available tools from the menu options. Photo Editing Tools XnView provides several editing tools such as resize, crop, rotate, adjust, zoom, colorize, red-eye adjustment, etc. in View mode. It also provides tools for inserting & drawing text and images. To perform an action, open an image and click on the specific tool. For example, to crop the image, click on the crop tool and drag the area you want to crop by mouse. 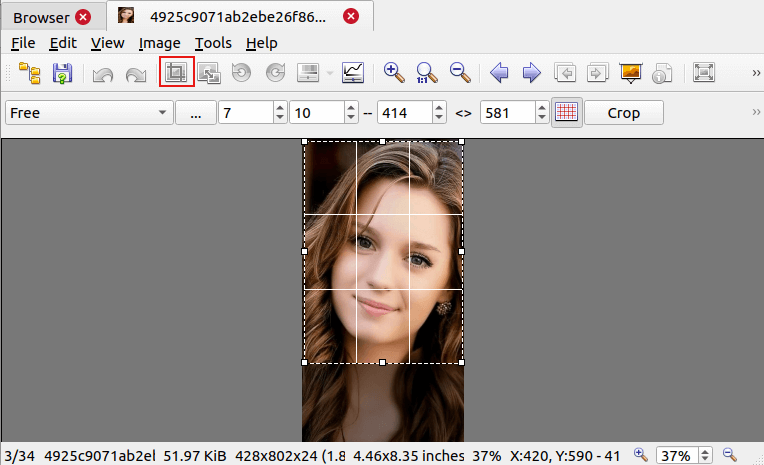
It will select the specified area; now, click on the crop option given at the top of the image menu. It will crop the specified image. Similarly, we can perform other editing operations such as rotate, resize, etc. It is a straight forward image editor. We can find all features by navigating to its menu. Its menu contains the following options:
The file menu contains the file options such as open, open with, open recent, save, save as, copy, move, etc. We can open or save the files by using the relative option. The Edit menu contains editing tools such as crop, background color, copy, paste, etc. The View menu contains zoom, lock, grid, and other view options. The Image menu contains rotate, color adjustment, mirror, swap, filters, and other image options. The Tools menu contains capture, batch convert, set as wallpaper, settings, and other tools. The Help menu contains help options such as website link, check for update, etc. We can choose the required options & tools from its menus or a quick access menu bar given at the top of the image. Screen CaptureIts screen capturing features is excellent features. It allows us to capture the part of the screen or entire screen in XnView and other applications. It keeps running the XnView in the background and record the screen. It is useful for taking screenshots. To capture the screen, navigate to Tools-> Capture menu. It will ask for capturing properties such as mode and delay time. 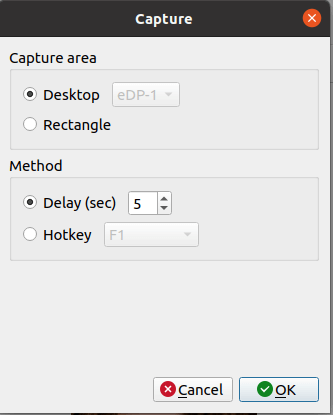
Select the properties and click OK to capture a snap. The default shortcut key for capturing the screen is F1, but you can set it accordingly. SlideshowThe XnViewMP offers slideshow functionality. We can play a slideshow by just clicking on a single option on the browse mode. It will run all the images in the view mode from the selected folders sequentially. To start a slide show, click on the below icon in the browse mode. 
It will start showing all the images in full-screen mode. To set the speed of the slideshow, navigate to Settings > View menu. XnView AlternativesXnView is a lightweight and easy tool for image viewing and editing. But, if you don't like XnView, there are many alternatives available in the market. All of these alternatives are quite similar to XnView. Following are some popular and useful alternative:
All of the given tools can be used for basic editing and image viewing tasks. But, the XnView is capable enough to fulfill our basic needs. Conclusion: The XnView is a free image view and manipulation tool used to view and edit images. For the basic needs, it is good to use the XnView, but if you want to perform advanced editing tasks or graphical tasks, use any full packaged image editor such as Photoshop, GIMP, Inkscape, etc. There are plenty of editing tools in the market.
Next TopicWhat is Bodhi Linux
|
 For Videos Join Our Youtube Channel: Join Now
Feedback
- Send your Feedback to [email protected]
Help Others, Please Share


