| |

RufusRufus stands for Reliable USB Formatting Utility. It is a free and open-source tool used to format and create bootable USB flash drives or Live USBs using ISO files. It is available only for Windows platforms. But, it can be used to install or run Windows, Linux, DOS operating systems. It is lightweight software (Approximately 5 MB). It is useful in the following cases:
It is a lightweight tool having extraordinary features and fast performance. It is faster than its competitor tools such as UNetbootin, Universal; It is also faster than Linux bootable USB from ISOs. In this section, we will see how to download and install Rufus. Further, we will see how to create a bootable USB drive using Rufus. Before diving into the topic, let's understand its system requirements & features: System RequirementsTo install Rufus, we are required a system that has Windows 7 (32 bit or 64bit ) or later. Once it is downloaded and installed, it is ready to use. Features of RufusSome useful features of Rufus are as following:
How to Download & Install RufusRufus provides the easiest way to make a USB drive bootable. No installation is needed to use the Rufus. Just download the Rufus and run the executable file. To download the Rufus, visit https://rufus.ie/, scroll the page and find the download link: 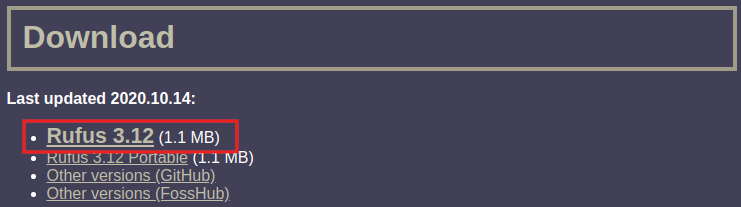
Click on the Rufus download link; it will start downloading the executable file. 
After successful download, run the executable file. It will open the Rufus. We can use it now. The user interface of Rufus will look as follows: 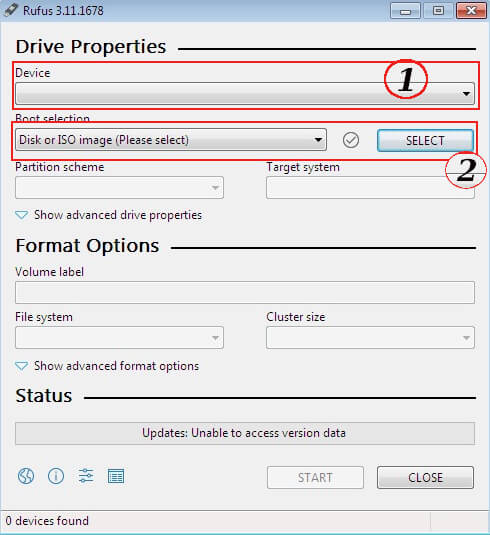
The first field contains the device (external media) that we want to make bootable. It will be automatically detected by the Rufus. The second field contains the ISO file. It will not be detected automatically. We have to browse the folder where we have stored the ISO file by clicking on the Select option. Let's understand how to create a bootable device. How to Create Bootable USB Drive Using RufusCreating a bootable drive using Rufus is a straight forward process. Follow the below steps to create a bootable drive. Step1: Download an ISO file The first step is to download the ISO file. We have to download an iso file to install it on our machine. For Ubuntu, visit https://ubuntu.com/ to download the Ubuntu ISO file. We may copy the ISO file from other resources if we have. Step2: Insert USB Insert a USB drive that we want to make bootable. It should be atleast 8GB of storage. Step3: Run Rufus Now, run Rufus executable file. It will open Rufus. 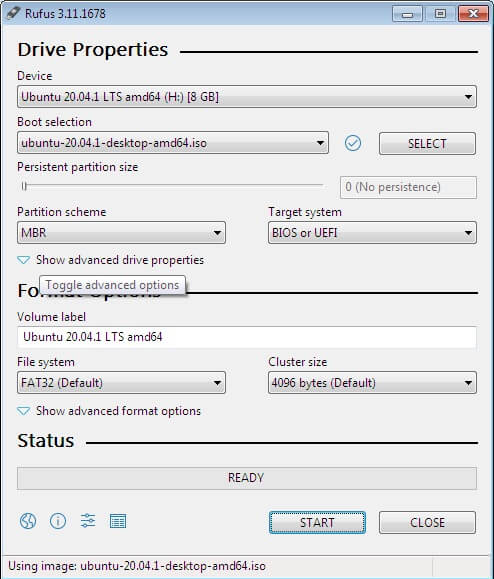
It will automatically detect the device, but we have to select the ISO file from our system. Step3: Select the ISO file To select the file, click Select in the Boot Selection option, and select the file from the file system: 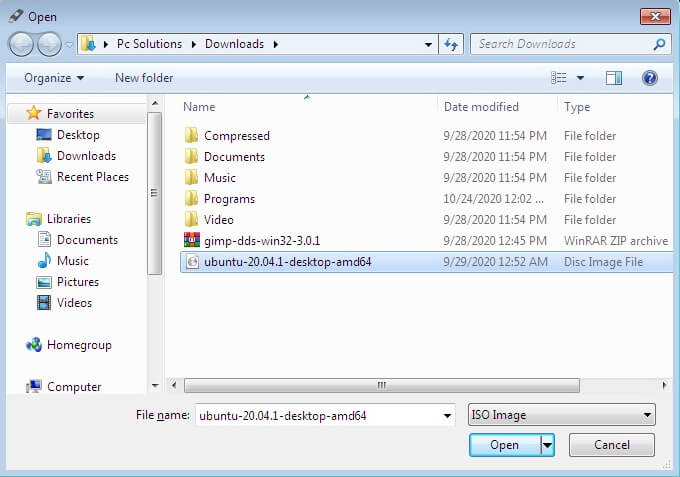
Select the file and click Ok to continue. Step4: Create Bootable we are all set to create a bootable drive. After selecting the device and iso file, it will take some time and display the status Ready. However, many other options are available in Rufus; leave them to the default value. 
Next TopicXnView
|
 For Videos Join Our Youtube Channel: Join Now
Feedback
- Send your Feedback to [email protected]
Help Others, Please Share


