Example to create the Hibernate Application in MyEclipse
Here, we are going to create a simple example of hibernate application using myeclipse IDE. For creating the first hibernate application in MyEclipse IDE, we need to follow following steps:
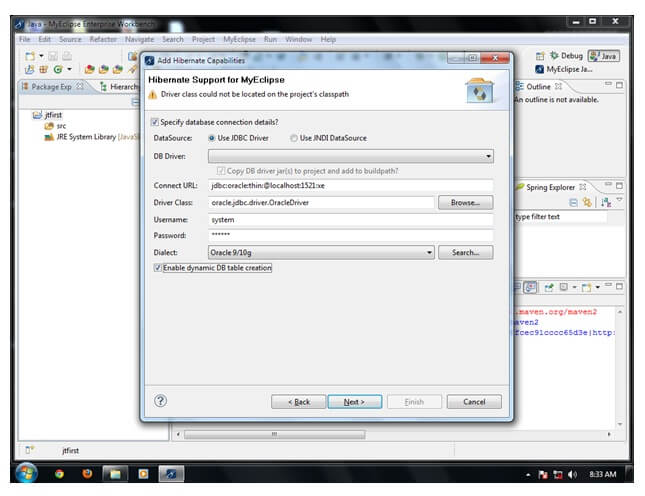
1) Create the java projectCreate the java project by File Menu - New - project - java project . Now specify the project name e.g. firsthb then next - finish . 2) Add hibernate capabilities

Now configuration file will be created automatically. 3) Create the Persistent classHere, we are creating the same persistent class which we have created in the previous topic. To create the persistent class, Right click on src - New - Class - specify the class with package name (e.g. com.javatpoint.mypackage) - finish. Employee.java4) Create the mapping file for Persistent classHere, we are creating the same mapping file as created in the previous topic. To create the mapping file, Right click on src - new - file - specify the file name (e.g. employee.hbm.xml) - ok. It must be outside the package. Copy the dtd for this mapping file from this example after downloading it. employee.hbm.xml5) Add mapping of hbm file in configuration fileopen the hibernate.cgf.xml file, and add an entry of mapping resource like this: Now the configuration file will look like this: hibernate.cfg.xml6) Create the class that retrieves or stores the persistent objectIn this class, we are simply storing the employee object to the database. 7) Add the jar file for oracle (ojdbc14.jar)
8) Run the applicationBefore running the application, determine that directory structure is like this. 
Next TopicHibernate With Annotation
|
 For Videos Join Our Youtube Channel: Join Now
Feedback
- Send your Feedback to [email protected]
Help Others, Please Share


