| |

Installation of Informatica PowerCenterInformatica is a powerful ETL tool for data integration for all kind of market business that can be small or large. Informatica VersionsIn Informatica, the latest version is Informatica 10.1.1, and earlier famous versions of Informatica are 9.6, 9.5, 9.1, 9.0, 8.6, 8.1, 8.0, 7.1, 6.0, and 5.0.
With the new cloud version of PowerCenter, all the above versions have become obsolete. PowerCenter Express ETLPowerCenter Express is an ETL tool that is used to Informatica's market-leading data integration. In small projects, it is used to in-line data profiling in the right size. Informatica InstallationTo download and install the Informatica PowerCenter, click on the given link. https://edelivery.oracle.com/osdc/faces/Home.jspx Let's see how to install the Informatica PowerCenter step by step, such as: Step 1: Click on the above link and download Informatica PowerCenter version 8.6.1. Step 2: Unzip the in stage directory (D:\INFRA). Step 3: After unzipping the files, go to Server\windows\Desktop\Download\VM. Step 4: Double click on install.exe name file, and it will open a dialog box. Step 5: Click on the Run button. 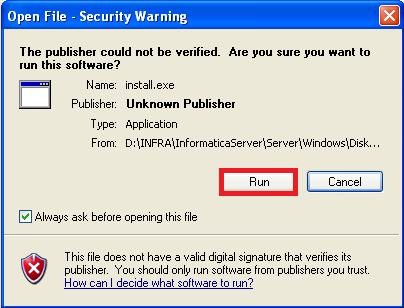
Step 6: After clicking the button, it starts the install Informatica PowerCenter. 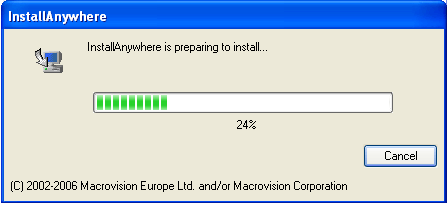
Step 7: Then select a language to install and click on the OK button. 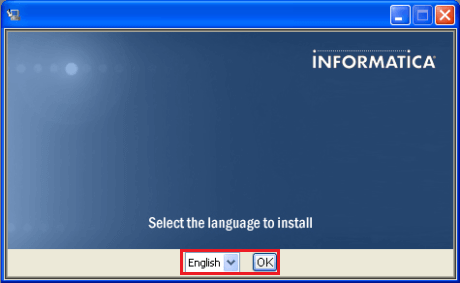
Step 8: Now click on the Next button. 
Step 9: Select the Informatica installation type and click on the Next button. 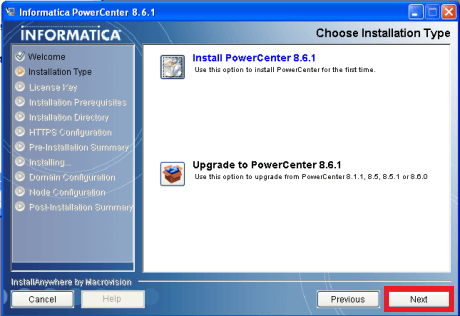
Step 10: Browse the license key file and then click on the Next button. 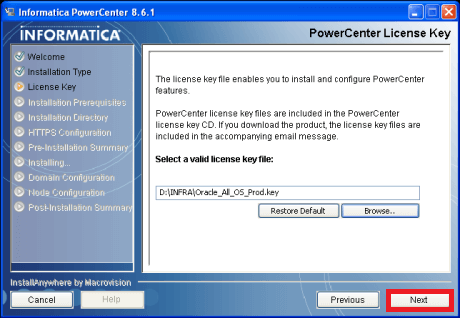
Step 11: Browse Installation prerequisites and click on the Next button. 
Step 12: Browse installation directory and select the installation directory. 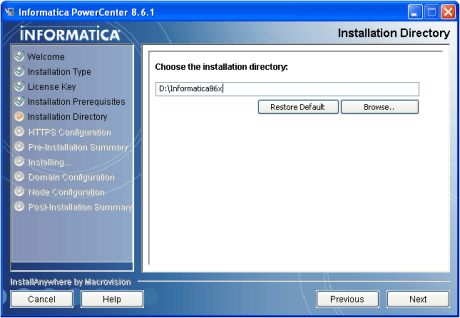
Step 13: Browse HTTPS configuration and set the defaults. 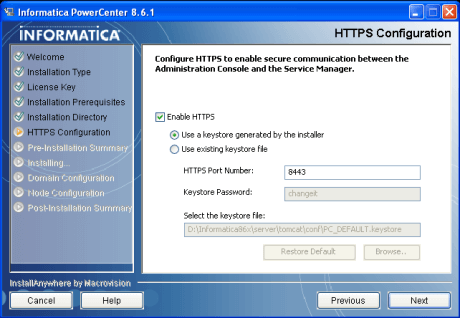
Step 14: Browse pre-installation summary and then click on the install Informatica button. 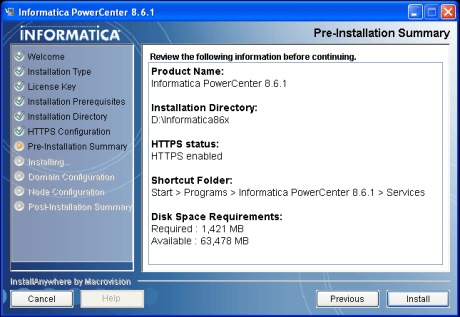
Step 15: Install PowerCenter 8.6.1. 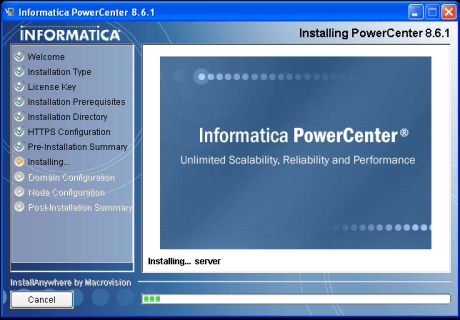
Step 16: Select Create New Domain and click on the Next button. 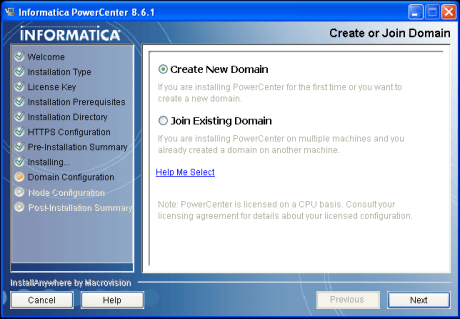
Step 17: Browse configure Domain Database Informatica and click on the Test Connection button. 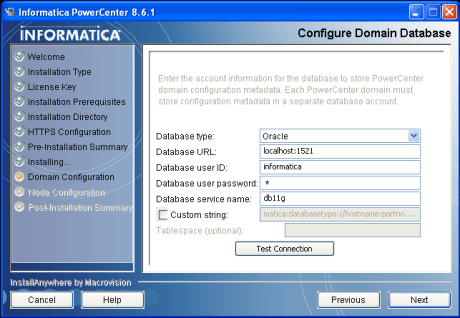
Step 18: Now, the Test connection is passed. 
Step 19: Browse the domain configuration and click on the Next button. 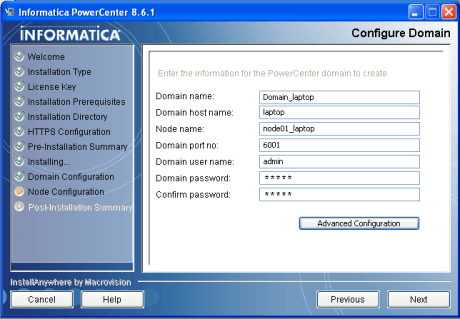
Step 20: Install Informatica PowerCenter server and wait. 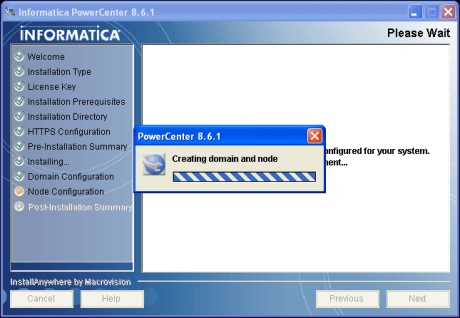
Step 21: Configure Informatica service unchecked "Run Informatica service under a different user account" and click on the Next button. 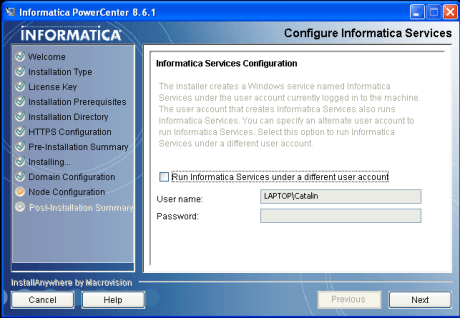
Step 22: Select Post-Installation Summary. 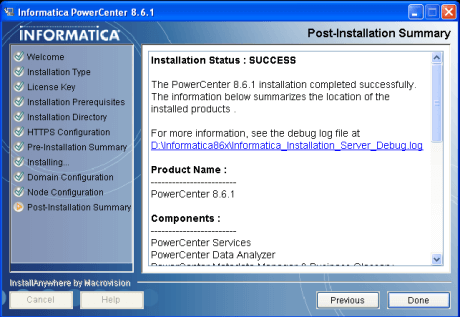
How to Register on Informatica Cloud PowerExpressInformatica provides the 30 days free trial of the Informatica cloud. And for 30 days free trial, register yourself on the given link. https://www.informatica.com/products/cloud-integration/cloud-data-integration.html Let's see how to register on Informatica Cloud PowerExpress step by step, such as: Step 1: Open the following link (Click). Step 2: and click on the Free 30-days trial button. 
Step 3: Fill the following form or fill the details and click on the Start Your Free Trial button. 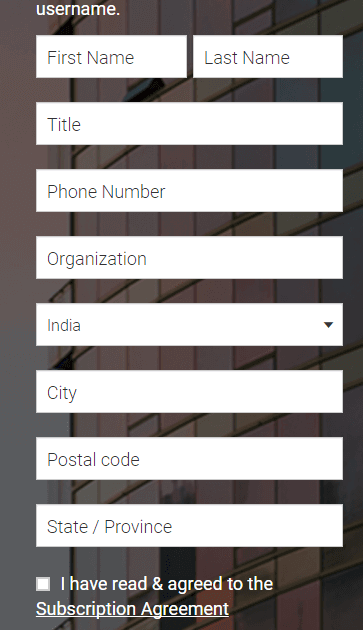
Step 4: then we will get a confirmation page as following. Open the email account and click the confirmation link. 
Step 5: After clicking on the confirmation URL, then set the Password and one security question. 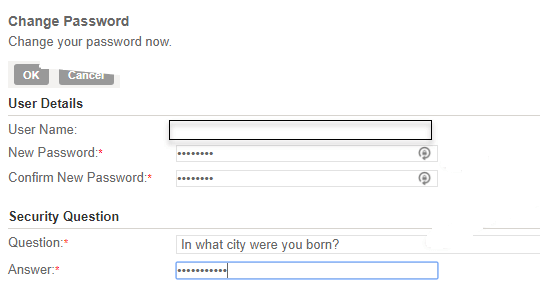
Step 6: Then click on the OK button after entering the data. 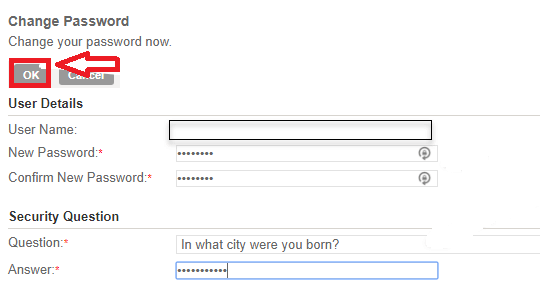
Step 7: we are now in the Informatica Cloud, which we can use for new projects. 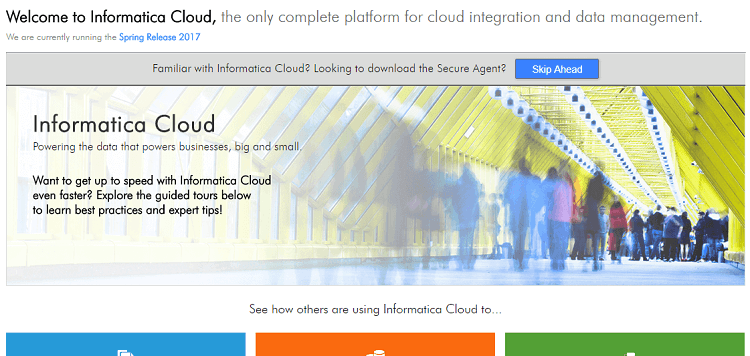
Next TopicMapping in Informatica
|
 For Videos Join Our Youtube Channel: Join Now
Feedback
- Send your Feedback to [email protected]
Help Others, Please Share


