| |

jBPM WorkFlow ExampleWe will take an example of Passenger who will going to decide a Journey with a Car or Bike. We can understand the working of jBPM WorkFlow into practice with the help of following Step: Step 1: Open the blank .rf file in Eclipse editor and draw the following WorkFlow Component using Drag and Drop. 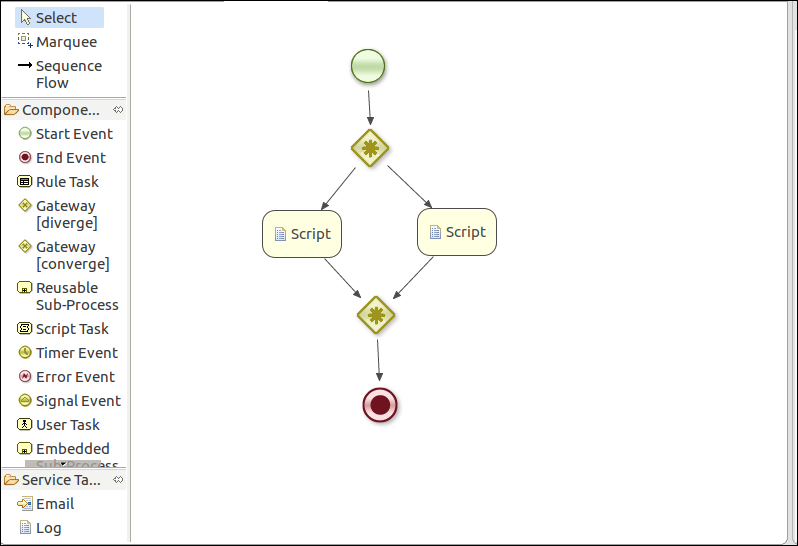
Step 2: Set the properties of every Event Task as we seen previously in the Validation part, the following screen appears. 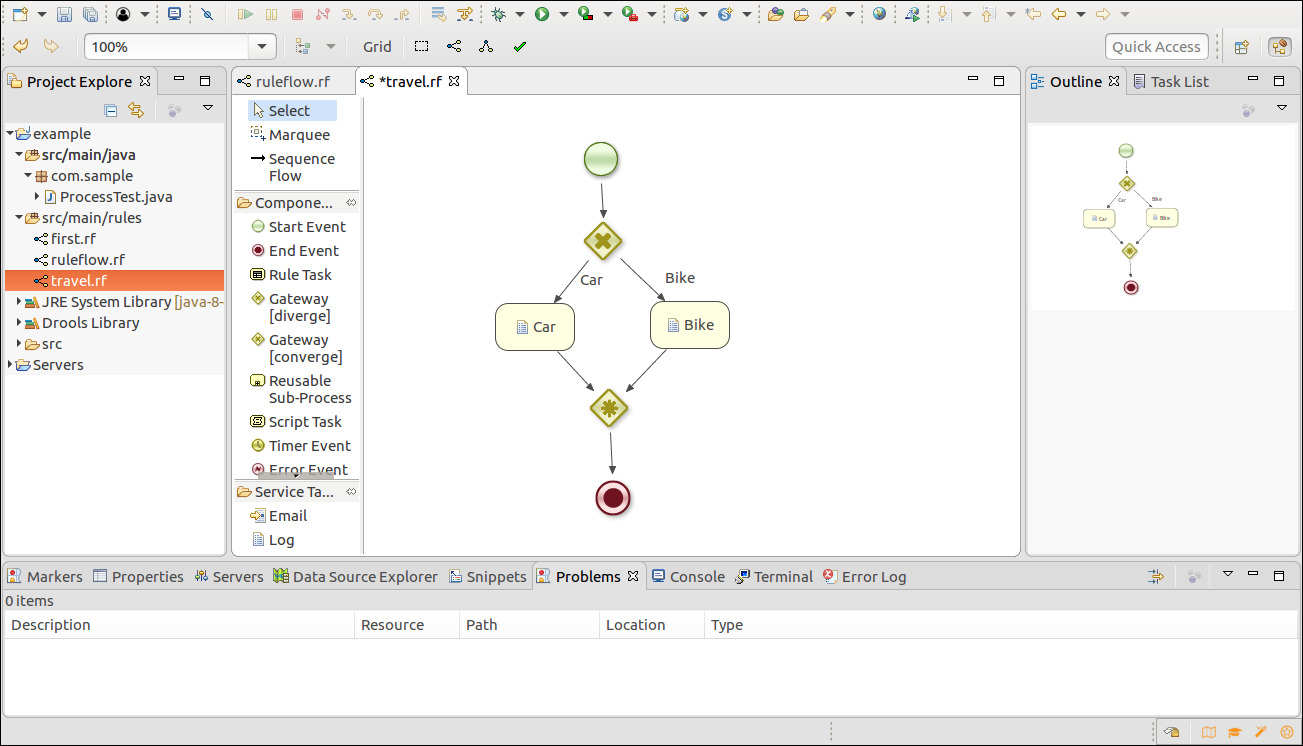
Step 3: Now we will change the ruleflow Id and set the variable in properties. To set the variable click on the action properties of variable, the following screen appears: 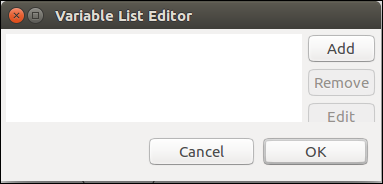
Step 4: Click on Add Button and Set the field as below screenshot. 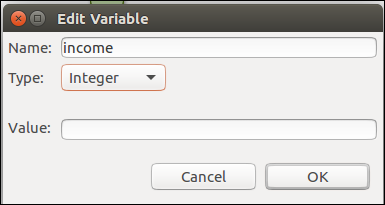
Step 5: Now our properties will look like below screen in which we had set the Id and Variable. 
Step 6: We do some changes in ProcessTest.java class file to run our process. We can see the changes in the bold font: Step 7: Now we create the Passenger.java file in the same package as ProcessTest.java Step 8: Now we run the ProcessTest.java file as Java Application and see the output. 
Step 9: Again we change the value in params.put() function and re-run the Java Application and see the change in output. 
Next TopicjBPM Remote Services
|
 For Videos Join Our Youtube Channel: Join Now
Feedback
- Send your Feedback to [email protected]
Help Others, Please Share


