| |

Puppet InstallationBefore installation of Puppet, let us look at some prerequisites: PrerequisitesHere, we will use two virtual machines with Ubuntu operating system installed on these with their static IP addresses and hostnames configured properly.
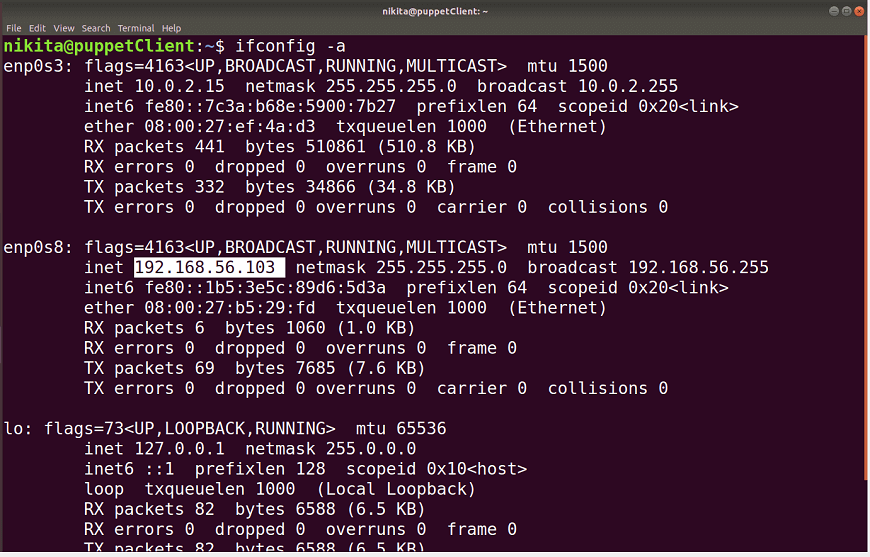
Here, My VMs configuration is: Puppet Master: Host Name: puppetServer IP Address: 192.168.56.101 Puppet Agent: Host Name: puppetClient IP Address: 192.168.56.103 We can see the configured IP for VMs through the ifconfig command: 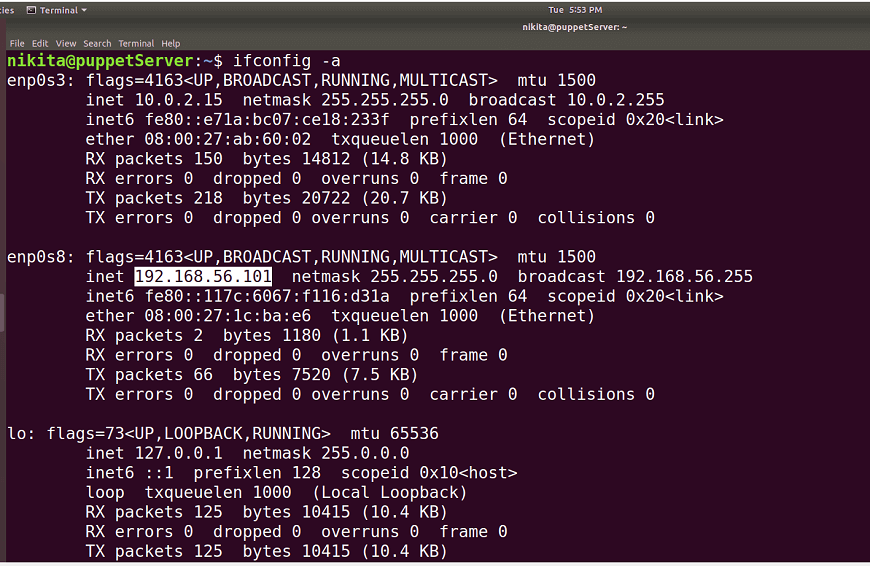
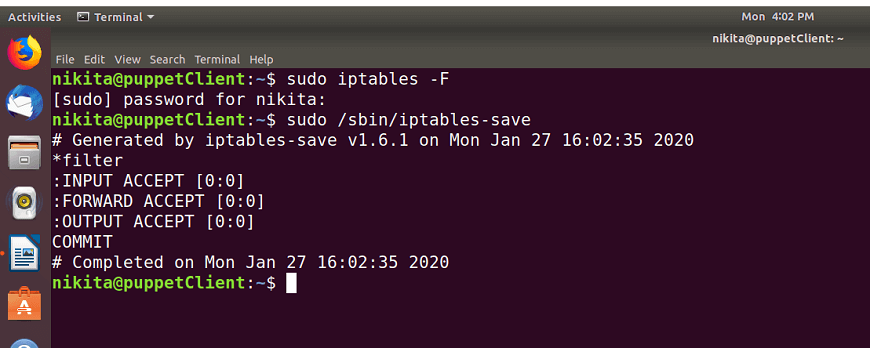
Removing Firewall RulesFirst, remove the firewall rules from both VMs i.e. Puppet Master and Puppet Agent. The default firewall available in the most Linux distributions is iptables. Run these commands on both VMs: 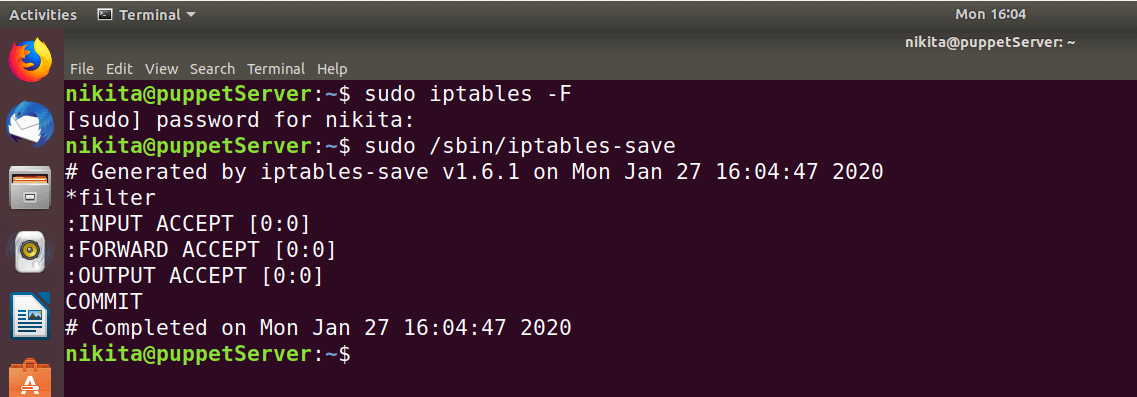
Edit Hosts


On PuppetServer type the IP address and hostname of your system. i.e. 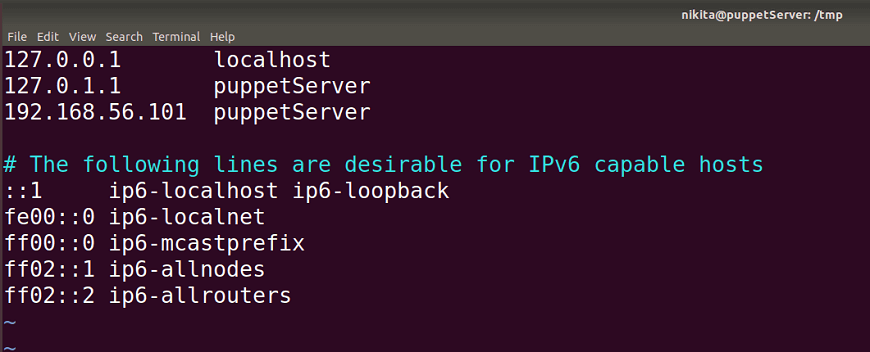
On PuppetClient machine, type the IP address and hostname of your puppet agent. We also need to specify the IP address of your puppet Master and the hostname given to it. i.e. 
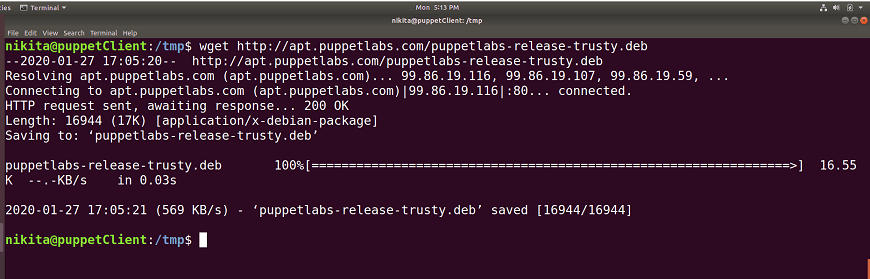
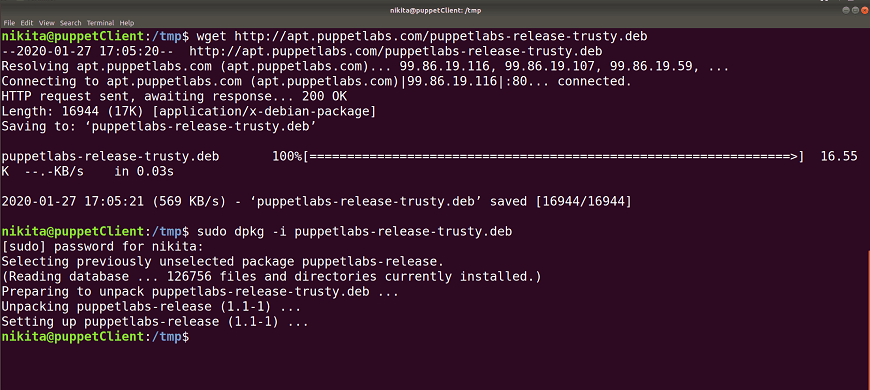
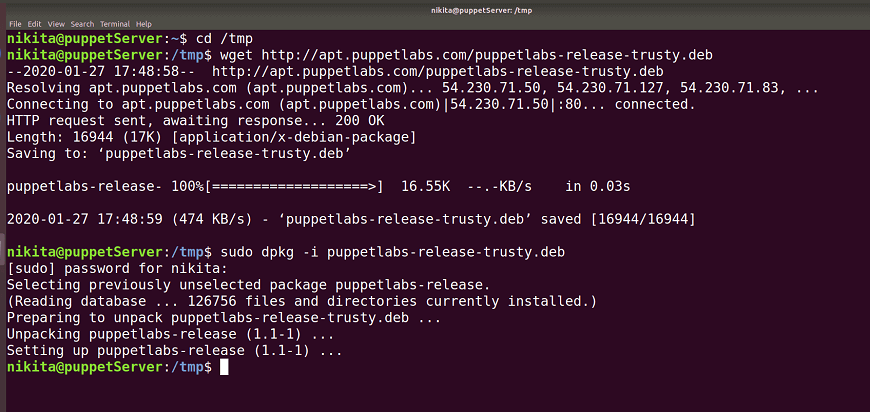
Add Repository
Run the following commands on both puppet master and puppet agent machine. 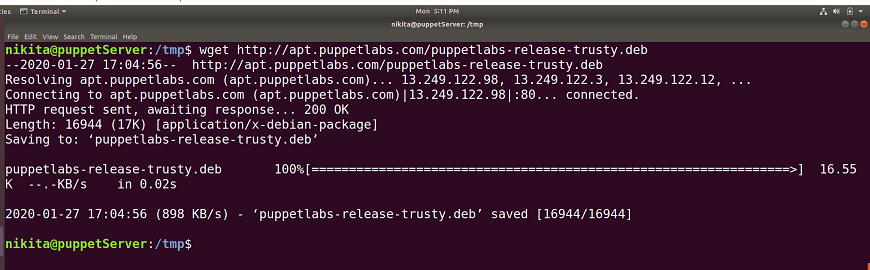
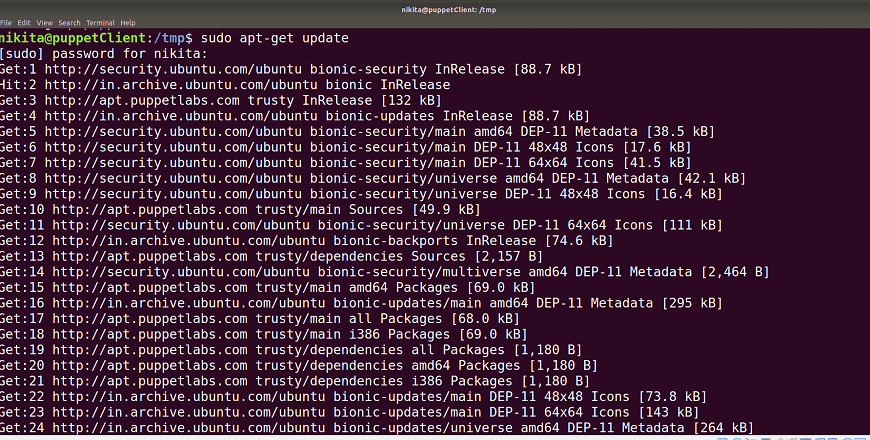
Update PackagesUpdate your puppet master and puppet agent with the latest packages and repositories with the help of below command: 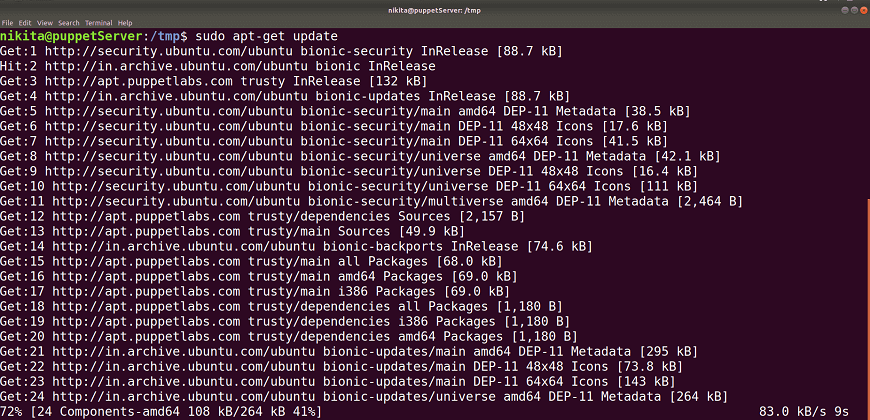
Start NTP on Puppet MasterThe PuppetServer which acts as a puppet master should have accurate system time. You should possibly use the NTP service to set exact system time. Use the following command in your puppetServer to enable NTP server: 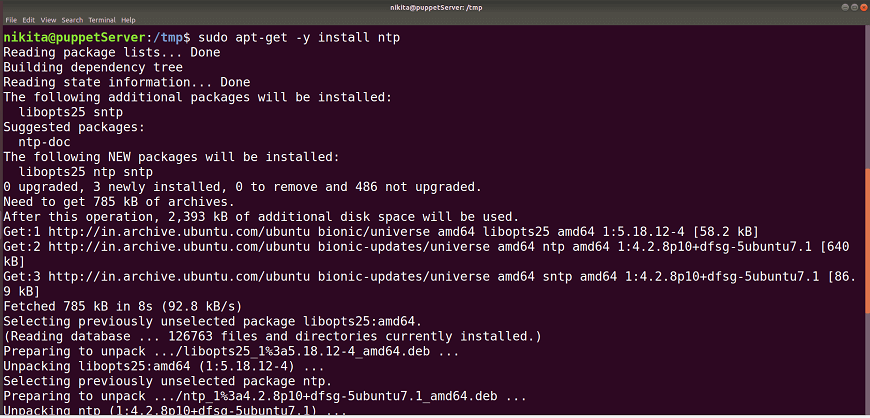
You can check the status by the following command: 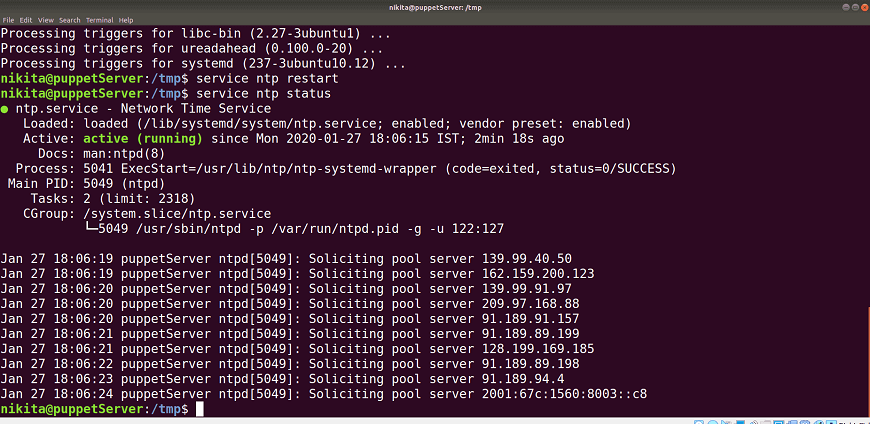
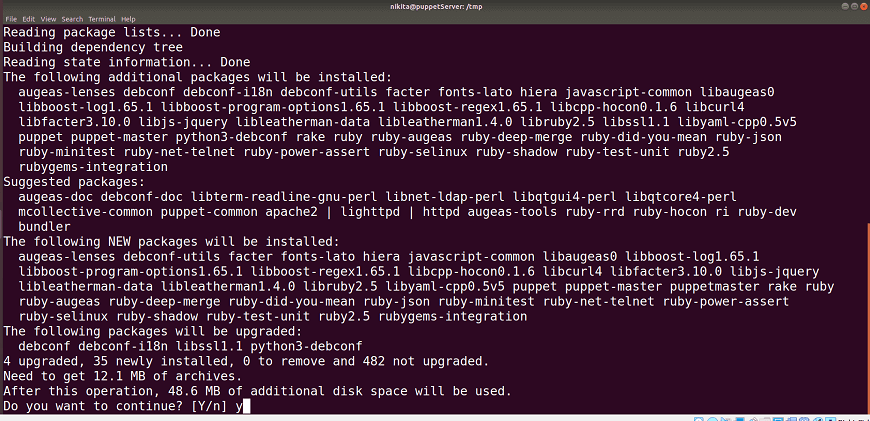
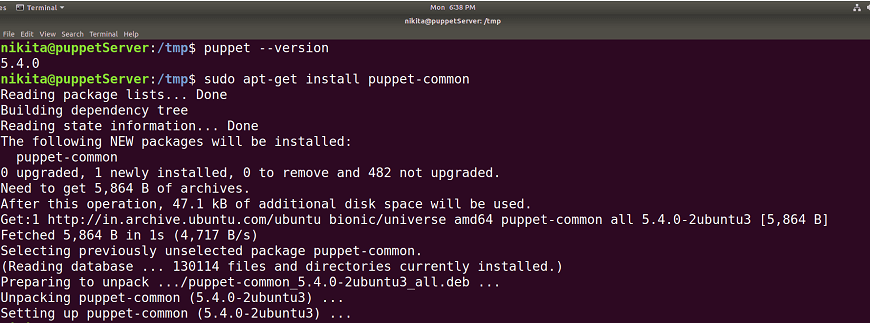
Puppet Master Installation
To install the puppet master, run the following command in your puppetServer: 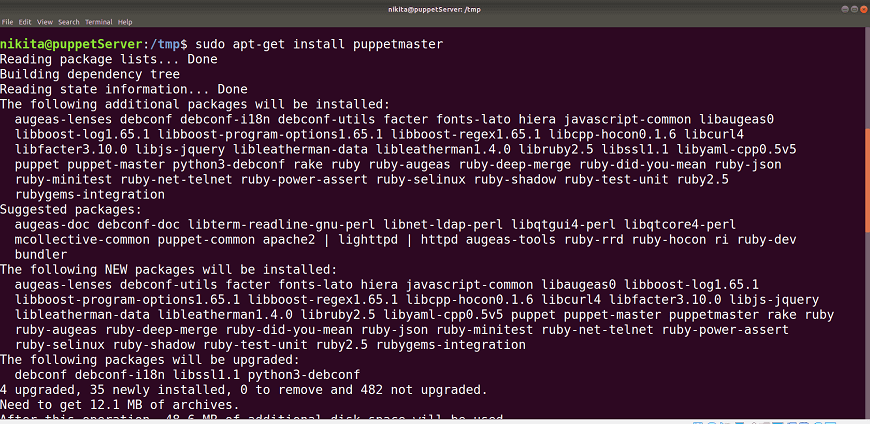
Or 
Add the following configurations in the file: 
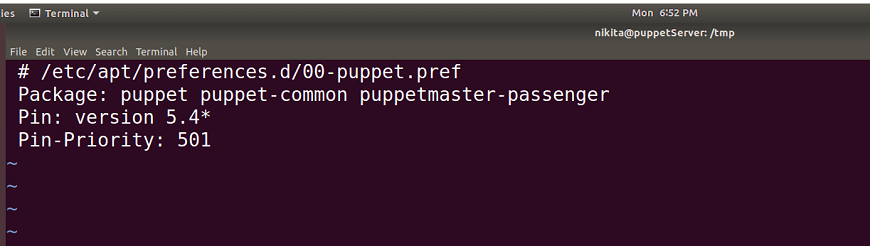
Now it won't update the Puppet when running device updates. So let's continue with the installation of the Puppet client in the following steps.
Add the new lines under [main] and [master] and save it: 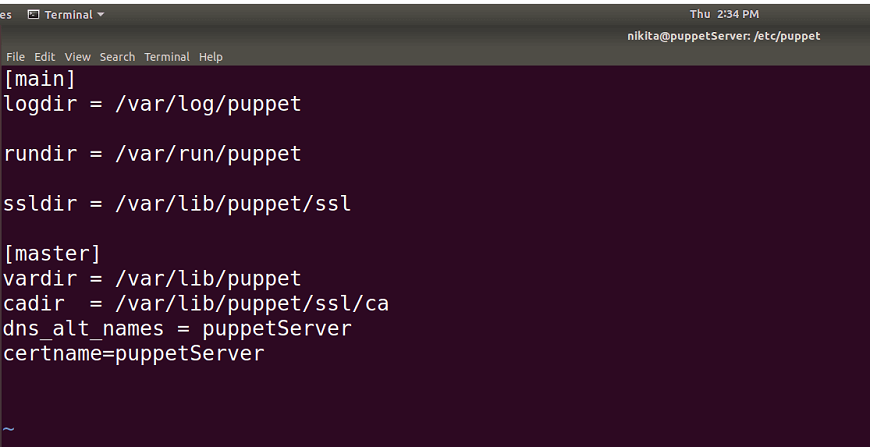
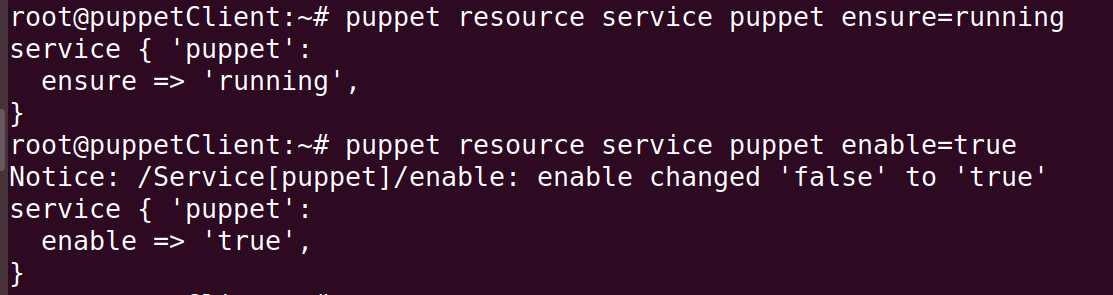
After adding the required changes to the configuration file, restart the puppet master services. 
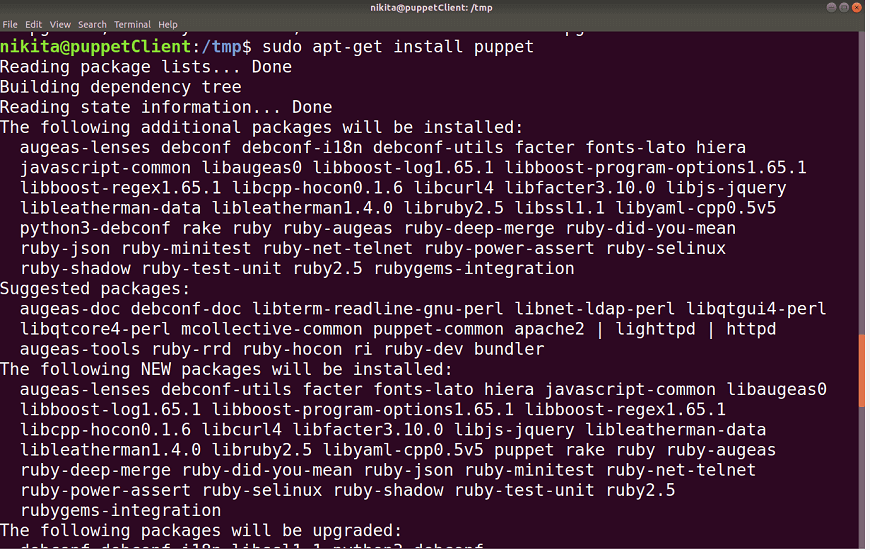
Puppet Client Installation
Or
Create a new file: 
And add the following configurations in the file: 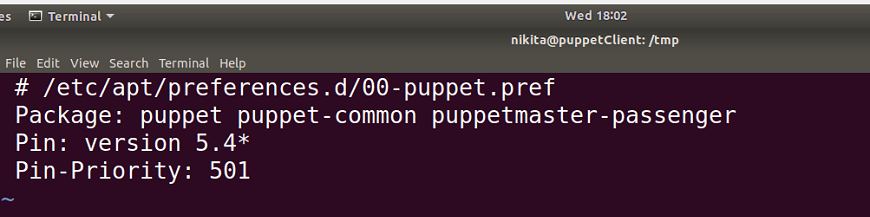
Now it won't update the Puppet when running device updates. So let's continue with the configuration of the Puppet client in the following steps.
Comment out the [master] configurations and add the new lines under [main] and [agent] and save it: 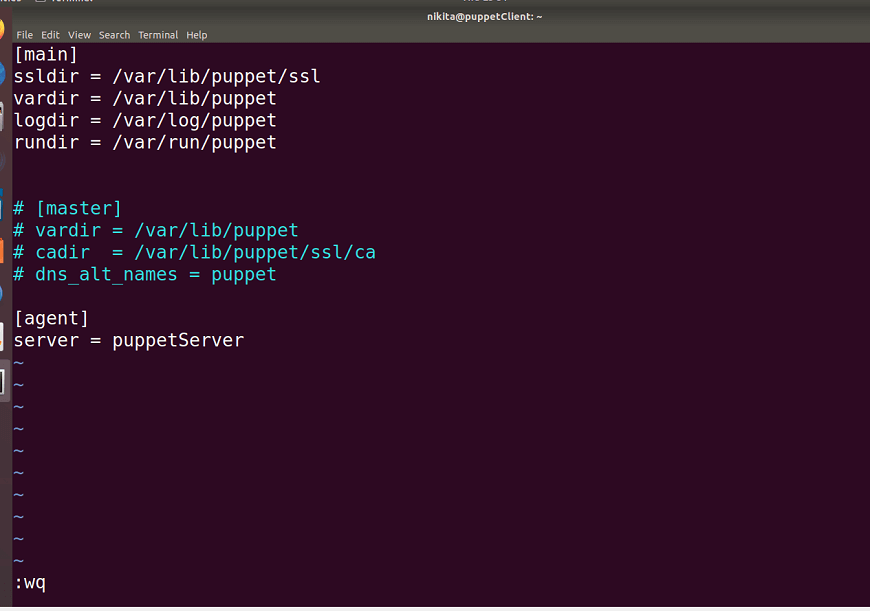

Establish a Secure ConnectionPuppet agent requests for puppet master's certificate for puppet master and puppet agent communication. Because after the successful initialization of the Puppet client, it will check for the Puppet Master Server and send a certificate request before accepting any administrative instructions from the Master puppet server. Once the Puppet Master sends its certificate, the Puppet Agent generates its own certificate. It then requests the Puppet Master to sign this certificate. There is a safe link formed between Puppet Master and Puppet Agent after Master has signed this certificate.
The above command will allow users to switch to the root user. 
Now, execute this command on PuppetServer: The above command will create the CA certificate and a puppet master certificate, with the appropriate DNS names included. 
We can ignore this warning message. Press ctrl+c once you get the "Notice: Starting Puppet master version 5.4.0" message because we cannot start the puppet master right now.


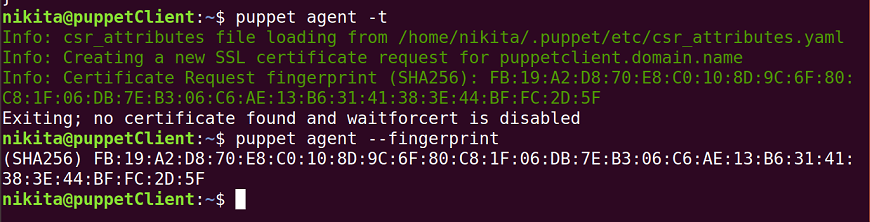

Here, "puppetclient.blr0.datrium.com" is the automatically generated DNS name for PuppetClient machine. To sign the certificate requested by the puppet agent execute the following command: 

Now, there is a secure connection between the puppet master and the puppet agent. Hence, we have successfully installed and configured a Puppet master and set up its basic configuration for the puppet agent with a fully functional puppet instance.
Next TopicPuppet Coding Style
|
 For Videos Join Our Youtube Channel: Join Now
Feedback
- Send your Feedback to [email protected]
Help Others, Please Share


