| |

GIMP Cartoon EffectGIMP is an open-source advanced image editor tool. We can edit photos and add different effects such as smoke effect, cartoon effect, and animation effect. The cartoon effect is a vector version of the image. The vector version of the image can be useful for different artistic purpose. It contains a combination of colors and vector art. It is useful for making an image as a painting. To cartoonize a photo is a straight forward process. Gimp facilitates with several tools to cartoonize a photo. Apart from these tools, there are several other techniques to Cartoonize a photo. In this section, we will discuss how to catoonize a photo using GIMP's built-in tools and plugins. To cartoonize a picture is a similar process as other editing processes. How To Cartoonize A Picture Using GIMPThere are several ways to cartoonify a picture. Let's see some popular ways: Using Cartoon FilterGIMP supports a built-in filter called Cartoon to catoonize pictures. It can be found under the Filters-> Artistic-> Cartoon menu. To catoonize a photo using the cartoon tool, follow the below steps: Step1: Open the Image The first step is to open an image that we want to catoonize. To open an image, select the open option from the File menu or hit the CTRL+O keys. It will open a window to select a file from our file system. 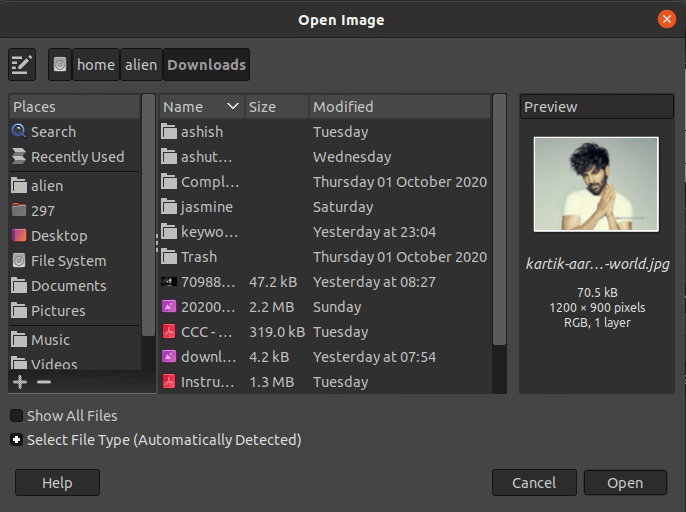
Select an image and click Open to open it. It will open the image in a new window. 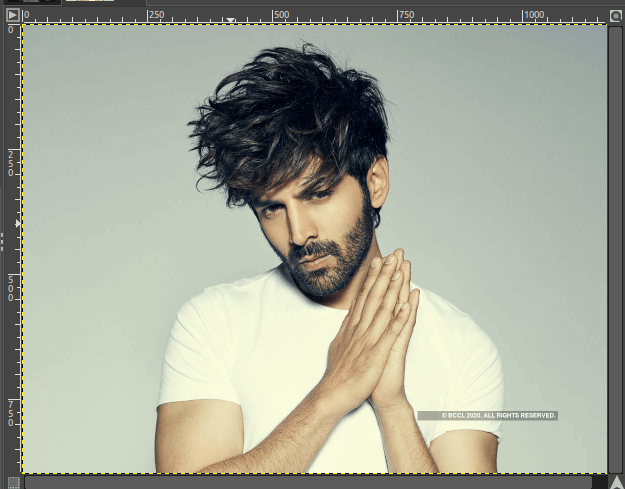
Step2: Select the Cartoon Tool Now, select the cartoon tool from the Filters menu. To activate the cartoon tool, navigate to Filters-> Artistic-> Cartoon menu. 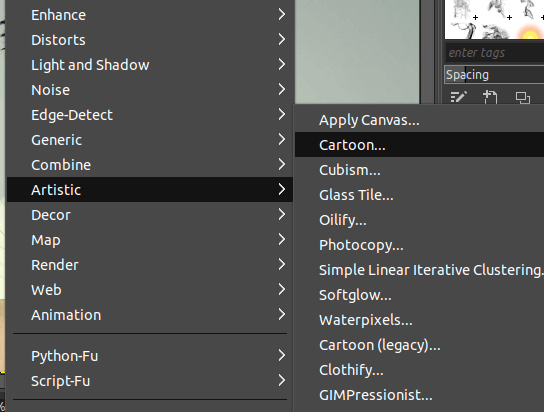
It will activate the cartoon tool and open a dialog window to specify the catoonize properties such as mask radius and percent black. 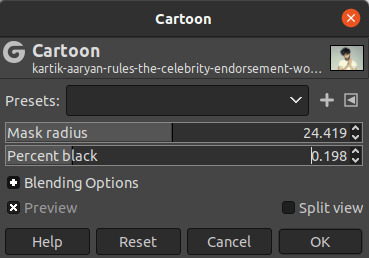
It also provides a preview option. Mark the preview option for previewing the image before applying the filter. If it is marked, it will provide a run time preview for the changes. Set the values as per requirement and click OK to apply the filter. It will automatically apply a cartoon effect and transform the image into a cortoonize image. We can undo these changes by hitting the CTRL+Z keys. 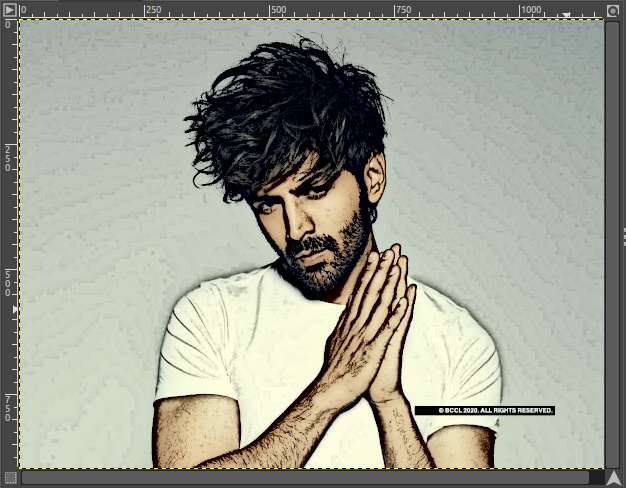
The Cartoonize image will look like a painting. Step3: Save the Image We can save this image in different image formats such as JPG, PNG, GIF (Animation), XCF, DDS, etc. To save this image in a specific image format, select the Export As option from the File menu. It will open an export window, specify the file name with a proper file extension. 
Click the Export option to save this file. It will save the file in the specified directory. For the animated format, such as GIF, we need a set of pictures. Open all the pictures that we want to put in an animated file and cartoonize each of them, then follow the procedure of creating the animation. Visit GIMP Animation to create an animation using GIMP. For other image formats, expand the Select File Type Option from the bottom of the Export window. It will list all the supported image formats in GIMP. 
Scroll the list and select an image format from the available list, then click Export. It will save the file in the selected image format. There are different methods to cartoonize a photo. Another popular method of adding the cartoon filter is using the Threshold tool. With the combination of the threshold tool and some keystrokes, we can cartoonify our photos. It is an effective method to add a cartoon filter to an image. Let's understand it in detail: Cartoonize Photo Using Threshold ToolWe can cartoonize a photo using the Threshold tool. It is also a useful and effective way to add a cartoon effect in GIMP. It is a straightforward process. We can easily add the effect using the Threshold tool. Let's understand how will it work:
The first task is to open the Image (Step1) in GIMP. After opening the image, duplicate the layer. To duplicate the layer, right-click on the layer, select the Duplicate Layer option or hit the "SHIFT+CTRL+D" keys. It will create a duplicate layer of the active layer. 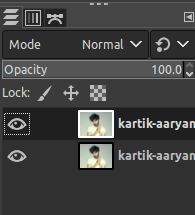
Now Navigate to Colors->Threshold menu. It will open a dialog window to specify the threshold values. 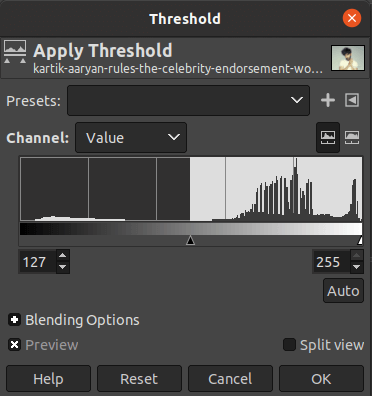
Swipe the Slider Left or Right and adjust the threshold level. Choose a value that is not much black or white; when we got an accurate value, click OK to apply it. 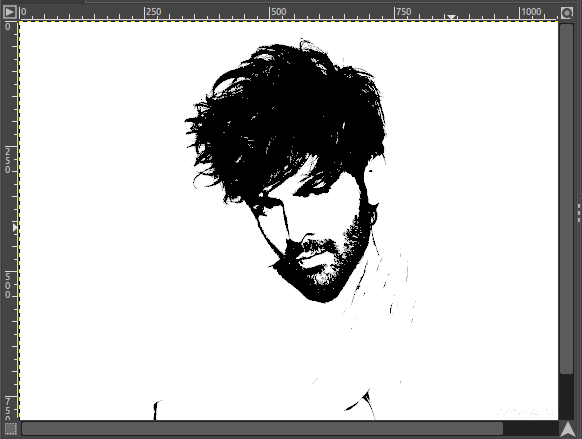
It will create an animated image. To highlight the color of the original image, change the mode of the active layer. We can change it by selecting it from the below drop-down list. Select the HSV Value mode for a perfect cartoonized photo. However, we can choose other modes that also work well like overlay, soft light, Darken Only, Burn, etc. The HSV value modes will produce the result as follows: 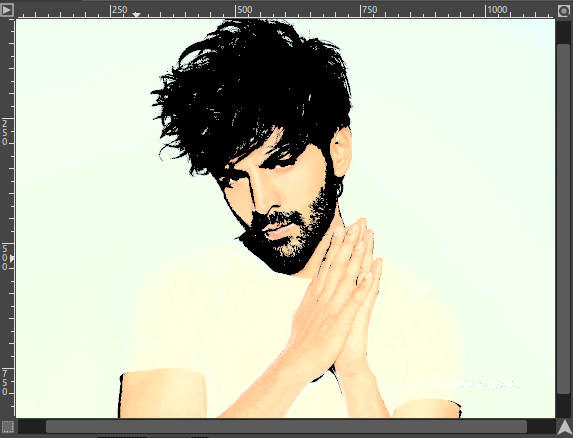
The Overlay mode will produce the result as follows: 
similarly, we can select other modes to get the desired result. Now, we can save this image using the Export As option from the file menu. 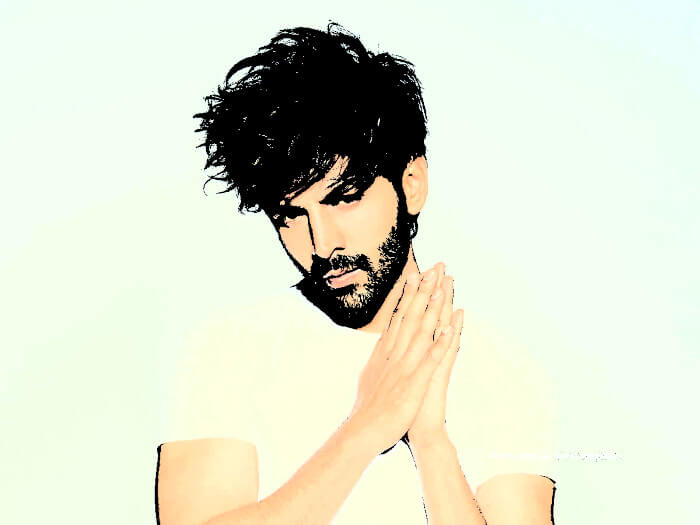
Hence, we can cartoonize the photos using the above methods. Apart from the above methods, we can choose other tools such as selection tools and filters to cartoonize our photos. GIMP provides supports for several built-in and external Plugins to edit the photos. We can also do the same using the Plug-ins. Visit our detailed tutorial on plugins and photo editing.
Next TopicHow to Remove Watermark Using GIMP
|
 For Videos Join Our Youtube Channel: Join Now
Feedback
- Send your Feedback to [email protected]
Help Others, Please Share


