| |

GIMP ToolsGIMP provides a comprehensive toolbox for performing basic tasks such as selections, drawings, color picker, and many more. It provides many tools within its toolbox. A tool is a way of operating on images. It indicates the specified action on hovering the cursor over the icon. A toolbox has several icons; each icon is a separate tool. To activate a tool, left-click on it or use key shortcuts. GIMP offers the following tools: Before diving in each tool in detail, let's look at the GIMP user interface and toolbox: GIMP looks like a typical photo editing software: 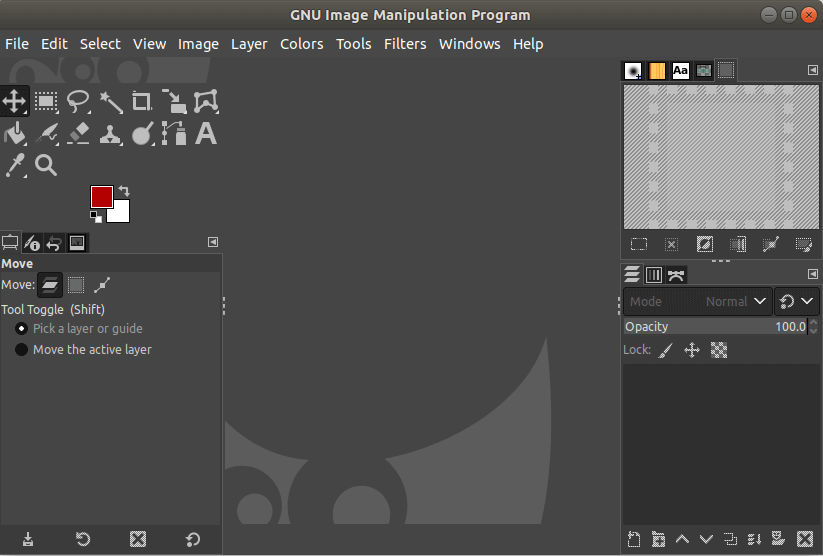
GIMP Tool IconA particular tool can be activated by clicking on a specific icon in the toolbox. GIMP does not provide direct tool icons for tools such as color tools that can be selected from the color menu or by navigating to tools -> Colors. But, every tool can be activated by stroking shortcut keys, which is unique for every tool. We can add our frequently used tools in the toolbox. By default, every tool is not shown in the toolbox, but the toolbox can be customized using the tool menu. 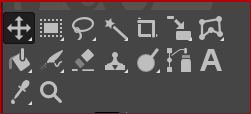
When we select a tool, the pointer changes inside the image according to the active tool. It will work if we have set the pointer mode as a tool icon. The pointer mode can be changed by selecting the pointer mode option from Edit-> Preferences-> Image Windows-> Mouse Pointers-> menu. Color and Tool optionsThe color indication and tool option dialogs are available at below the toolbox. It shows the default selection of colors like background color and foreground color, and tool options like mode, position, size, text color, etc. 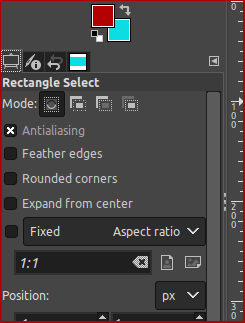
Note: By default, The tool options dialog appears below the toolbox. If it is not available for any reason, it can be displayed by creating a new tool option. To create it, navigate to Windows-> Dockable dialogs-> Tools option and dock it to below the toolbox.Selection ToolsThe selection tools are used to select a region from a layer to work on them in a specified shape. All the selection tools can be accessed and added to toolbox from the Tools-> Selection tools. Following are some selection tools, offered by GIMP:
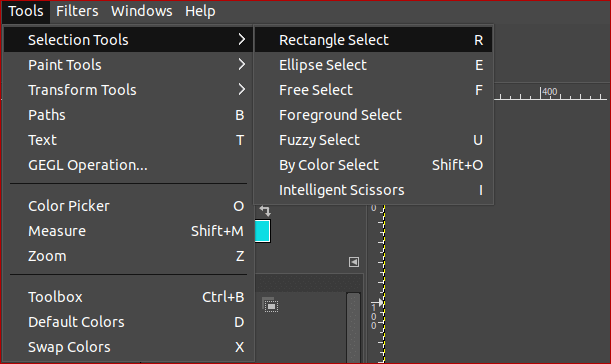
Rectangle Select The Rectangle select tool is used to select a rectangular region from an active layer. It is the most common selection tool. Click on the below icon to select the rectangular selection. It is useful for adding background color, adding text, adding outline (stroke) to a specific region. 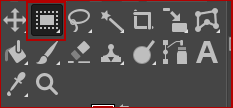
Below is the example of rectangle selection: 
Ellipse Select The Ellipse Selection tool selects the circular and elliptical regions from an active layer or image. Click on the below icon to select an elliptical region. It is useful for adding background color, adding text, adding outline (stroke) to a specific region. 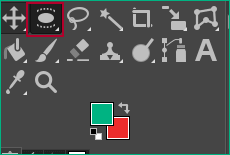
Below is the example of Ellipse selection: 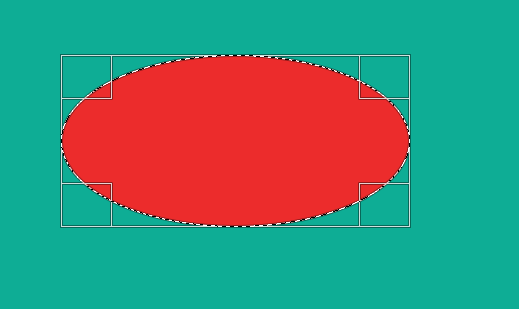
Free Select The Free Selection tool is used to select by drawing it free-hand with the pointer. To free select hold down the left mouse button, move the cursor according to your drawing. The selection is closed by connecting the pointer with the starting point of the selection. It is good for rough drawing but not so good for precise definition. Click on the below icon for activating the free select: 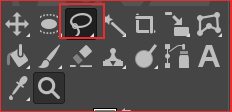
Below is the example of free selection: 
Foreground Select The foreground selection tool allows us to extract the foreground from an active layer or image. It works on the SIOX method (Simple Interaction Object Extraction). Click on the below icon to select foreground: 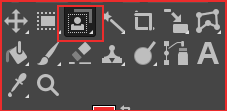
The selection by this works in a couple of steps:
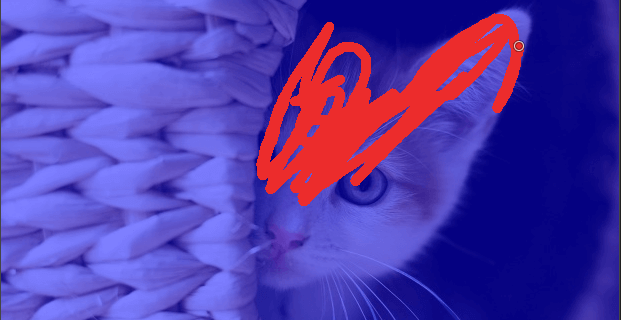
Release the mouse pointer it will display the selected foreground and rest part of the image will be converted into the dark: 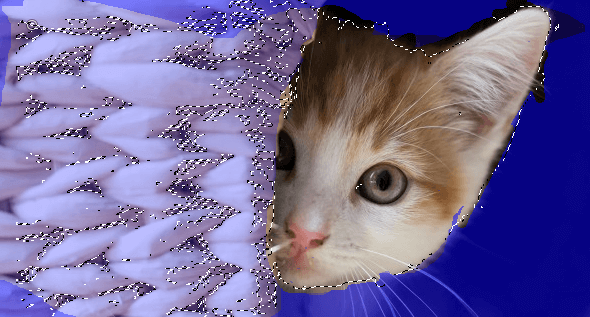
Fuzzy Select (Magic Wand) The Fuzzy Select is used to select areas of the current layer or image based on color similarity. In this tool, the starting point is the main point, so it is crucial to pick the right starting point. If you choose the wrong starting point, you may not get the required part. It is useful for sharpening photos. Click on the below icon for fuzzy selection: 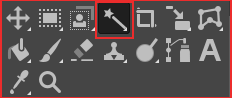
Below is the example of fuzzy selection: 
By Color Select The Color Select tool is used to select the region based on color similarity. It is like fuzzy selection, but the difference is the fuzzy selects contiguous region comparatively the color selects all pixels that are sufficiently similar in color to the selected pixel. Click on the below icon for the color selection: 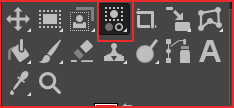
Below is the example of color select: 
As I have clicked on the brown color, so it automatically selects all the regions having a brown color. Paint ToolsThe paint tools provide several tools for editing and painting the image. It contains the following tools:
To access the paint tools, navigate to Tools->Paint Tools. We can add any of the above tools in our toolbox by selecting it. 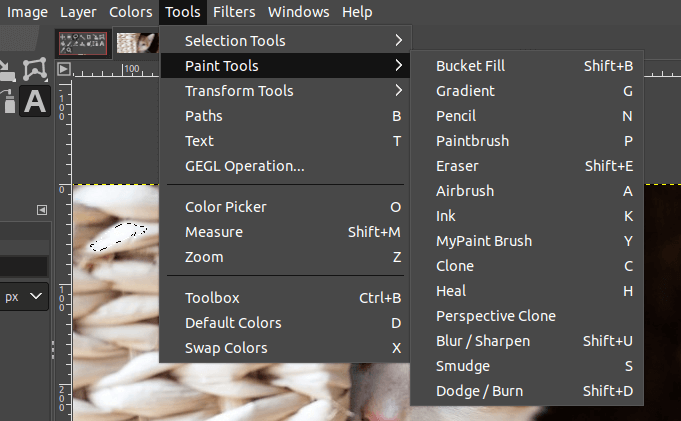
Every tool has its specific work. Let's understand each tool: Bucket Fill Bucket fill used to fill the color to a selected region. The CTRL+click key combination allows us to fill the background color to the selected region. It will act according to tool options; it can fill the entire region or selected parts. It is also affected by the transparency options. To apply the bucket fill option, click on the below icon: 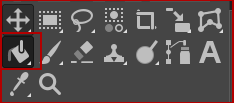
Below is the example of Bucket Fill: 
In the above image, i have free select a region and fill it with the background color. Pencil The pencil tool allows us to draw lines with hard edges. It is similar to the paintbrush tool. The only difference between both tools is that the pencil will not produce fuzzy edges and will not do anti-aliasing. However, both tools use the same type of brush. To activate pencil, select it by menu or click on the below icon: 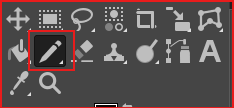
Below is the example of a pencil drawing: 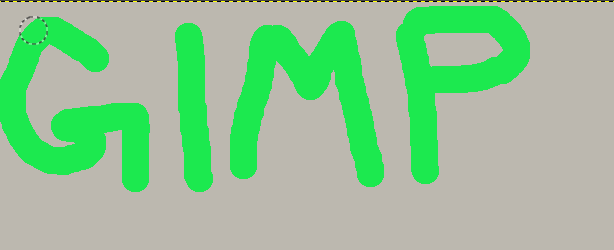
Paintbrush The paintbrush tool is used to create the fuzzy brush strokes. It is similar to the pencil tool. The difference between both tools is that it will produce fuzzy edges with anti-aliasing. To activate paintbrush, click on the below icon: 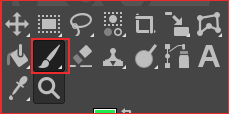
Below is the example of paintbrush drawing: 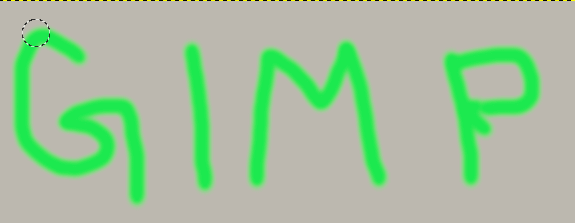
Eraser The Eraser tool is used to erase the colors from a selection of image or active layer. The eraser will show transparency if the image or drawing has an alpha channel; otherwise, it will show the background. To activate eraser, click on the below icon: 
Below is the example of eraser: 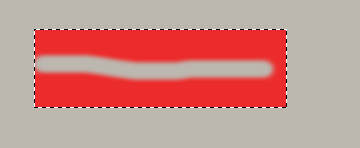
Airbrush The Airbrush tool is a traditional airbrush tool. It is good for painting the soft areas of color. It draws shaded colors on the image or active layer. To activate the airbrush, click on the below icon: 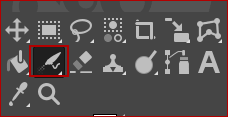
Below is the example of airbrush: 
Ink The ink tool is used to paint solid brush strokes with an anti-aliased edge. It uses a simulation of an ink pen with a controllable nib. We can set the size, shape, and angle of the nib. To activate the ink tool, click on the below icon: 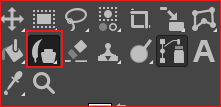
Clone The clone tool is used to copy a region from a current image or pattern. It uses the current brush for copying. It is a very useful tool for photo editing. One of this tool's major use is to repair areas in digital photos by painting over them with a color pattern or background from other images. This tool seems a complicated tool, but it is a very powerful tool in photo editing. To clone from an image, we must copy an area from that. To copy the area, select the clone tool, and hold the CTRL key and draw pointer on the desired image part very carefully that you want to copy. Now release the CTRL key and draw pointer on the area of the image where you want to draw the cloned part. To activate the clone tool, click on the below icon: 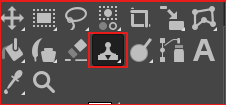
Below is the example of clone tool: 
In the above image, we have copied a puppy's image using a clone tool and paste it to another image of a kitten. Heal The Heal tool is a healing brush like a smart clone tool. It is much similar to the clone tool, but it is smarter than to clone. A typical use of the heal tool is to remove wrinkles and black spots from photographs. To activate the heal tool, select the below icon from the toolbox or navigate to Tools-> Paint Tools-> Heal. 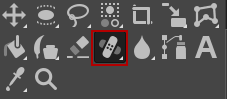
Blur/Sharpener It is used to blur or sharpen the image. It uses the current brush, draw brush where you want to sharpen the image. It is useful to soften the elements, blur a whole layer, or a part of the image. The sharpen mode increases the contrast where the brush is applied. To activate the blur/sharpener tool, click on the below icon form the toolbox or navigate it by the menu: 
Smudge It is used to smudge colors on a selection or active layer. It also uses the current brush, draw the brush on the area where you want to smudge the colors. It mixes in passing and meets colors on a set distance. To activate the smudge tool, click on the below icon or navigate it by the menu: 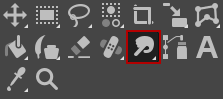
Dodge/Burn It is used to lighten or darken the colors on the image. It uses the current brush and draws the brush to make the dark or light color; The default mode will determine the type of pixels. To activate the Dodge/Run tool, click on the below icon or navigate it by the menu: 
Transform ToolsThe transform tools menu provides several tools for transforming the images. It contains the following tools:
To access the transform tools, navigate to Tools->Transform Tools. We can add any of the above tools in our toolbox by selecting it. 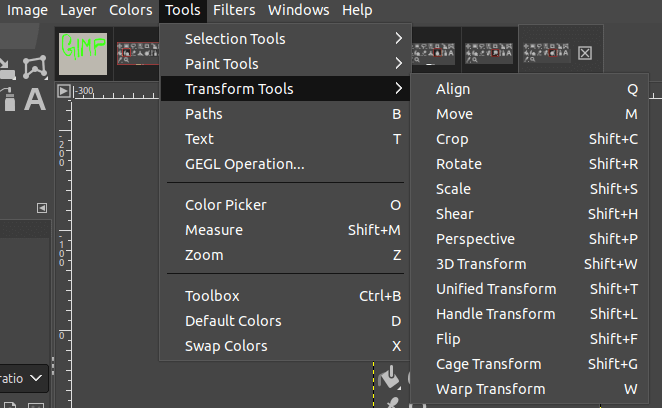
let's understand every tool in detail: Align The align tool is used to align the image layers with various image objects. In this tool, the pointer turns into a small hand. By clicking on an element, we can select the layer which will be moved. Also, we can choose multiple layers to be aligned. Various buttons in the alignment tool options define how the layer will be moved. The selected item or layer is called target. To activate the alignment tool, click on the below icon or select it from the menu: 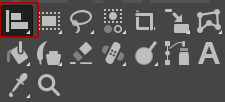
Below is the example of alignment: Before alignment: 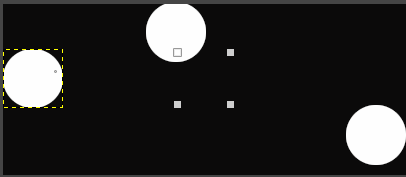
Click on each circle and set its alignment to center. After Alignment: 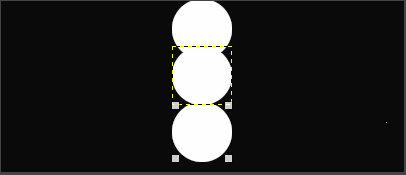
Move The move option allows us to select and move objects, layers, texts to a specified location. To activate the move tool, click on the below icon or select it from the menu: 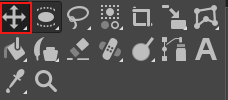
Below is the example of the move tool: 
In the above image, we have added some text and move the circles to its below position. Crop The Crop tool is used to cut a clip or a specific area from an image, or active layer. It is useful for removing an unwanted area of the image or remove borders. It also used to reduce the image size to match a specific dimension. To activate the crop tool, click on the below icon or select it from the menu: 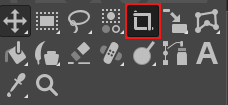
Drag the area you want to crop and hit ENTER key; it will crop the selected area. Below is the example of crop tool: 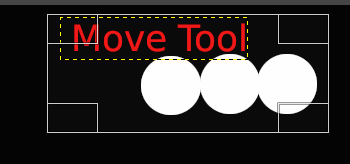
We have selected an area; after hitting the Enter key, it will crop it. Rotate The Rotate tool is used to rotate the selected area, an active layer, or a path. The rotation properties such as rotation axis, the rotation angle can be set from the tool option. To activate the rotate tool, click on the below icon or select it from the menu: 
Scale The scale tool is used to adjust the dimension of the image. When we select the scale tool, it displays a box having the scaling information. Set the values of the height and width and click on the scale. It will scale the image. We can also set the scaling values by dragging on the image. 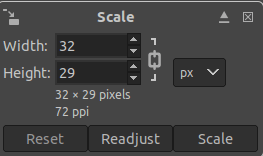
To activate the scale tool, click on the below icon or select it from the menu. 
Shear The Shear tool shifts an active part from a layer, image to a direction, and other parts in the opposite direction. For example, a vertical shearing will shift the right part to the up and left part to the down. To activate the shear tool, click on the below icon: 
Perspective It is used to set the perspective of the selection or active layer content. When we select this tool, a pop-up window will open to define the perspective properties. 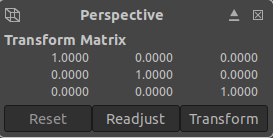
To activate the perspective tool, click on the below icon or select it from the menu: 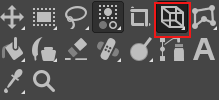
Color ToolsThe color tools are used to set the color to the objects on the image or active layers. It provides several color manipulation options. It contains the following tools:
To browse the color options navigate to colors from the menu bar: 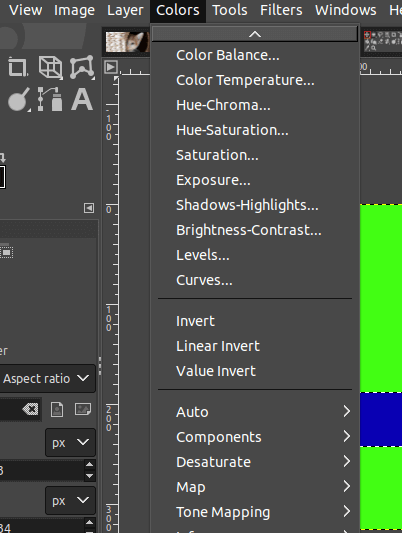
Other ToolsExcept for all the above tools, GIMP offers some other tools such as paths, zoom, color picker, text, and more. These tools can be accessed by navigating to Tools from the menu bar. 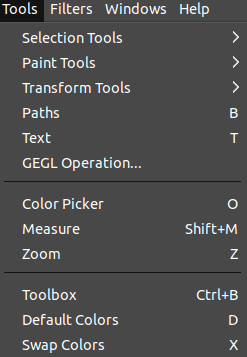
It includes:
Next TopicGIMP Filters
|
 For Videos Join Our Youtube Channel: Join Now
Feedback
- Send your Feedback to [email protected]
Help Others, Please Share


