Selenium IDE- Login Test
In this section, you will learn how to create a Login Test case in Selenium IDE.
For our test purpose, we will be testing the login page provided by the Test and Quiz website, present under the URL:https://www.testandquiz.com/
Note:you can sign-up and create a login test on any publically available website.
The following image shows the snapshot of the home page that will appear when we hit the above mentioned URL.
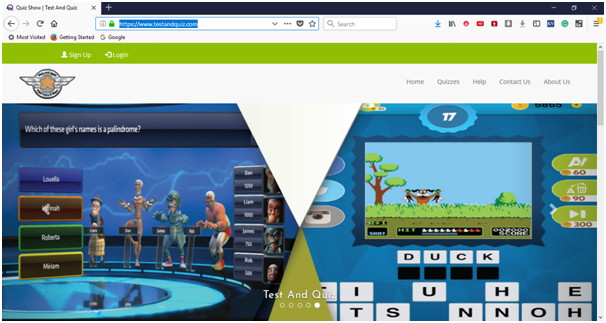
First you have sign-up to get the login credentials. For this test, we have already generated our login credentials. Now, we will generate a test script to create a Login Test in Selenium IDE.
- Launch Firefox browser.
- Click on the Selenium icon present on the top right corner on your browser.
- It will launch the default interface of Selenium IDE.
- Go to your Firefox browser and open URL:https://www.testandquiz.com/
- Enter the project name as "Login Test".
- Enter the test case name as "Test Case 1".
- Click on the "Start Recording" button to start the recording of the test case.
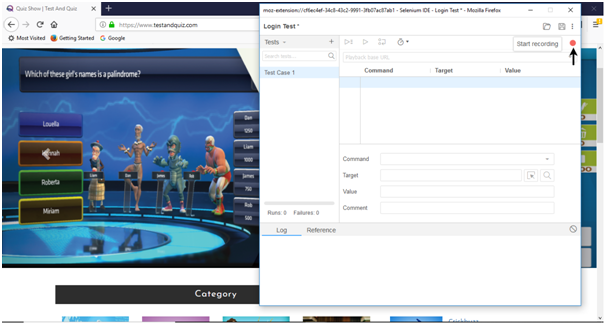
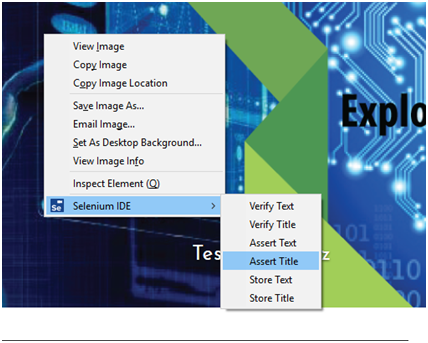
- Go to your Firefox browser and right click on any blank space within the page and select the Selenium IDE option.
- Click on Selenium IDE > Assert Title. The Assert Title command makes sure that the page title is correct.
- Now, click on the login button located at the top corner of the website.
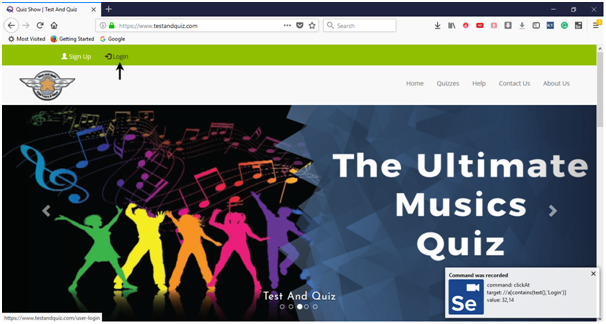
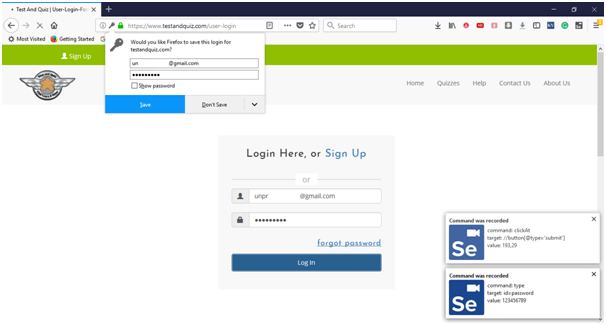
- Fill-in the login credentials and click on the login button. Meanwhile you will get the notifications of the actions performed by IDE at the extreme right corner of your browser.
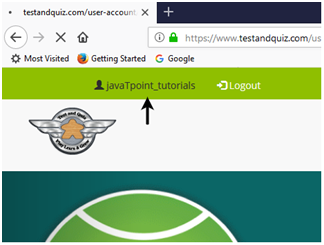
- Once you get logged-in, click on the user name section to view your account details.
- It will redirect you to your account settings page, where you can edit your personal details.
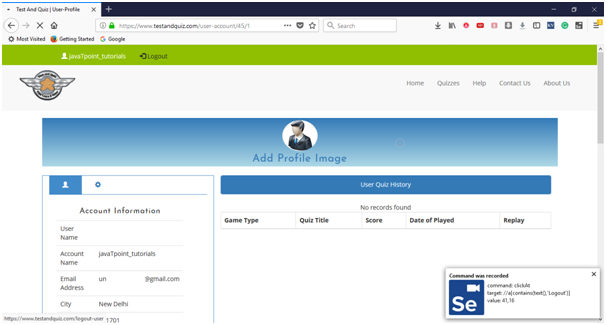
- Click on the Logout button.
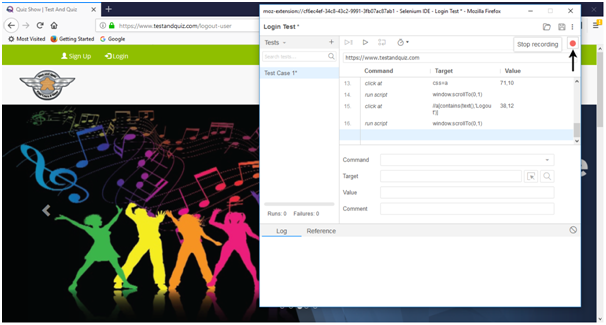
- Now, go to the IDE and click on Stop Recording button to stop recording the test case.
2. Playing Back
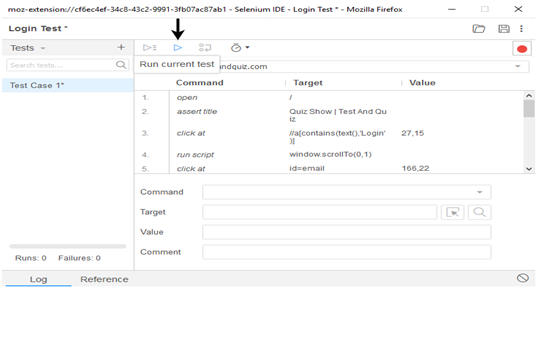
- Click on the "Run Current Test" button present on the tool bar menu of the IDE.
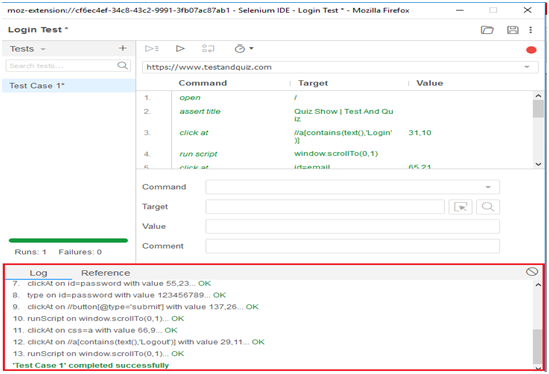
It will execute all of your interactions with the browser and gives you an overall summary of the executed test script.
- The Log pane displays the overall summary of the executed test scripts.
3. Saving the test suite
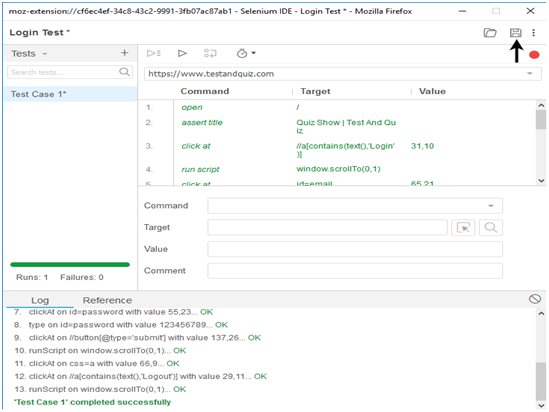
- Click on the save button present on the extreme right corner of the menu bar.
- Save the entire test suite as "Login Test".
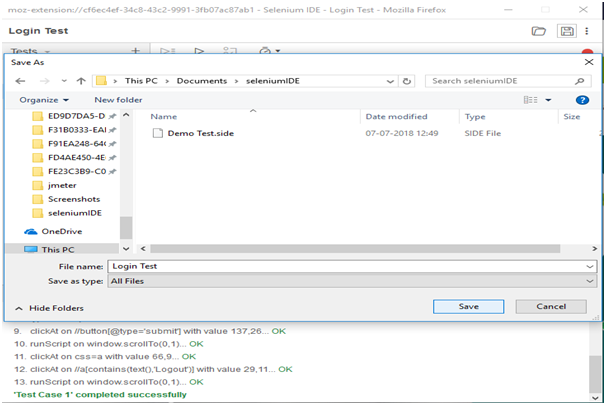
- The test suite can be found at the location provided in the above steps.
|


 For Videos Join Our Youtube Channel: Join Now


