| |

Installing Apache SolrRequirements to run Solr on your computerTo follow along with this online tutorial, we will need:
Download and Install JavaJava is available in the following three editions: Java SE: SE stands for Standard Edition in Java SE. Java SE can be used to develop stand-alone applications, such as PC applications. Java EE: EE stands for the Enterprise Edition in Java EE. It can be used to develop enterprise applications, such as web app., socket programming, and many more. Java ME: In Java ME, ME stands for Micro Edition. It is used to develop mobile applications and embedded devices software, such as set-top boxes and other electronic devices. Follow the below-given steps for the downloading and setting up Java: Step 1: Go to the link https://www.oracle.com/in/java/technologies/javase-downloads.html. You will redirect to the Java Standard Edition (SE) Downloads page. 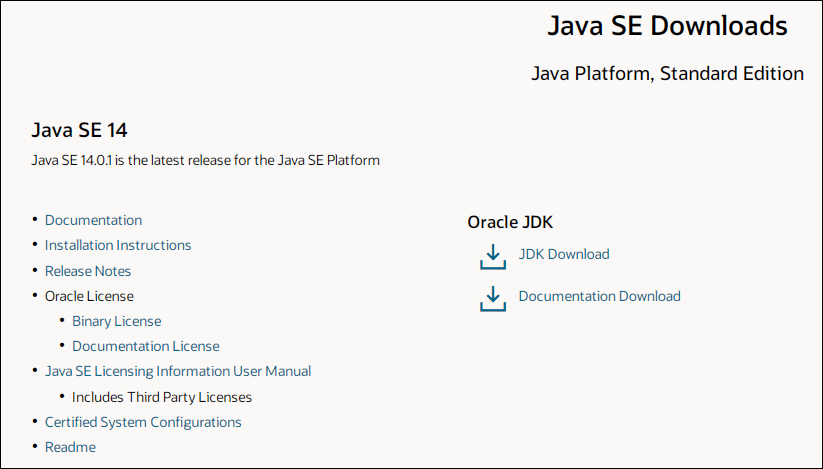
Step 2: Click on the Download link of JDK under the section of Oracle JDK. 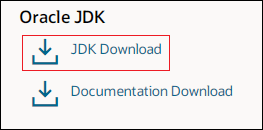
When we click on the link shown in the above image, we are now redirected to the Java SE Development Kit 14 Download page, where the JDK download link for the different operating systems is available. Step 3: Click on the available download link according to your operating system to start downloading JDK. 
Here, we are using Windows operating system, so we are selecting the JDK-14.0.1_windows-x64_bin.exe file. It starts downloading the .exe file. If you wish to download the zip file, click over another link. Step 4: Check on the box to accept the License Agreement, which activates the download option. 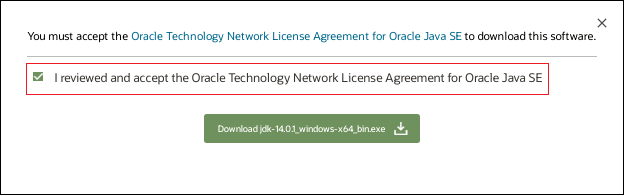
Step 5: Click on the Download JDK-14.0.1_windows-x64_bin.exe button. It starts downloading the JDK 14. 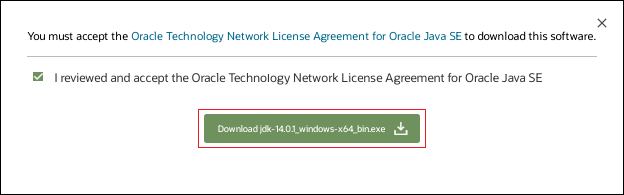
Step 6: Double click on the downloaded .exe file. It asks for changes on your computer. Click on the Yes button to run the setup. Step 7: In the installation wizard window, click on the Next button. 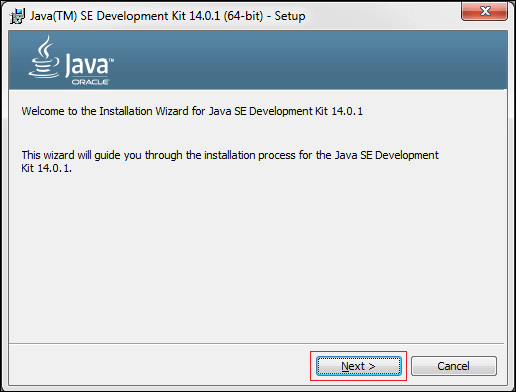
Step 8: Click on the Change button if you want to change the installation directory. By default, it installs JDK on the location C:\Program Files\Java\jdk-14.0.1. Otherwise, click on the Next button. It starts the installation of JDK. 
Step 9: When Java is successfully installed on your system, it shows a message Java SE Developments Kit 14.0.1 (64-bit) Successfully Installed. Click on the Close button. 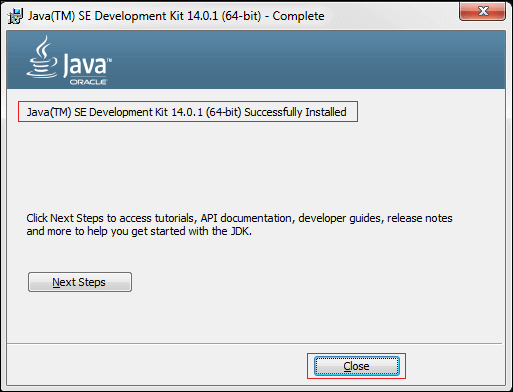
We have installed Java successfully. To check the Java is successfully installed or not, follow the steps given below. Step 10: Go to the bin folder of the JDK and copy the path. In our case path is C:\Program Files\Java\jdk-14.0.1\bin. Step 11: Open the Command Prompt and type the following commands: Step 12: Type the command Java? Version to check the Java version. It ensures that Java is successfully installed in your system. 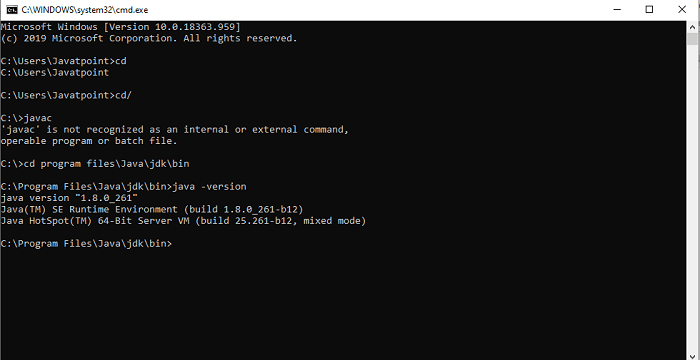
Download and Install Apache SolarStep 1: Open any of the web browsers and search for Apache Solr. 
Step 2: Click on the first link appear on the google search list. 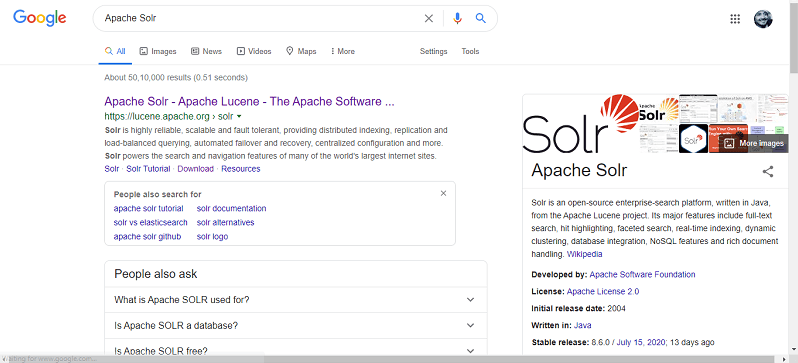
Step 3: Click on the download button on the Solr website. 
Step 4: Select one of the mirror links to get an index of Apache Solr. From there, download the file named Solr-8.6.2.zip. 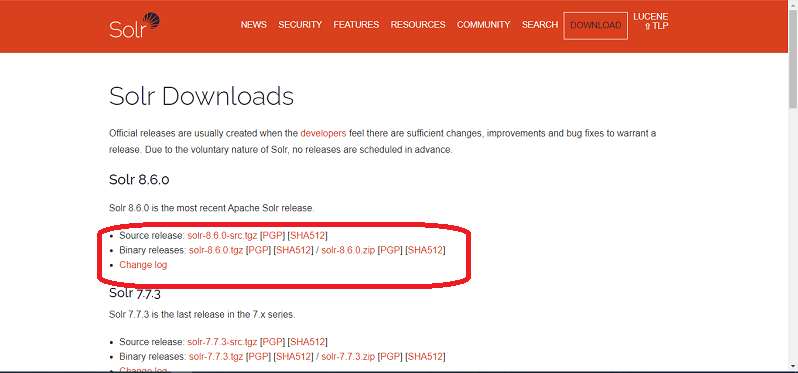
Step 5: Click on one of the mirror link given under the HTTP option 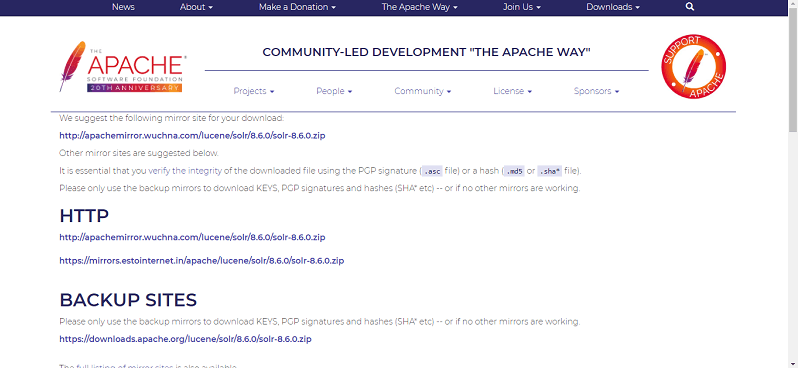
Step 6: After clicking the download link, select a file location from the explorer to save the .rar file. 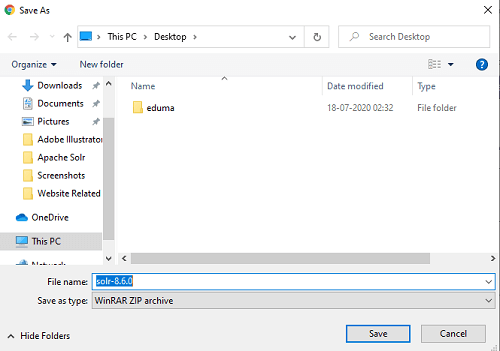
Step 7: Extract the .rar file and save the extracted files to the desired location. In our case, I am going to save the file to the C drive. 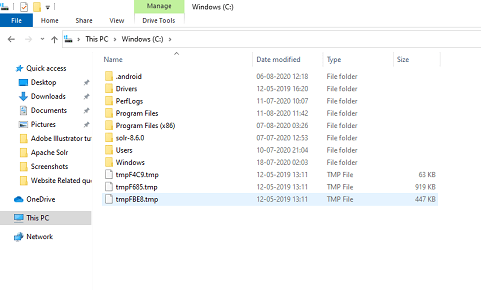
Setting Java EnvironmentWe can also connect with Apache Solr using Java libraries, but before accessing Solr using Java API, we are required to set the classpath for those libraries. Setting the Classpath Set the classpath to Solr libraries in the .bashrc file. Open .bashrc in any of the text editors, as shown below. Set classpath for Solr libraries (lib folder in HBase), as shown below. It can be done to prevent the "class not found" exception while accessing the HBase using Java API.
Next TopicApache Solr on Hadoop
|
 For Videos Join Our Youtube Channel: Join Now
Feedback
- Send your Feedback to [email protected]
Help Others, Please Share


