| |

Multi-Project Build in GradleGradle supports multi-project build for the rapid development of the projects. It helps to modularize the project. It allows us to concentrate on one module of a larger project. Gradle takes care of dependencies that occurred from other parts of the project. The multi-project build consists of a root project and one or multiple subprojects. Cross-project configurationEach subproject is capable of configuring itself in complete isolation of the other subprojects, so the subprojects share common characteristics. It is preferable to share configurations among projects, so that the same configuration can affect many subprojects. Configuration and executionIn Gradle, configuration means to execute 'build.gradle' of a project. By default, configurations are done before any task is executed. When a single task from a project is requested, then the multi-project build is first configured. When a project is configured, it becomes more flexible in case of accessing and updating any module of a Gradle project. Create a Multi-ProjectLet's create a project containing its subprojects and build the Gradle project. Co'sider the below project structure in which the root project name is Multi_project, and the subproject name is sub_project. Create a new root directory in which we want to create a multi-project. Use the below command to create a new directory: Create a Gradle building; the Multi_Project directory. To create a Gradle build, run the gradle init command. The init command contains the wrapper command itself, so it will create the build.gradle and setting.gradle file in the root project. Below is the process of creating a Gradle project: When we execute the init command, it will ask for the project type that we want to generate. It provides four types of project options. They are as follows:
Select the required option and press enter key to continue. Next, it will ask us for the required build script DSL. There are two options available for the DSL:
Select the necessary DSL and press ENTER key to continue. Now it will ask us for the project name; we can provide any project name, and if not provided, by default, it will take the directory name as the project name. Press ENTER key to continue. Consider the below output: 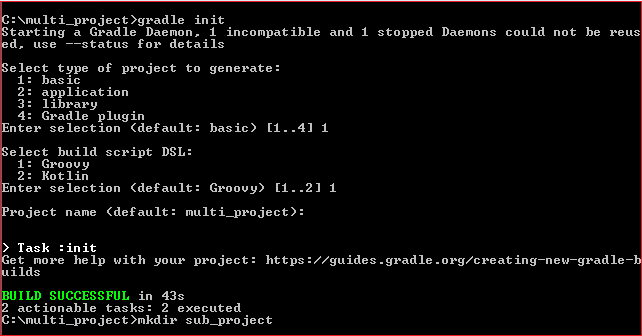
Now create the multi-project tree structure as follows: Multi_project/ build.gradle setting.gradle Sub_project/ build.gradle setting.gradle Consider the below image: 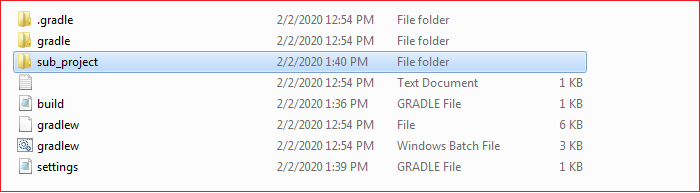
Now to create a multi-project build, add the below code snippet in the root project build script (i.e., build.gradle). Include the subproject into the root project. To do so, add the below statements in the setting.gradle: Execute it with the below command: Output: 
In Gradle, any project can be accessed from the build script of the multi-project build. The project API of the Gradle provides a method called project(); it takes the path as an argument and returns the object of the project for the current path. When a project build configures from a build script, then it is called cross-project configuration. This is implemented using configuration injection. Consider another scenario. There is another sub-project called Demo under the project sub_project. The tree structure of the Gradle project is as follows: Multi_project/ build.gradle setting.gradle Sub_project/ build.gradle setting.gradle Demo/ build.gradle setting.gradle We can execute all the subprojects from the root project. To do so, rewrite the build script of the root project. Add the below code snippet to the build.gradle file of the root project: Include the sub project into the root project. To do so, add the below statements in the setting.gradle: Execute it with the below command; Output: 
Access the subproject onlyThe Gradle Project API also facilitates with a property for accessing the subprojects only. Defining common behavior: We can define a common behavior of the project and sub-project. To do so, rewrite the root project build script as follows: Execute it with the below command: Output: 
Adding a specific behaviorWe can add specific behavior on top of the common behavior. Generally, we place the project-specific behavior in the build script of that project in which we want to add the specific feature. To do so, we have to update that particular project's build script. To add specific behavior to subproject update the build script as follows: Execute it with the below command: Output: 
Next TopicGradle Java Application
|
 For Videos Join Our Youtube Channel: Join Now
Feedback
- Send your Feedback to [email protected]
Help Others, Please Share


