| |

How to make Java projects?In this article, we are going to learn what projects are in Java and how to create them in an Integrated Development Environment (IDE). JAVA projects topic will help us in getting better at using Java and making a working application using Java. Let us go in-depth and discuss projects. What are projects?In a way, projects are similar to packages in the Java programming language. Just like packages, the projects in Java are files containing source codes, program-related files, etc. A Java project has its own associated Java builder, which can compile Java source files incrementally whenever they are changed. A Java project has a model of the contents it stores. The model of contents stores information about the hierarchy, declarations and references of the Java elements of that particular project. When the auto-build feature is turned on in the IDE, the internal Java project is independent of the Java builder and accepts code modifications. Organizing a Java ProjectA JAVA project can be organized in two different ways in the most used Java IDE Eclipse. For organizing simple projects, we can use the project itself as a source container. Using the project as a source container is the most recommended process for organizing simple projects in Eclipse. When the complexity of the project is increased, the source folders inside the project are used as the source container. This process is followed for complex projects as it allows us to separate packages into various groups. The process of separating the packages helps us in finding them faster when they are needed. Creating a Java Project in EclipseTo create a Java project in the Eclipse Integrated Development Environment, we undergo three main steps. The basic steps for creating a Java project in Eclipse IDE are as follows:
Opening New Java Project wizardTo start the process of creating a new Java project, we must open the " New Java Project " wizard. There are typically three ways to open the New Java Project wizard, they are: Method 1:

Method 2:
Method 3:
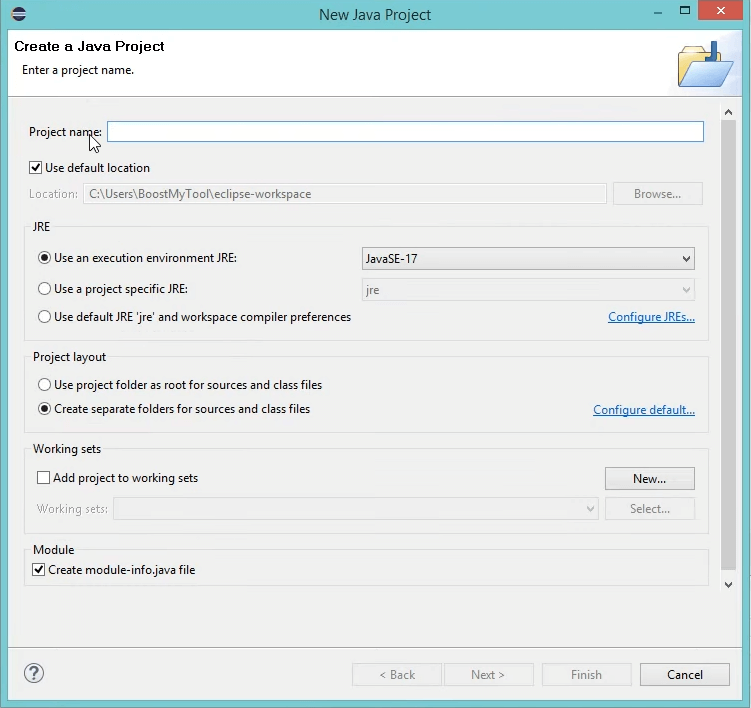
So, as mentioned above, these three methods help us in completing our first step of creating a Java project, i.e., opening - the New Java Project wizard. Making a Java ProjectA Java project can be created using the New Java Project wizard by selecting where we want to create the Java project, i.e., either in the workspace of Eclipse IDE or in an external location of your personal computer. Basically, the New Java Project wizard consists of two pages. On the first page of the New Java project wizard, we need to complete a process of:
View the newly created Java projectThe package explorer situated in the left part of the Eclipse interface shows the newly created Java project. The icon of a Java project is a " J ", used to show us that it is a Java project. The icon of a folder in the project is also decorated to show us that it is a Java source folder. 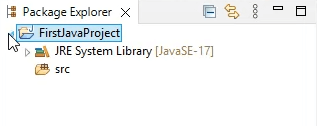
ConclusionSo, in this article, we have learned what projects are in Java and how to create them in an Integrated Development Environment (IDE). The above-discussed Java project topic has helped us in getting better at using Java and in making a working application using Java.
Next TopicJava Fibers
|
 For Videos Join Our Youtube Channel: Join Now
Feedback
- Send your Feedback to [email protected]
Help Others, Please Share


