| |

Implementing Basic Authentication with Spring SecurityIn the previous steps, we have created some resources, but none of them is secure yet. There is no user id and password to access the resources. In this section, we will implement basic authentication. There are multiple ways to authenticate our RESTful web services. The basic way is to use basic authentication. In the basic authentication, we send a username and password as part of our request. When we provide a username and password, it allows us to access the resource. There are other advanced forms of authentication like digest authentication, where the password digest is created, and the digest is sent across. It does not send the actual password to the server. The other advanced form of authentication is OAuth (Open Authorization) or OAuth2 authentication. Let's see how to implement basic authentication in web services. Step 1: Open pom.xml and add the spring-boot-starter-security. It automatically configures the basic security for us. Step 2: Restart the server, we get a password in the log. Each time the server starts up the password will be different. 
Step 3: Copy the password from the log. Step 4: Open the REST Client Postman and send a POST request. We are sending a POST to create a user.
It returns the Status: 401 Unauthorized. 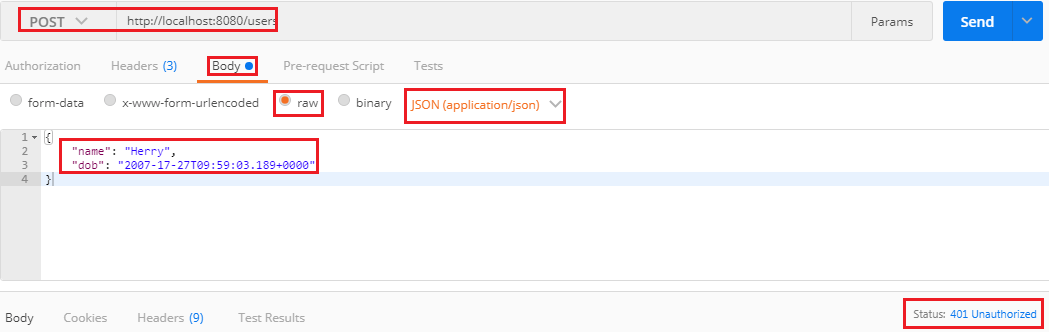
Step 5: In the REST client Postman, click on the Authorization tab and do the following:
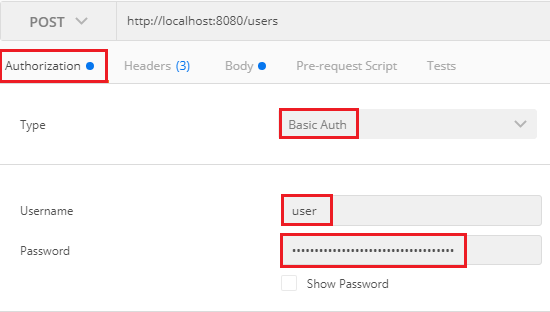
It shows the Status: 201 Created. There is a disadvantage that when we restart the server, the password changes again and again. The solution to this problem is that configure the username and password in the application.properties file. application.properties Now, move to Postman and try to send a POST request that returns Status: 401 Unauthorized. It is because we are still using an old password. So we are required to change the username and password with the new one. Provide the username and password which we have configured in the properties file. We get the Status: 201 Created. 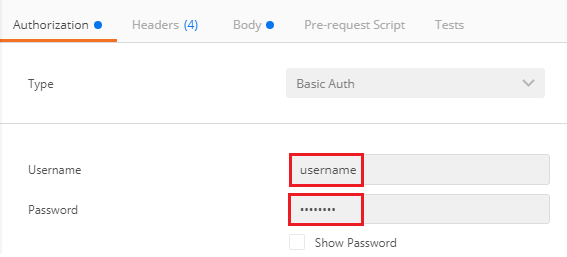
Next TopicConnecting RESTful Services to JPA
|
 For Videos Join Our Youtube Channel: Join Now
Feedback
- Send your Feedback to [email protected]
Help Others, Please Share


