| |

How to Fix UNEXPECTED_KERNEL_MODE_TRAP Error?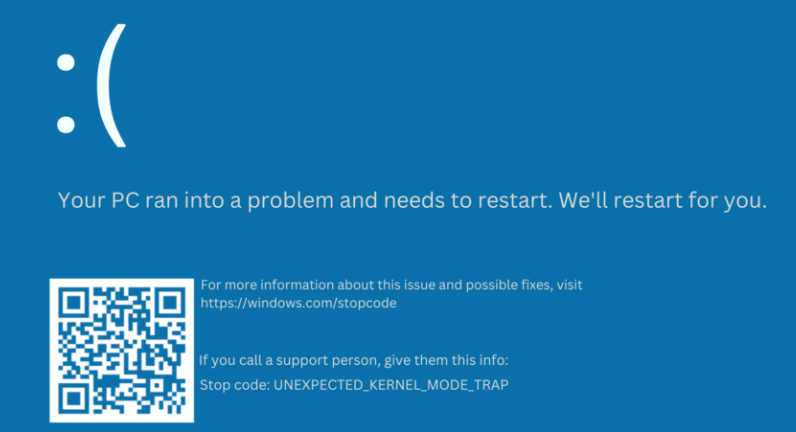
Many Windows 8.1 and Windows 7 users have experienced Unexpected Kernel Mode Trap Error. It is a blue screen of death (BSOD) error. The error appears in two scenarios that happen in the kernel mode. First, the CPU generates a condition where the kernel cannot catch or the condition cannot be recovered. These errors can either be caused due to hardware failure due to faulty or mismatched memory. There can be cases where the error is caused by faulty software installed in your system that can cause an Unexpected Kernel Mode Trap Error. In Windows versions before Windows 8, the error was represented as the error code, which was later replaced by the Unexpected Kernel Mode Trap error. Unexpected Kernel Mode TrapSeveral reasons can cause the above BSOD error. But the most common reason that can lead to this error is if there is an issue with the RAM module that randomly returns read/write errors. If you are frequently facing the error, then you may need to perform a scan on the system, and if the issue is with the RAM module, it is best to replace the particular RAM module. Another reason that can cause the above BSOD error is if the Driver is corrupted or outdated. Several drivers in the system may be corrupt or outdated. You may face the error if the user recently upgraded Windows or switched from a new system to an older one. The error is most likely to occur if the user uses an older Windows OS version. Fixing Unexpected Kernel Mode Trap ErrorBack up or Recover Data Before Solving ErrorBelow are some methods the user can use to resolve the above-mentioned error. But before starting with the fixes, the user should backup the necessary data in the system as an improper implementation can lead to data loss. It is advised to take precautions to ensure data safety. You can use a cloud storage or an external disk to replicate the data stored in the system. If there is an issue with the system boot, you should first recover the data from the system. You can use third-party software that enables the user to recover the data. You can proceed with the fixes once you have ensured the data is safe. Follow the fixes in the proper sequence if you don't know the specific cause responsible for the error. Check MemoryFirst, check if the error is caused due to an issue with the system memory. The error is likely caused if the memory is either mismatched or malfunctions. You can only check if the problem is with the memory if you can boot the system into Safe Mode or Windows Normally. Follow the below steps to boot your system in the safe mode.
Troubleshoot Hardware FailuresThe error can also occur if the system hardware is no longer compatible with the current versions of the Windows OS. The error can also be caused due to malfunctioning hardware. If you have recently inserted new hardware in the system, remove the new equipment first and check if the error still occurs. If the error is resolved, replace the hardware. If you cannot identify which hardware equipment is responsible for the error, you can execute the Hardware and Devices troubleshooter in Windows or Safe Mode. It will determine and fix the problems with the associated hardware component. Follow the steps to run the troubleshooting:
Check for Windows UpdateWindows resolves various security issues and introduces bug fixes that can either be related to the system hardware or software. It is essential to perform regular updates on Windows as it ensures a stable operating system. You can perform the update in Safe mode. Here are the steps to perform the Windows Update:
Check DriversThe error can also frequently occur when the user installs a new device driver or updates the existing one. It can be resolved by removing or replacing the Driver. If you want to remove the device driver, you can roll back or uninstall the Driver after your system boots into Safe Mode. Follow the below steps to uninstall or roll back the Driver:
Update FirmwareIf the error occurs in a newly installed system, the user should first check that hard drives, controllers, and adapters are functioning properly. The latest version of Windows may not be compatible with the hardware component of the system. You can check by referring to the Windows Compatible Products list. If the hardware version is compatible with the Windows version, you may need to update the BIOS or SCSI controller. The user can update the controller and network cards by using the Device Manager. You can find the option to update adapters and controllers in the list for updating the drivers. To perform an update on the BIOS for Windows, first, the user must know the current version of the BIOS. Follow the below steps to update BIOS in your system:
Disable Overclocking and Memory CachingSome users have reported the error when the system is overclocked. Overclocking is used to enhance the CPU performance. If you face the above error while the system is overclocked, switch the CPU to default clock speed settings or turn off overclocking. You can also turn off memory caching to resolve the mentioned error. Follow the below steps to turn off memory caching:
Next TopicWhat is a Magic Link
|
 For Videos Join Our Youtube Channel: Join Now
Feedback
- Send your Feedback to [email protected]
Help Others, Please Share


