| |

Add routing in MEAN StackWe got our angular frontend, and we got our node express backend, which also talks to our MongoDB database. We learned all the core pieces, and we got them connected. We only scratched its surface, and there are many more features like authentication and better error handling, which we will show you later in this module. We will do a little bit more work on our frontend. For example, we can't edit our posts yet, and we manage all the things on one single page, but we should have different pages rendered with angular. In this section of the module, we will add another page for editing the post. For creating a multi-page application, we need the angular router. We can load post-create and post-list components on separate pages. We will use the following steps to make our application multi-page: 1) We will add a new module on the root level of our angular application. We will create a new file and will name this app-routing.module.ts. 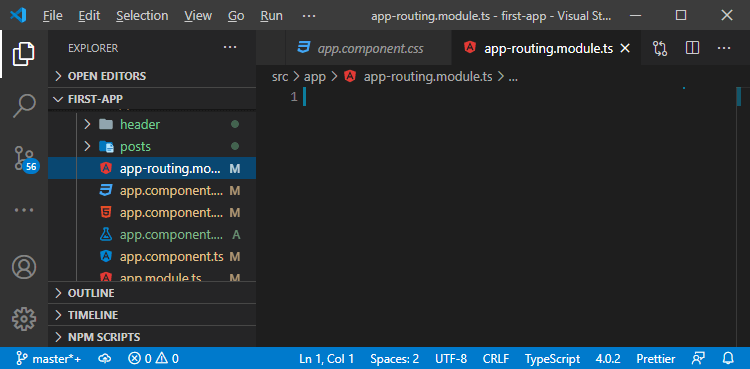
2) In this file, we will export a normal class named AppRoutingModule. 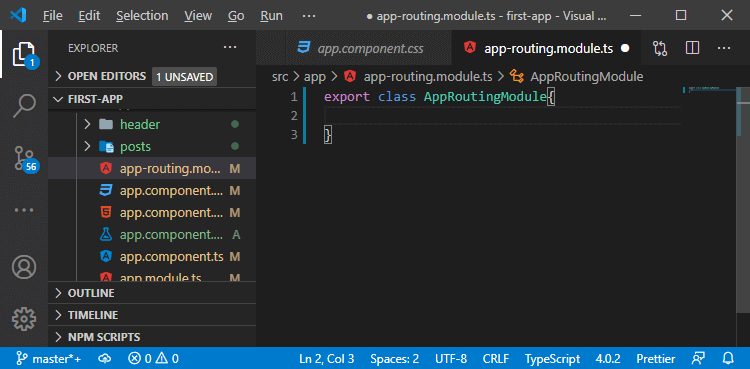
Now, this becomes an angular module, and angular modules are building blocks. Angular analyzes to find out which features our app uses, and we could also define our routes in the normal app.module.ts file. It is just a good practice to not put everything into the app.module.ts file but to split our logic across multiple files. We will put all the routes setup and the route config into a separate file, which we then import into our main app.module file. 3) Now, we will decorate the class with the ngModule decorator because it is an angular module. We will also use another angular feature, i.e., RouterModule so will also import this in the following way: 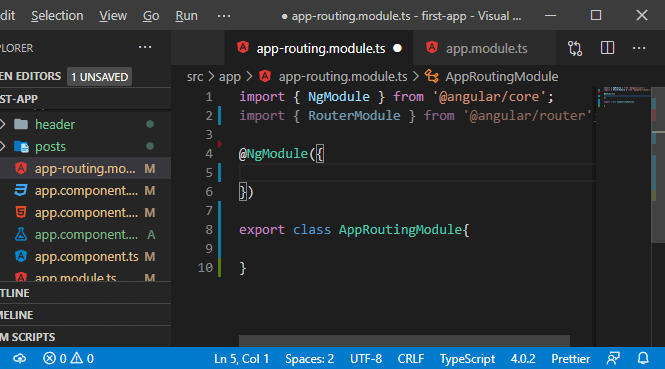
The RouterModule enables the angular router to handle a route configuration. Without RouterModule, we can't use the angular router. 4) Now, we will create some routes. The routes are the JavaScript objects where we define which URL part of our app should be presented. We create a constant, which is of type Routes, which we also need to import this from the '@angular/router'. This constant holds an array of JavaScript objects, and each object has a certain structure. This object has a path property that defines for which part after our domain we want to load a certain page, and if the path is empty, then this simply means the main page or root page or starting page. So, localhost:4200/ will load this page, and the path is set in the following way in the object: 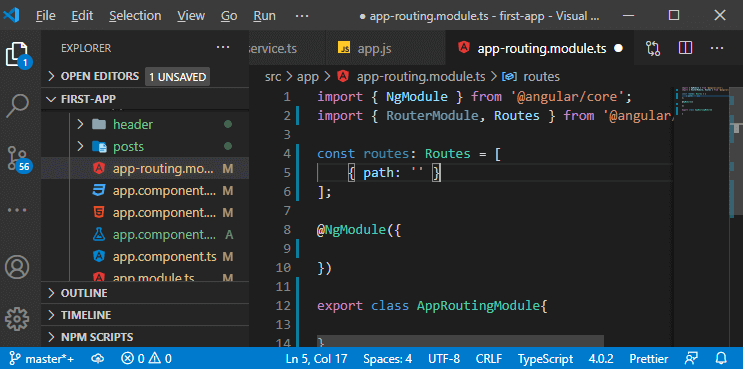
5) After defining the path, we need to define what should get loaded, and we want to load the PostListComponent. We will define the component in the following way: In the same way, we will create a route object for our PostCreateComponent like as: 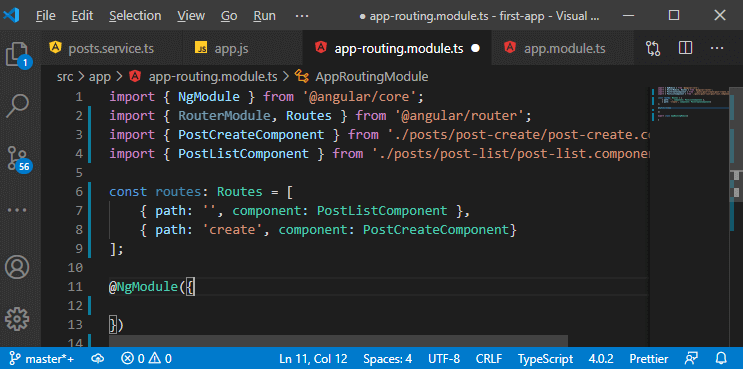
6) Now, we need to inform the angular router module about the routes. We do by importing the router modules into the angular module in the following way: 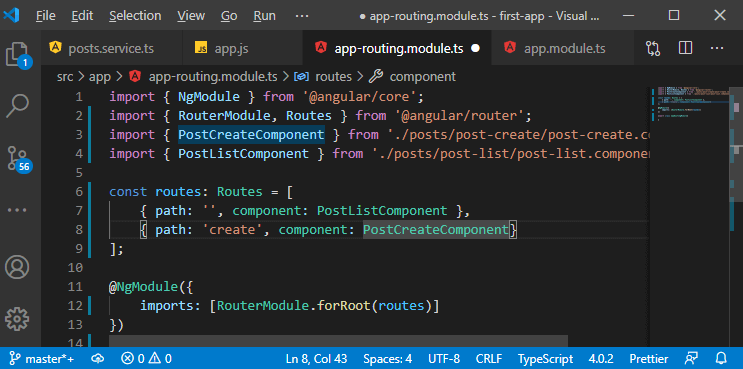
7) Now, the angular router is aware of our routes. We also need to add it to our app module that is the main module of our app and the module with which our app gets started. For adding it into the app module, we need to export this configured routed module. We will export this in the following way: 
Now, we can use this router module with our router configuration outside of the app-routing module. 8) Now, we will go back to our app module, and we will add our AppRoutingModule in the "imports" array, and our IDE will automatically add it, and we only have to make sure that it will be imported or not. 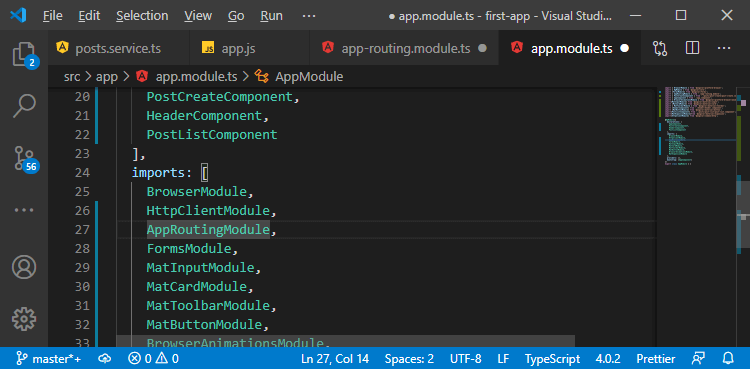
9) We can now use the angular router with our configuration, and we do so by marking a place where angular should load the active routes. So, we will go back to our component.html file and here we will get rid of <app-post-create></app-post-create> and <app-post-list><app-post-list>. We will load both of them using a router. We will add a hook for the angular router where it renders its content. This hook will be created using the <router-outlet> directives in the following way: 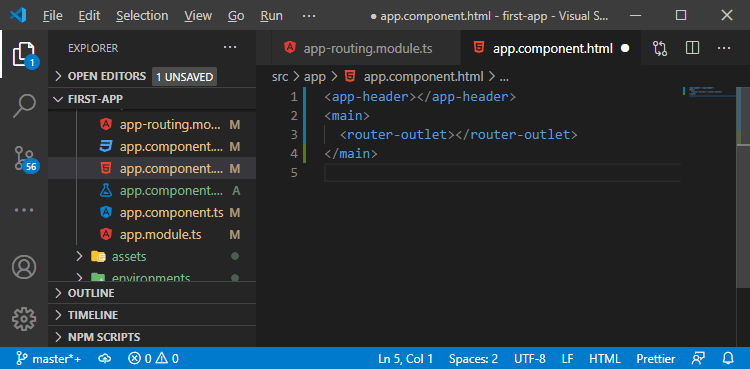
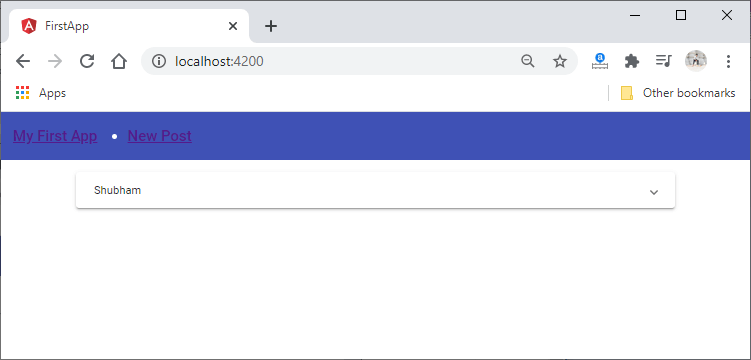
Now, if save it and go back to localhost:4200, we will go to the route list page: 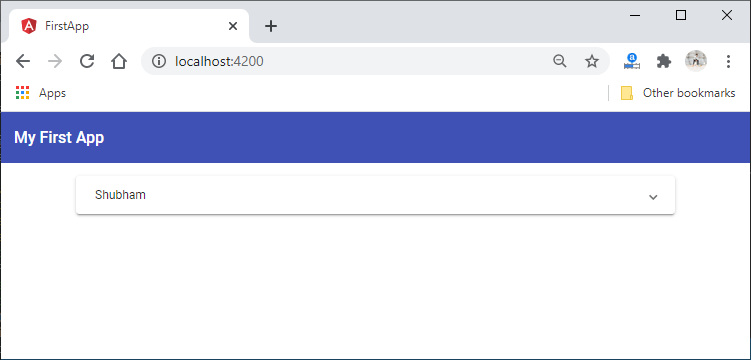
Now, if we go to the localhost:4200/create route, we will see the toolbar: 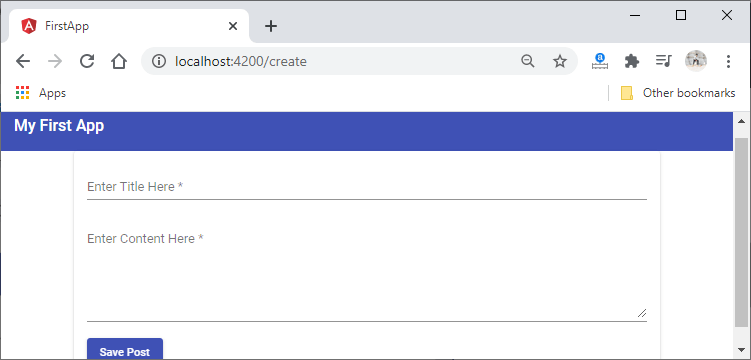
10) Now, we are missing links to access these routes, though, because right now, we can manually hardcode the url. This is not really we want to navigate around, and instead of this, it would be nicer if we had a link in our header. So, we will go back to our component.html file, and here we will wrap our messages with a span like: 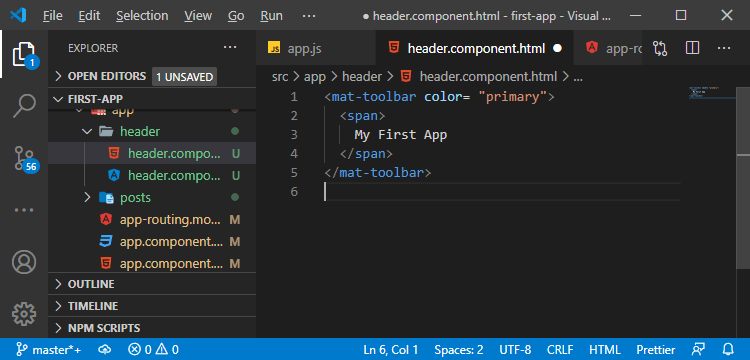
We will also add an unordered list where we handle our toolbar items in the following way: 
In the above code, we used the routerLink property. The routerLink will be used by the angular router, which turns the anchor tag into a normal link where the angular router captures the click. It will stop the default behavior of sending an http request and re-render the page for the page we try to visit. Now, we save this and restart the app to check whether it is working properly or not. 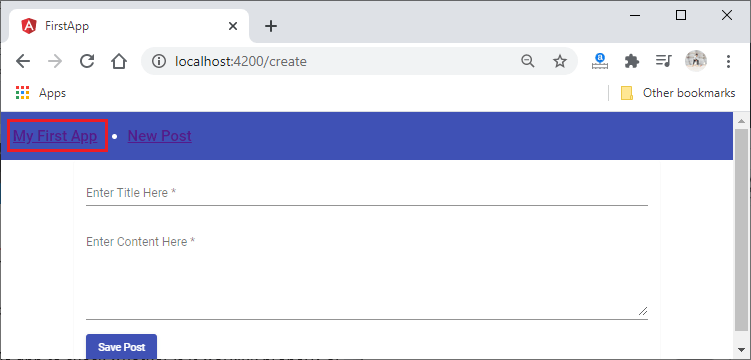


Everything is working well. In the next section, we will learn how to style our links to make a better visual. Download Complete Project(Add routing.zip)
Next TopicStyling Links in MEAN Stack
|
 For Videos Join Our Youtube Channel: Join Now
Feedback
- Send your Feedback to [email protected]
Help Others, Please Share


