| |

Creating user interface and fetching data in Mean StackIn our previous section, we learned how to add a new component to our project. We created a separate folder for html and typescript file. In this section, we will learn about the event listening and outputting content. In this section, we will use both these in our application. We will get the knowledge of both one by one. EventsWe are creating an application of creating, updating, and retrieving posts. So, we need input and a button to save the post. We will add both in the template of post creation. We can either use a normal text input or a text area because we should be able to enter more text in just one line. 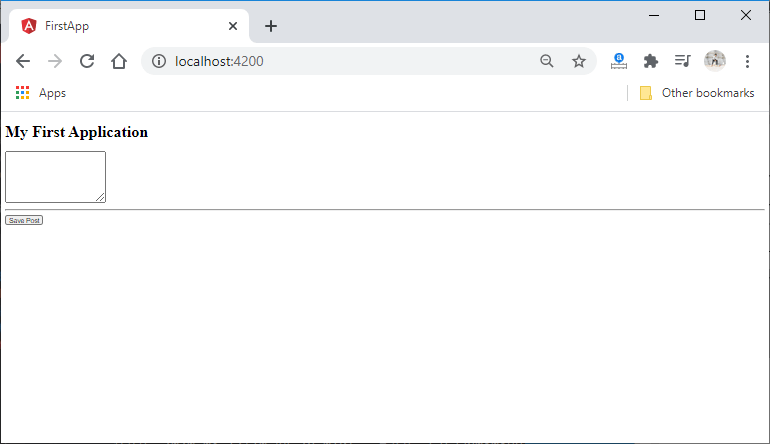
Now, to do something upon a click, we need to add a click listener. We will do that with a feature called event binding. The event binding is an angular feature that allows us to listen to events in a declarative way. So we will create parenthesis in the button and call the onAddPost() function in the following way: We will create this function in our PostCreateComponent class. In this method, we will create an alert message that will show "Post is added successfully". Now, we will save it and run it. 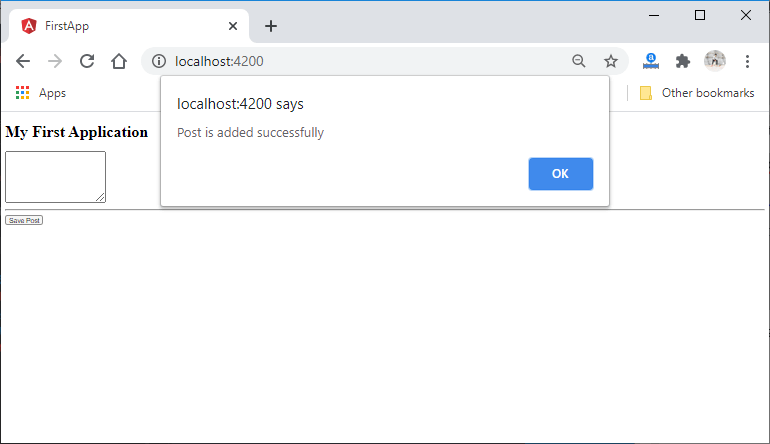
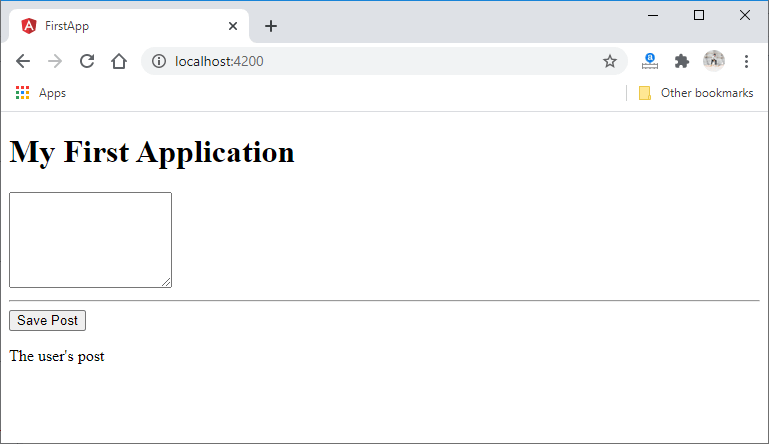
Outputting contentNow, we will create a field for showing the output. At that time, we will use some dummy content. So, we will set the dummy content in our onAddPost() function of our PostCreateComponent class, and we need a place to store that content. We will create a variable and pass an empty string. We will override this variable into our onAddPost() function in the following way: Now, we will go back to our html file and add the output hooks directly in the template. We will do this by using a feature called string interpolation, and we will use it in between the double curly braces. In between these curly braces, we will refer to something that is stored inside our post-create component. This something could be a method, and then we would output whatever this method returns, or it can be a property name like newPost. Now, if we run this, we will see the dummy output content on the browser: 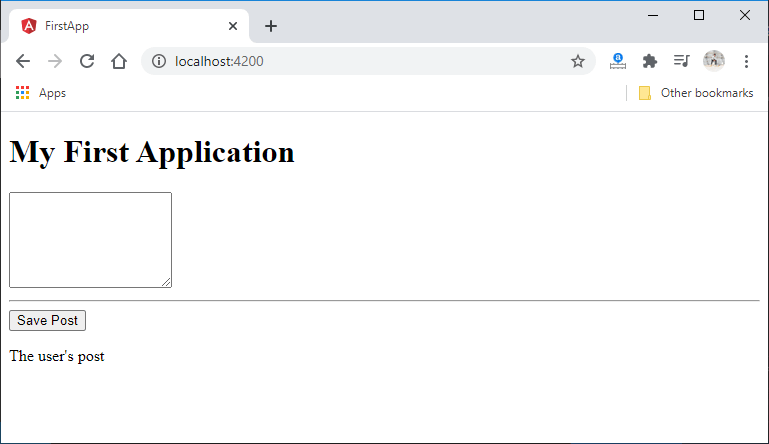
Now, we pass a string to the newPost variable of our PostCreateComponent class. When we save it, we will first see the string passed into newPost variable to the output field. When we click on the button, the output string will override with the string passed into the onAddPost() function. 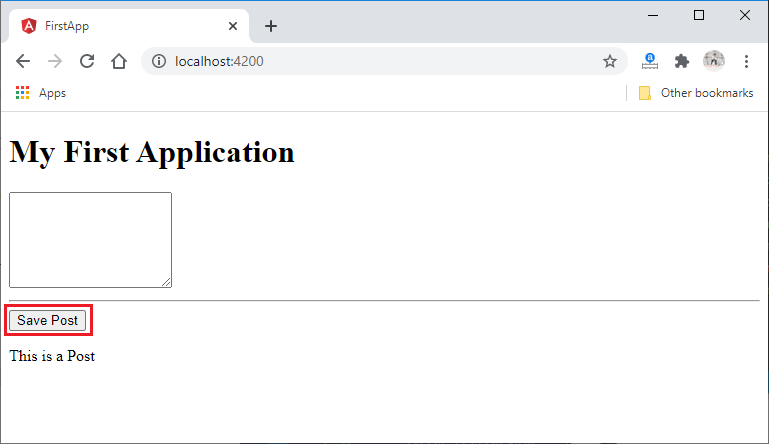
Getting user inputNow, we will get the user input from the text area. There are basically two ways to do this, i.e., local reference and two-way binding. Local ReferenceIn local reference, we add a marker, a variable to any html element we want. We will do this by adding a hashtag and then any name which we want. This marker creates a reference to that element which we can use. We will do the code for it in the following way: Post-create.component.html We also need to do some changes in the post-create.component.ts file. We will pass the marker of the text area field to the onAddPost() function. We will do the changes in the onAddPost() function of the PostCreateComponent class in the following way: Two-way bindingAngular offers a new feature called two-way binding to get input from the user. There is no need to manually set the value of the text area and getting a reference to it. We get rid of both. The two-way binding combines the setting and reading of value. It is called two-way binding because it has a two-directional flow. We will use ngModel that is a directive, and listen to user input. It emits the data and also stores the new data in that text area or output. We will create a new property and bind it with the ngModel. For using this, we will import the FormsModule that is a part of @angular/forms in the app.module.ts file. We don't need to pass any marker to the onAddPost() function. We will remove the marker and value, and bind the property with the ngModel. In the textarea, we attached ngModel in between square brackets and passed the property which we have created in our PostCreateComponent class in the following way: 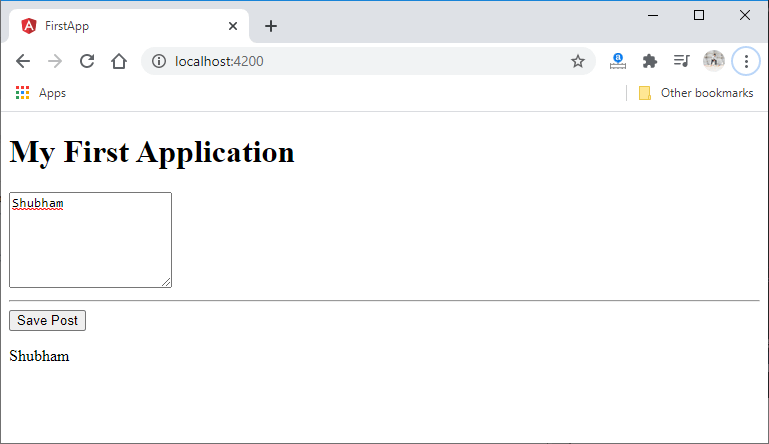
In the next section, we will make this ugly application into an application that looks cool. We will learn about angular material, how they can be installed and used to improve our application.
Next TopicInstalling Angular Material
|
 For Videos Join Our Youtube Channel: Join Now
Feedback
- Send your Feedback to [email protected]
Help Others, Please Share


