| |

Adding new component in Mean StackIn our previous section, we learned about the project structure of the MEAN stack. Now, we know all the files and folders available in our project. In this section, we will use the same project, and build an application where users can create posts, read the posts of others, edit their old ones, and so on. Note: We certainly don't want to handle all that logic in one component only because that would quickly explode in size.Create a new componentWe will create a new component by going to the app folder. In this folder, we manage our angular app. We will use the following steps to create a new component: 1) We will create a sub-folder in the app folder, where we typically put new components or blocks of components to keep our code organized. We will create a new sub-folder named "posts" by simply clicking on the right button of the mouse on the app folder. 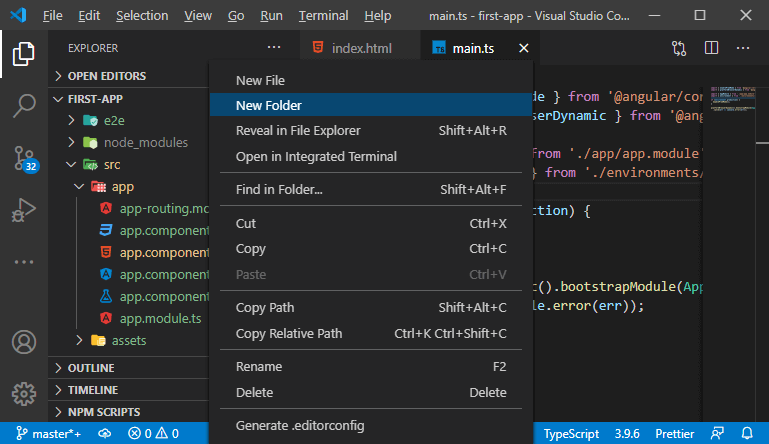
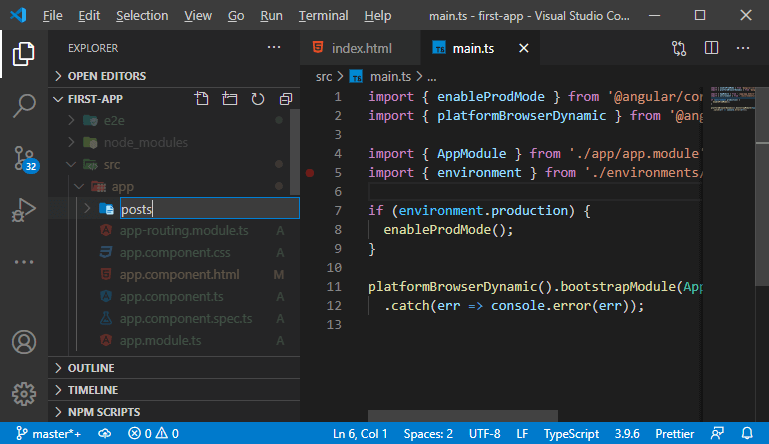
This sub-folder will hold all the post related components, and each component is typically made up of more than one file. 2) Now, we will create another sub-folder for organizing the files of a single component in it. You can also use a flatter folder structure, and you don't need to use that many folders, it is up to you. We will go with the sub-folder way in our project. 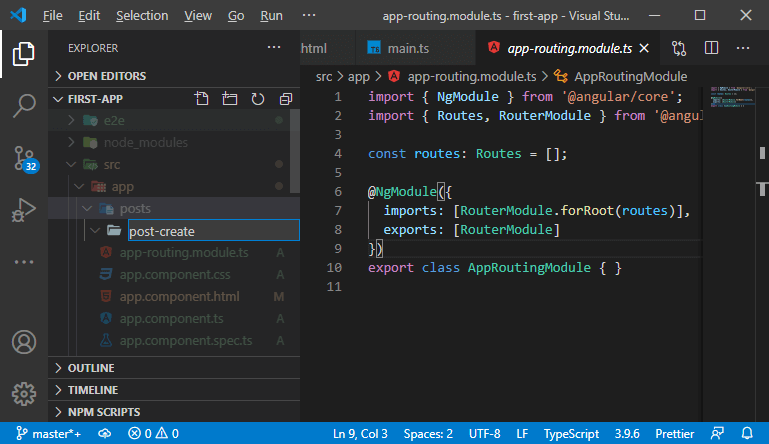
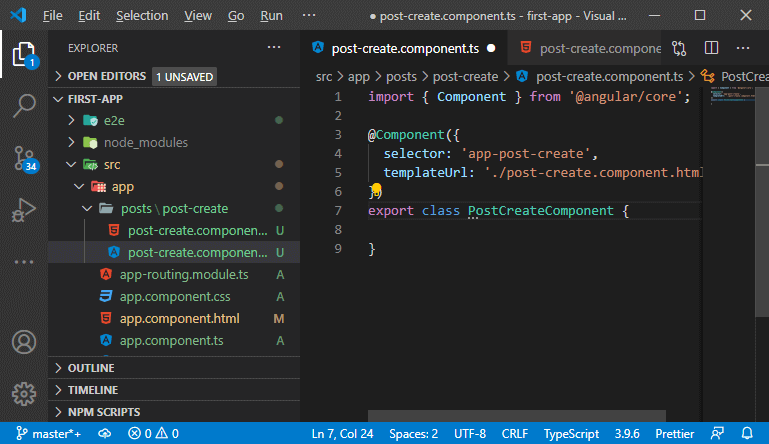
3) Now, in this folder, we will create a post-create.component.ts We can give any name to this file, but it is a convention in angular to include .component in component files, and .ts is an extension because we use typescript. 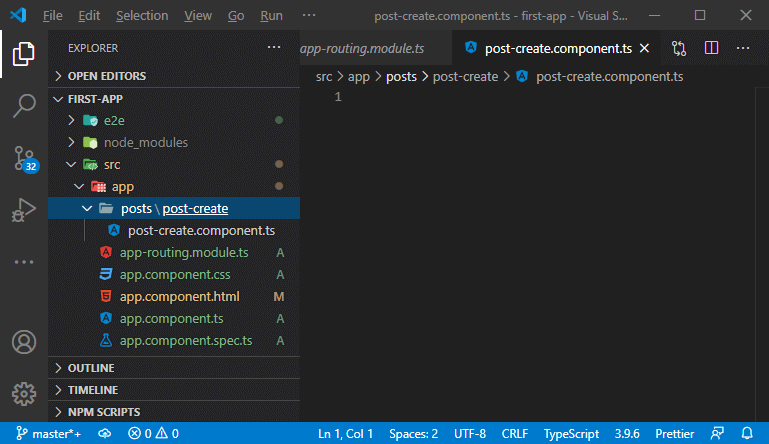
4) We can define the html template in the typescript file, but since we have a bit of a more complex template. So, it is good to create a separate file. We will create an html file name post-create.component.html. 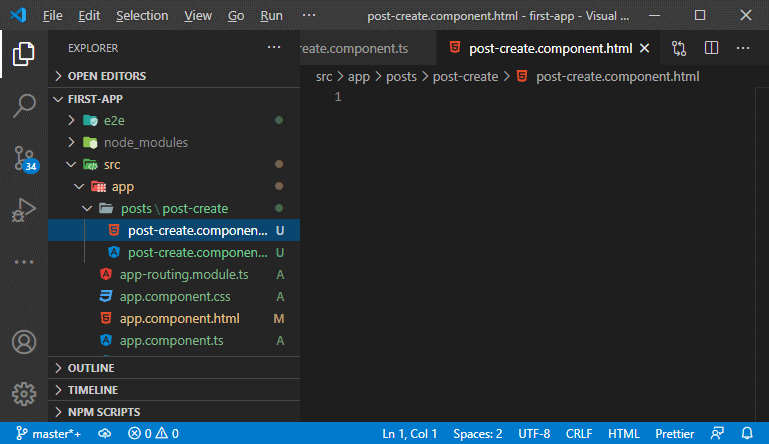
5) n our typescript file, we create a component by simply creating a new class. A class is a typescript feature and available in the latest JavaScript versions also. It allows us to create a blueprint for an object. Though, we will never create that component object on our own. We just give it to angular, and angular will instantiate it, create it, and use it. We can only define how such a component would look like, and that includes a name for it. In the above code,
6) We also want to add something to the template. We will write the html code in our post-create.component.html 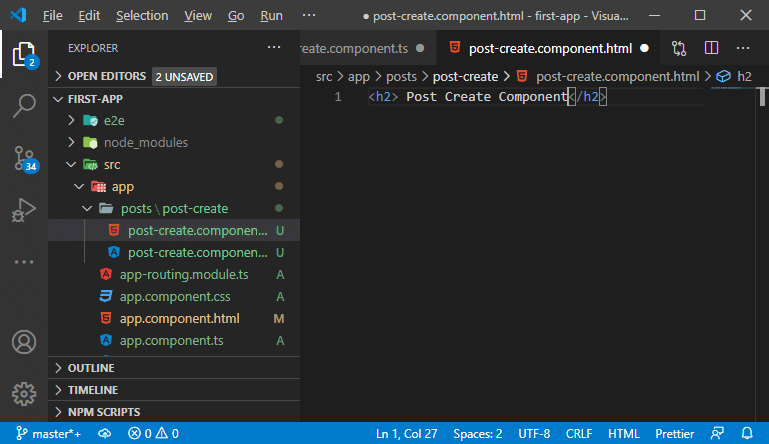
7) Now, we will use it in our app.component.html file. We will go to that file and call our component using the selector. 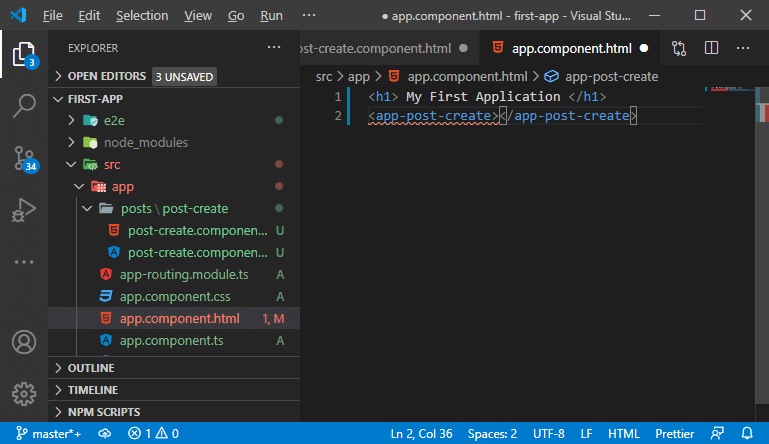
8) If we save it and run our application, we will see a blank screen. It will show us an error message "app-post-create is not a known element". We have to explicitly register a component if we want to use it. We will do this in the app.module.ts file. So, we will import our component and add it into the declaration as: 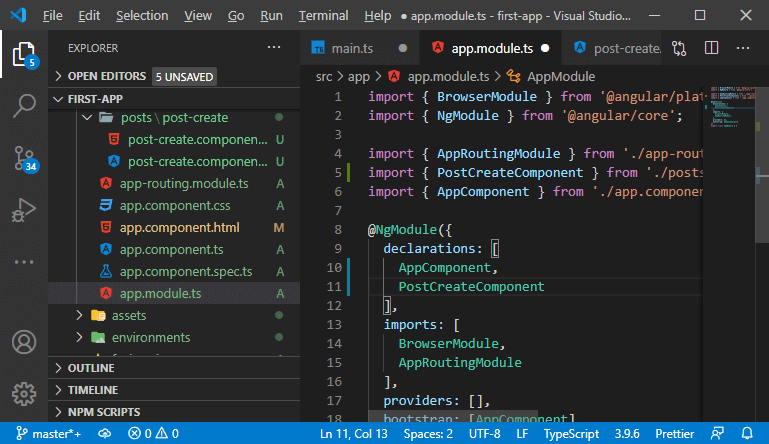
Now, we save it and can see the "post create component" in the browser. 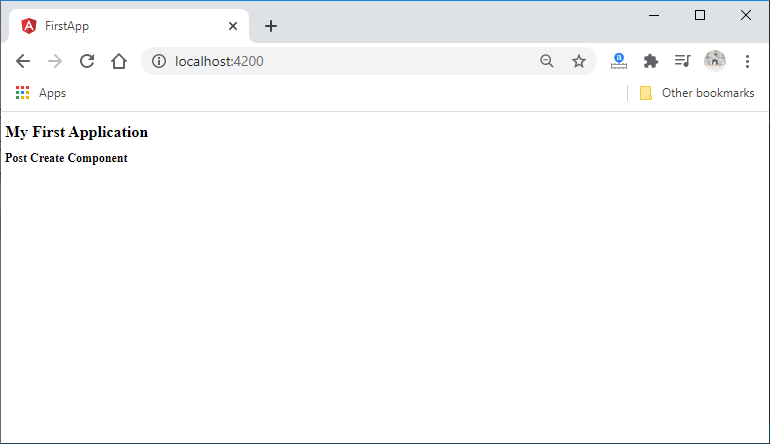
|
 For Videos Join Our Youtube Channel: Join Now
Feedback
- Send your Feedback to [email protected]
Help Others, Please Share


