Installing PostgreSQL on Windows
PostgreSQL is one of the most popular relational database management software widely used in today's industry. It provides multi-user access support with various storage engines.
In this chapter, we are going to learn how the beginners can download and install PostgreSQL on Windows Platform.
Prerequisites
Following are the System requirements required to download the latest version of PostgreSQL in our computer Systems:
- PostgreSQL Setup Software
- RAM 2GB (4 GB recommended)
- 64-bit Microsoft Windows 10
Download PostgreSQL
Follow the below steps to download the PostgreSQL:
Step 1
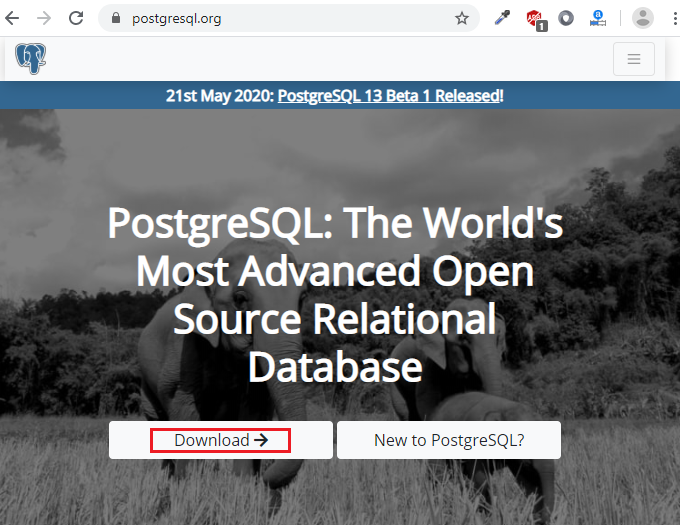
Step 2
- Once we clicked on the download button, we will see the option to choose the Operating System, such as Windows.
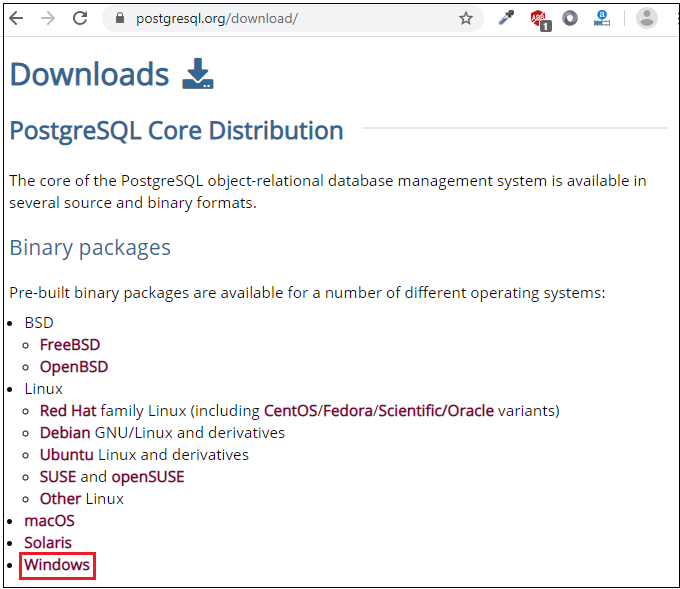
Step3
- Once we select the Operating system, the below window will open, and where we click on the Download the installer link.
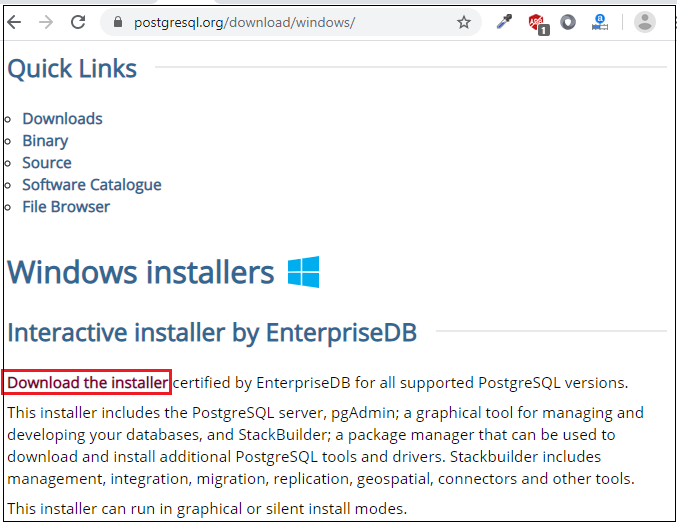
Step4
- After that, we are going to select the latest version (12.3) of PostgreSQL, and operation system (Windowsx86-64 bit) based on our requirement, and click on the Download button.
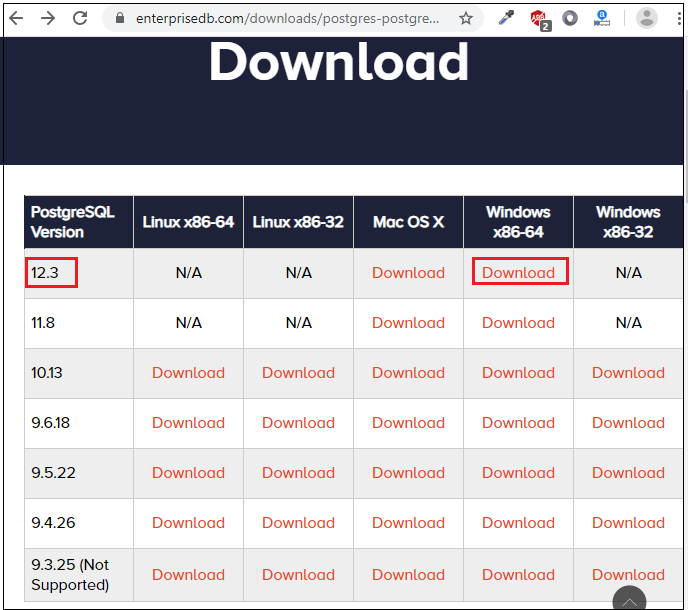
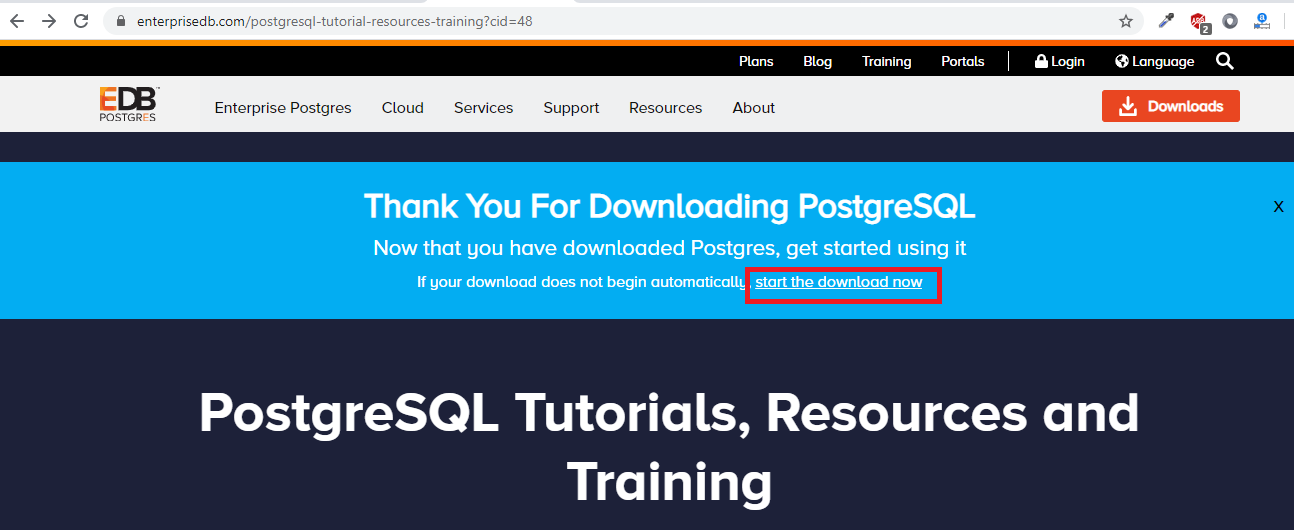
Note: If the downloading process does not start by clicking on the Download button, click on the Start the Download now link as we can see on the below screenshot:
Step5
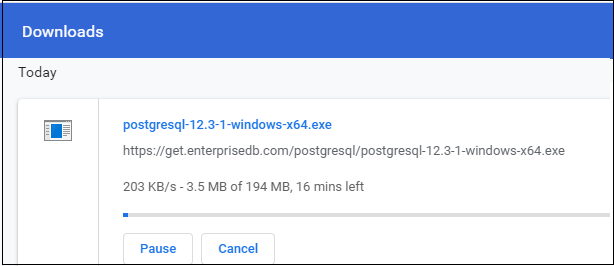
- And, it will start downloading the Postgresql-12.3-1-windows-x64 exe file as we can see in the below image:
Note: Before we start installing the PostgreSQL, make sure that we have an active internet connection in our local system, and the third-party antivirus should be turned off while installing.
Installing the PostgreSQL on Windows
Before we can use PostgreSQL, we need to install it. To install the PostgreSQL, follow the below steps:
Step1
- After downloading the setup, unzip it anywhere and double click the Postgresql-12.3-1-windows-x64.exe fileas administrator to install PostgreSQL.
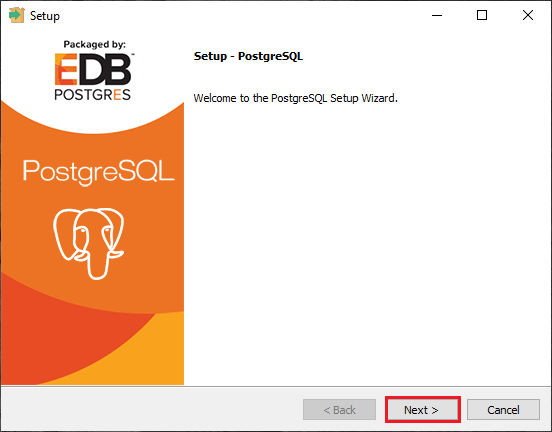
- And click on the Next button in the Setup window to start the installation process as we see in the below image:
Step2
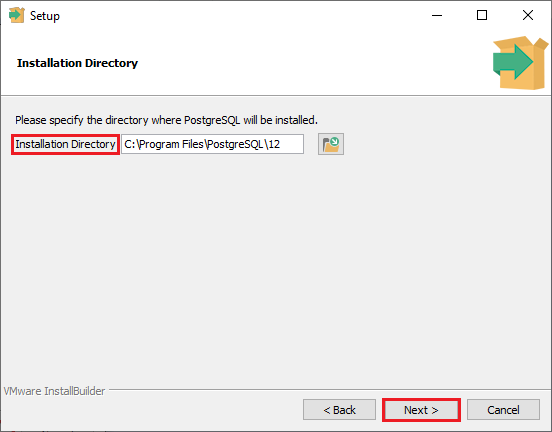
- After that, we can select the Installation Directory by clicking on the browser button and then click on the Next button for further process:
Step3
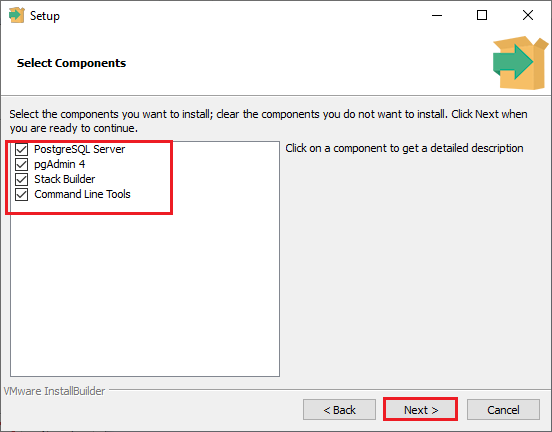
- Then we may Select the components which we want to install in our system, and click on the Next button for more process as we can see in the below screenshot:
Step4
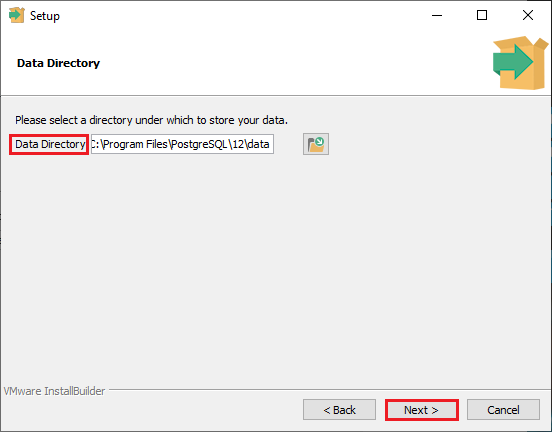
- Once we select the components, we are going to choose a directory to store the data. By default, it is stored under the data directory. And then click on the Next button.
Step5
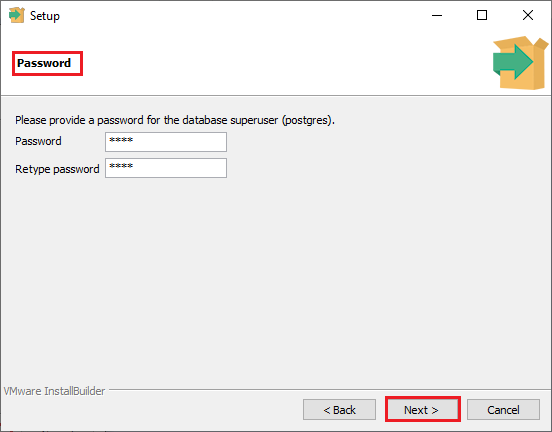
- In the next step of the setup window, we need to provide a password for the superuser(postgre). Therefore, we set a password of our choice and click on the Next button for the next step.
Step6
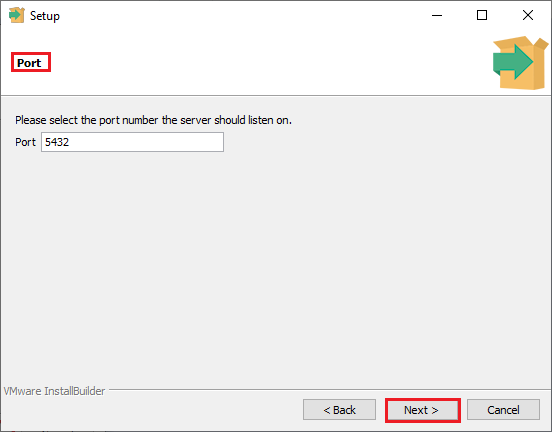
- After providing the password, the port window will come on the screen, keep the port as default (5432), and click on the Next button as we can see in the below screenshot:
Step7
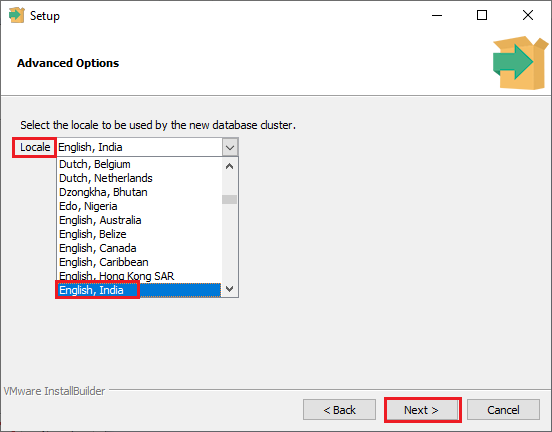
- In the next step, we need to select the Locale in the given drop-down list used by the new database cluster. And here, we select English, India, and then click on the Next button as we can see in the below image:
Step8
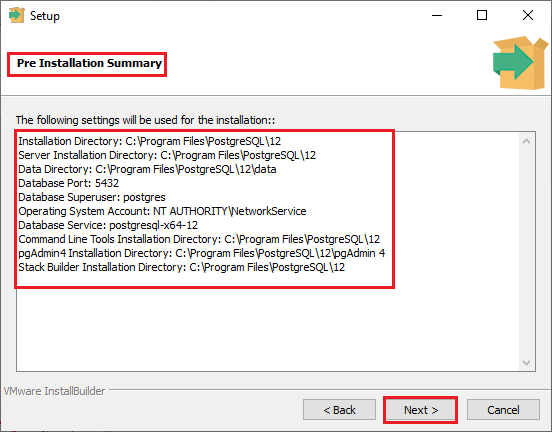
- In the next window, the Pre-Installation Summary window will open where we can verify the modifications we did above and click on the Next button for further processing.
Step9
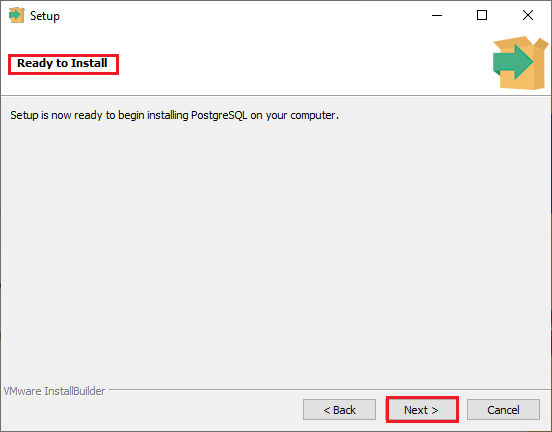
- After completing all the above steps, we are ready to install the PostgreSQL in our computer system. Then we click on the Next button to start the installation.
Step10
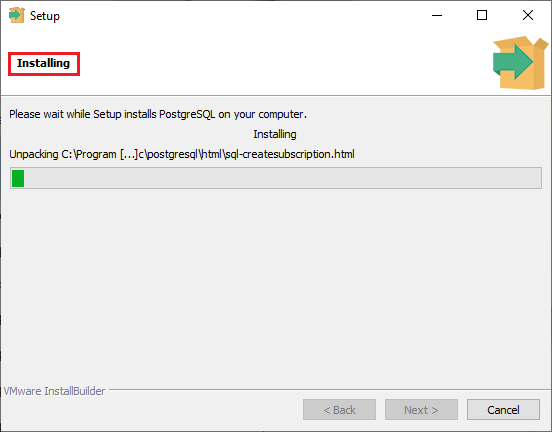
- Once we click on the Next button, the installation process is started as shown in the below screenshot:
Step11
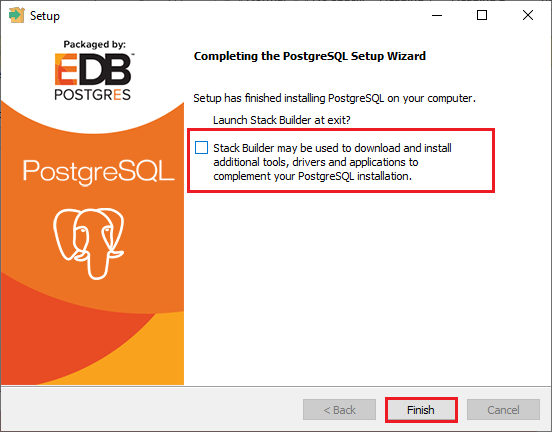
- After the installation process is completed, we will get to see the Stack Builderprompt screen where we uncheck the checkbox and click the Finish button.
Step12
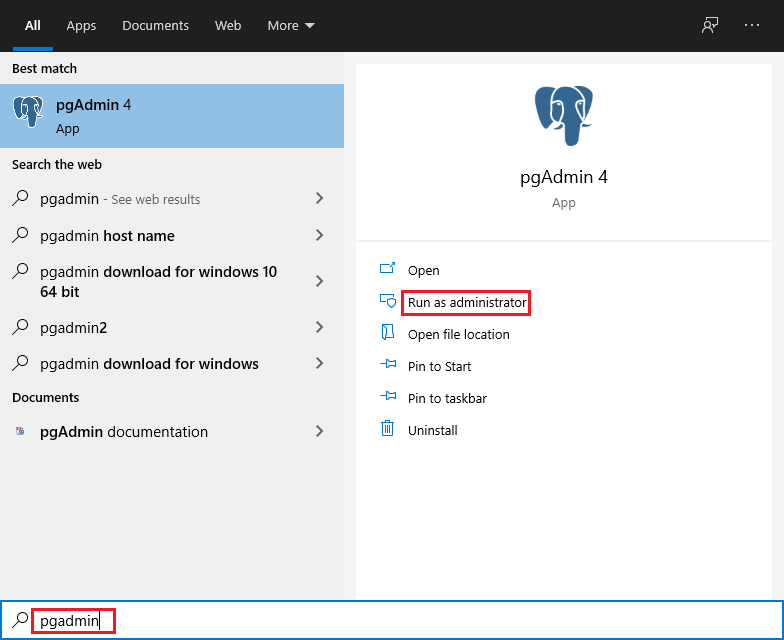
- Once the installation is done, we are going to launch PostgreSQL in our system. So, for that, we will go to Start Menuand search for pgAdmin 4, and click on Run as an administrator to open the pgAdmin4.
Note: In PostgreSQL, the pgAdmin4 is a management tool derived from the relational databases as Enterprise DB's EDB Advanced Server. It is used to execute the web application or desktop application. And it supports various browsers where we can perform our queries, and the supported browsers are Edge 44+, Chrome 72+, Safari 12+, Firefox 65+.
Step13
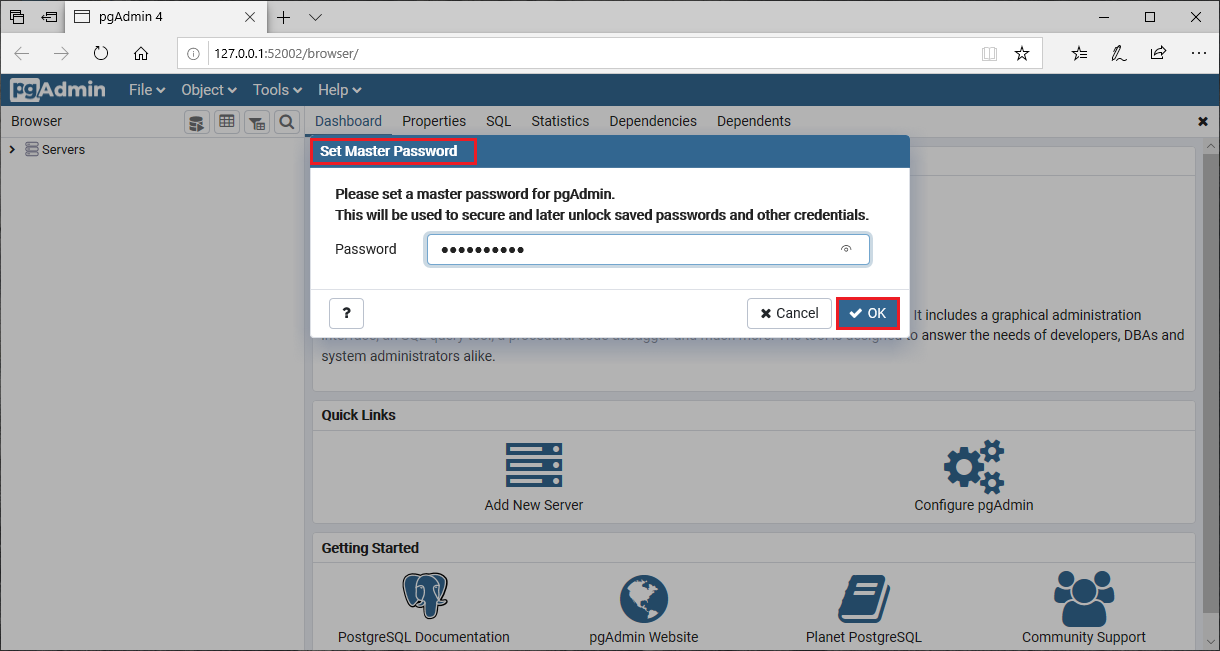
- Once the PgAdmin4 is opened, for security purposes, it will ask to Set the master password. Once we provide the master password, click on the OK button as we can see in the below screenshot:
Step14
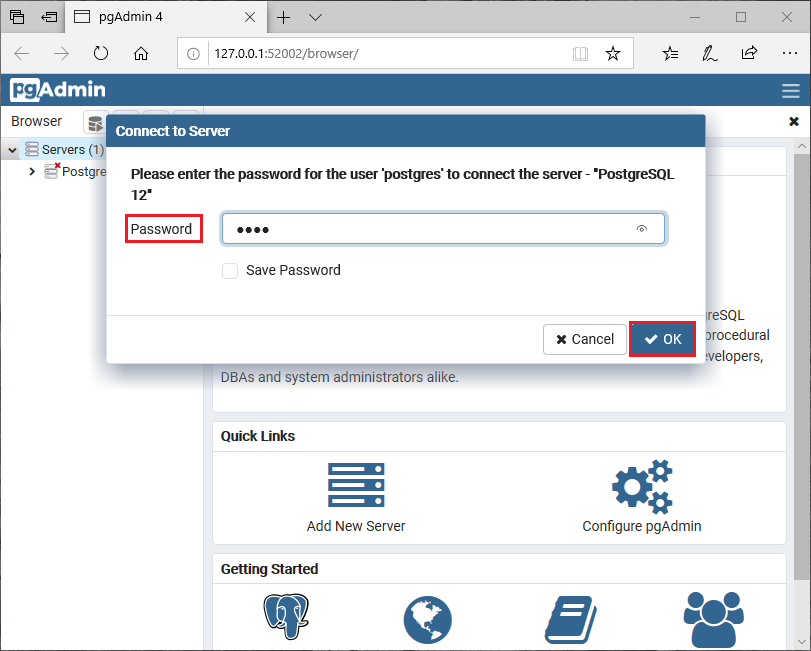
- After that, we can see the Homepage of pgAdmin4. And then, we are going to connect the server. For this, we will click on the Servers → PostgreSQL12.3 on the left-hand side.
- To connect the server, we need to give the super-user password, which we set during the installation process, and then click on the OK button.
Step15
- And after that, we can see the dashboard on our computer screen as we can see in the below image:
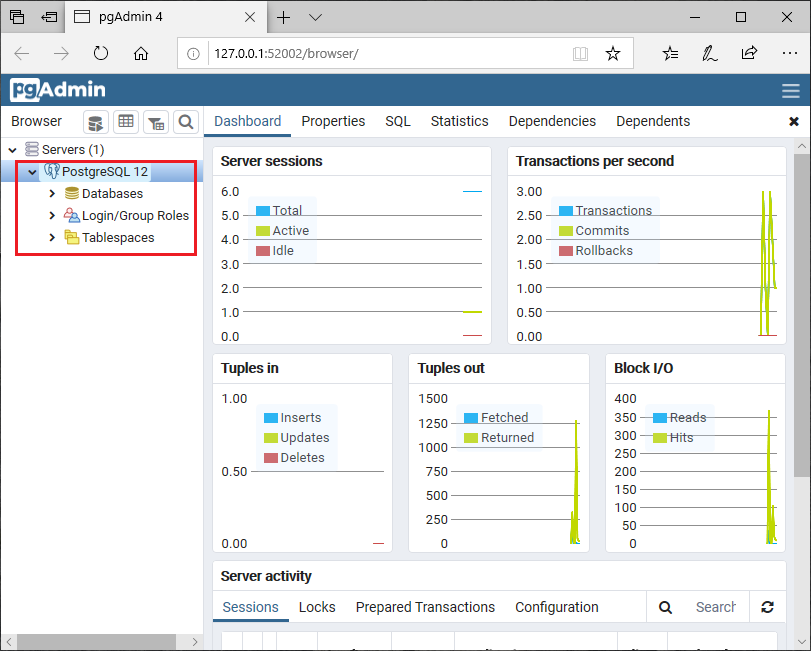
Now, we have our environment ready to start with PostgreSQL database programming.
|


 For Videos Join Our Youtube Channel: Join Now


