| |

After Effect TimelineAdobe After Effect is graphic editing software that can be used for the editing of video graphics. There are different working panels of this editing software that makes our work very easy. The timeline is one of the important panels of this software. It can be used to monitor the keys and frames of any video footage/ animation. We will discuss the layers panel along with the Timeline panel to have a better understanding of the timeline panel because these two panels will be used together. Step 1: You can see on the top of the working screen that there are two ribbons. One is the Menu bar, and the other is the Toolbar. Below these bars, there are another three sections, i.e., project panel on the left side of the working screen, composition window at the center of the working screen and Parameter section at the right of the working screen. The timeline panel is available on the right side of the bottom end. 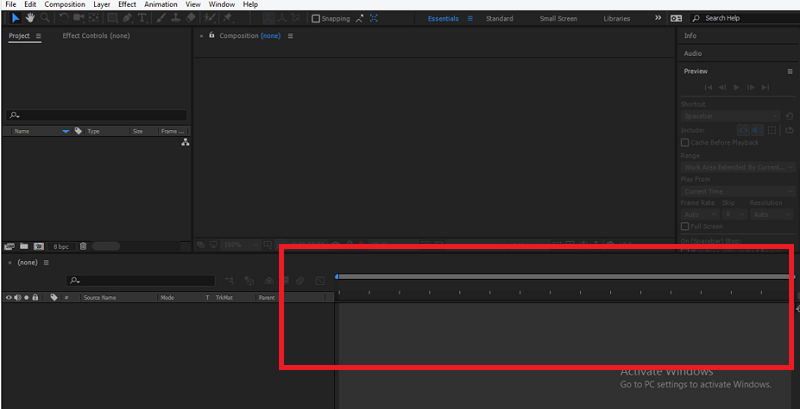
Step 2: First, we will create a new composition. Go to the Composition menu on the menu bar, which you can find on the top of the screen. Once you click on this sub-menu, a drop-down list will be opened. Click on the "New Composition" from the drop-down menu. 
Step 3: A composition settings dialogue box will be opened once you click on this option. Press OK after setting up your desired settings to save these settings. 
Step 4: After that, select the ellipse tool from the tool panel. 
Step 5: Now, go to the studio area and draw a circle by click and dragging the pointer. 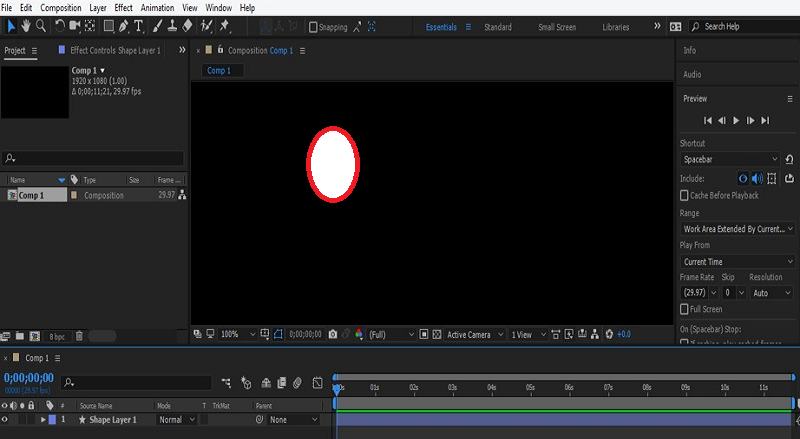
Step 6: Click on the tools panel and select a Rectangle tool by clicking over it. Then draw a rectangle in a new shape layer, as shown below with this tool. 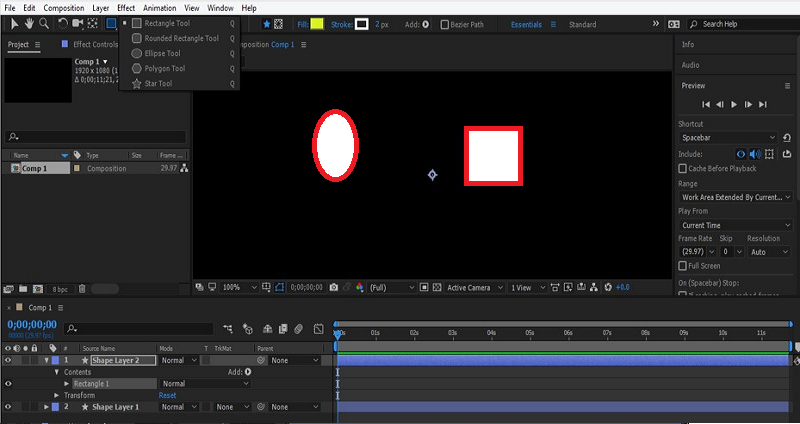
Step 7: Go to the Layers panel. There you can see two layers in the layer panel. One at the bottom end and the timeline is at the right side of this section. 
Step 8: The given figure shows the timeline indicator, which can be used to set time, key, and frame for animating properties of our object or editing our footages. 
Step 9: The below image shows the Time ruler, which shows us the time and frame rate of the animation made by us. 
Step 10: The image below shows you the working area of your animation and the last end of this ruler called Work Area End. 
Step 11: You can adjust the Work Area End by dragging the arrow Indicator by the mouse button when the arrow indicator comes at the end of this ruler. 
Step 12: You can animate the object by adding a key in the timeline by clicking on the small arrow icon of the shape layer, as shown below. 
Step 13: Now, open the position property of this layer by pressing the P button and then place the Time indicator head at some seconds and change the value of the Position property of this layer. 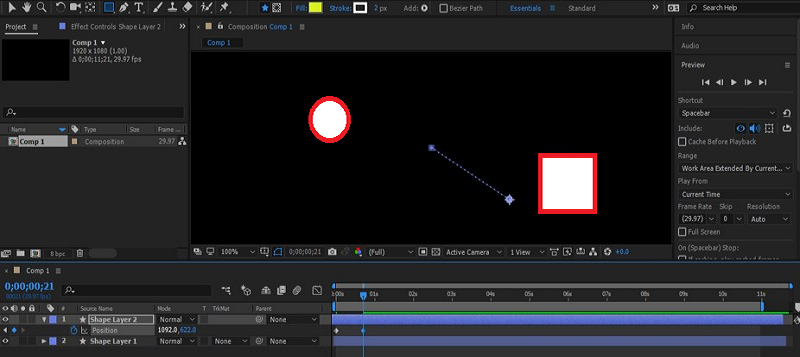
Step 14: Using the same way, you can add more and more keys for animating the object. 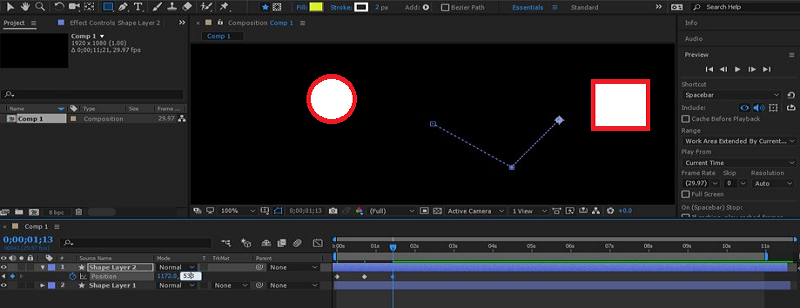
Step 15: You can also add keys to the other layer of this composition. 
Step 16: After that, play the animation by pressing the space bar, or you can go to the preview tab of the parameters section to play the animation. 
Step 17: Now, Drag the scrollbar with the mouse pointer while holding the click to zoom in or out of the Timeline work area. 
Step 18: In case you want to end the layer at 3 sec, then press the ']' button from the keyboard. 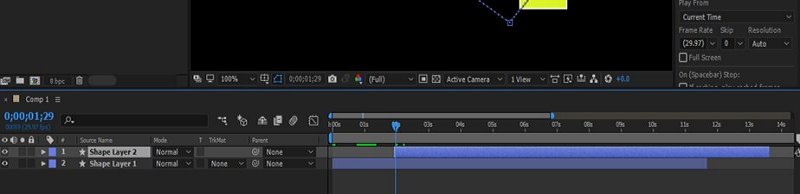
Step 19: You can also hold the bar of the shown layer with the mouse button and drag it to that place where you want to place it. 
Step 20: To trim the layer into two parts, then choose the selected layer and press Ctrl + shift + D keys. After pressing these buttons, then the layers will be trimmed, as shown below. 
Next TopicAdobe After Effects Plugins
|
 For Videos Join Our Youtube Channel: Join Now
Feedback
- Send your Feedback to [email protected]
Help Others, Please Share


