| |

How to Import Jar File in Eclipse?In the realm of Java programming, the Eclipse Integrated Development Environment (IDE) stands as a reliable and feature-packed tool for software development. One of the key strengths of Eclipse lies in its adaptability, allowing developers to integrate external libraries into their projects seamlessly. JAR FilesJAR files are basically compressed files that contain resources, related metadata, and Java classes all in one archive. For sharing and distributing Java components, apps, or libraries, this format is quite useful. Java code may be modularized and organized more easily with the help of JAR files, which makes Java application deployment and management easier. Step 1: Open EclipseLaunch Eclipse IDE
Ensure Proper Installation
Create or Open a Project
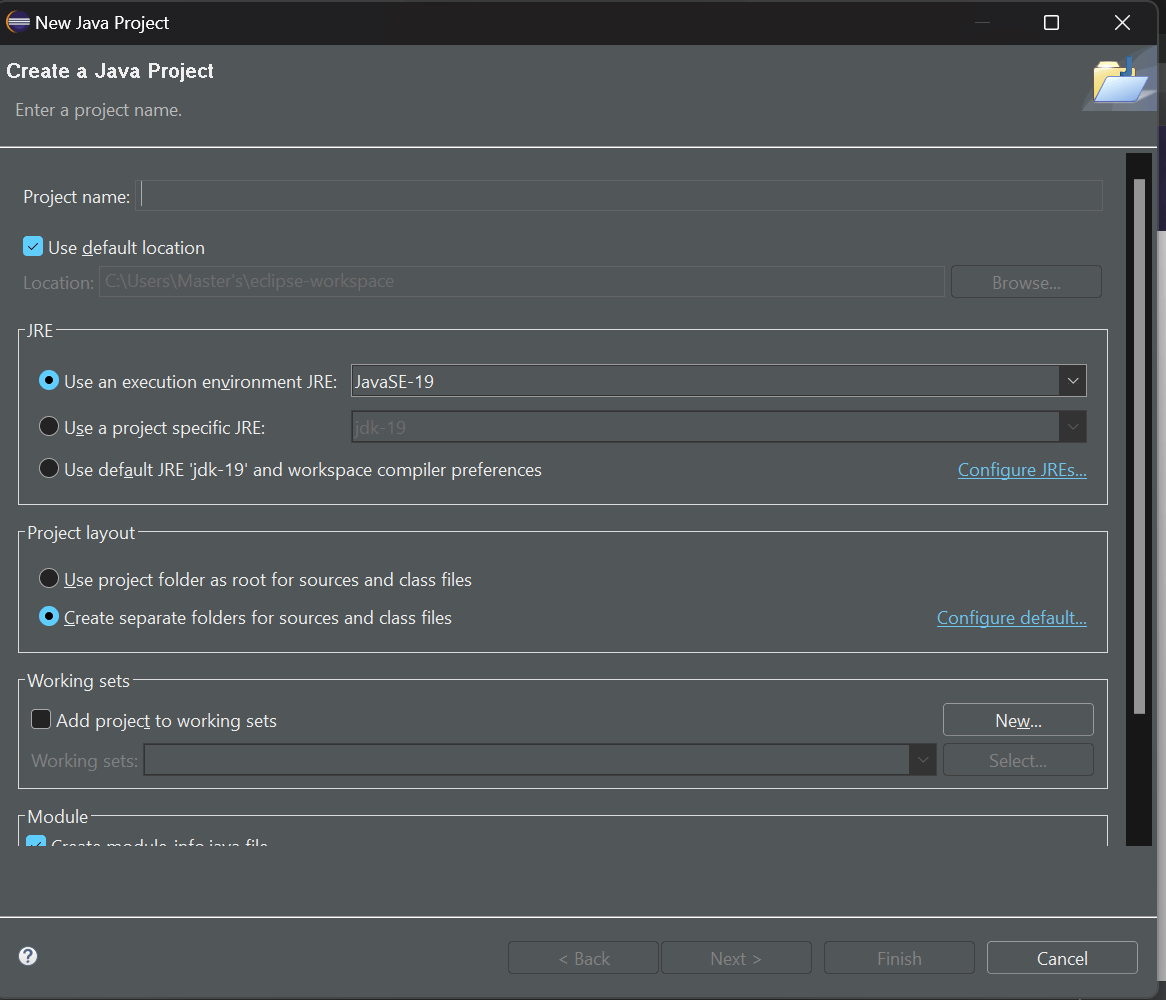
Create a New Project
Step 2: Navigate to the Project ExplorerLocate the "Project Explorer" view within Eclipse. If it's not visible, you can find it in the "Window" menu under "Show View" and then "Project Explorer." 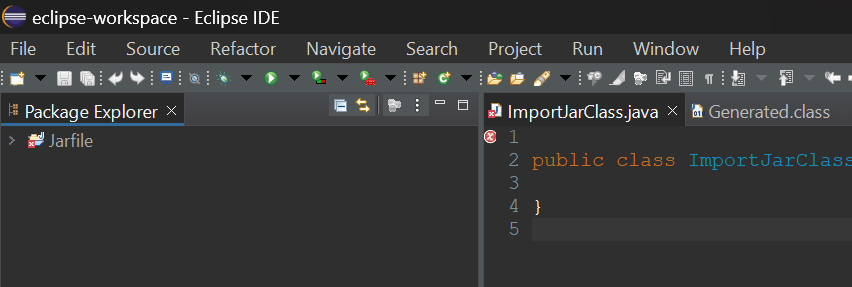
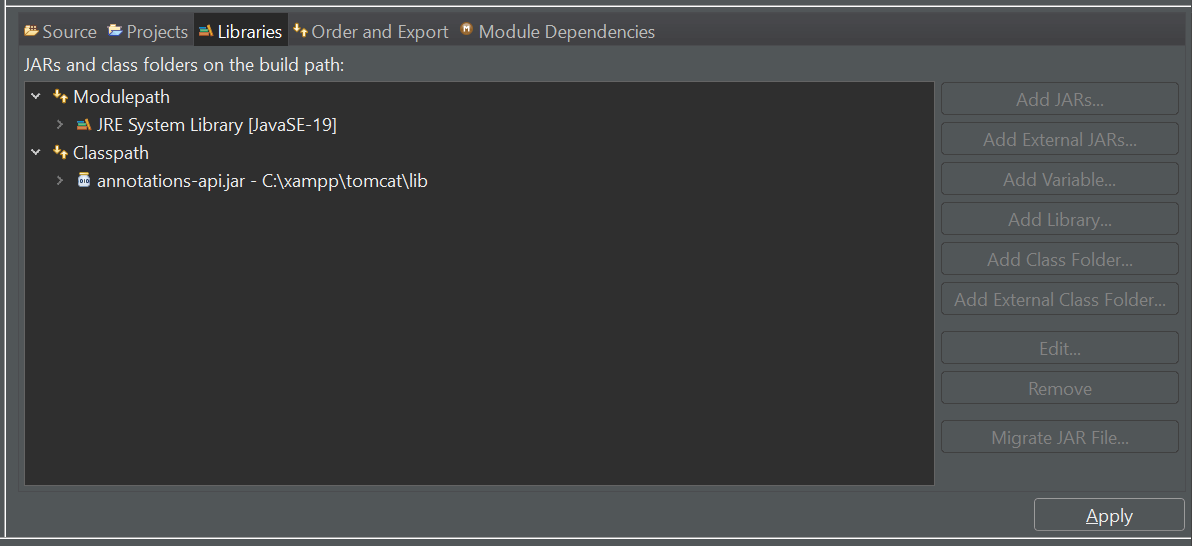
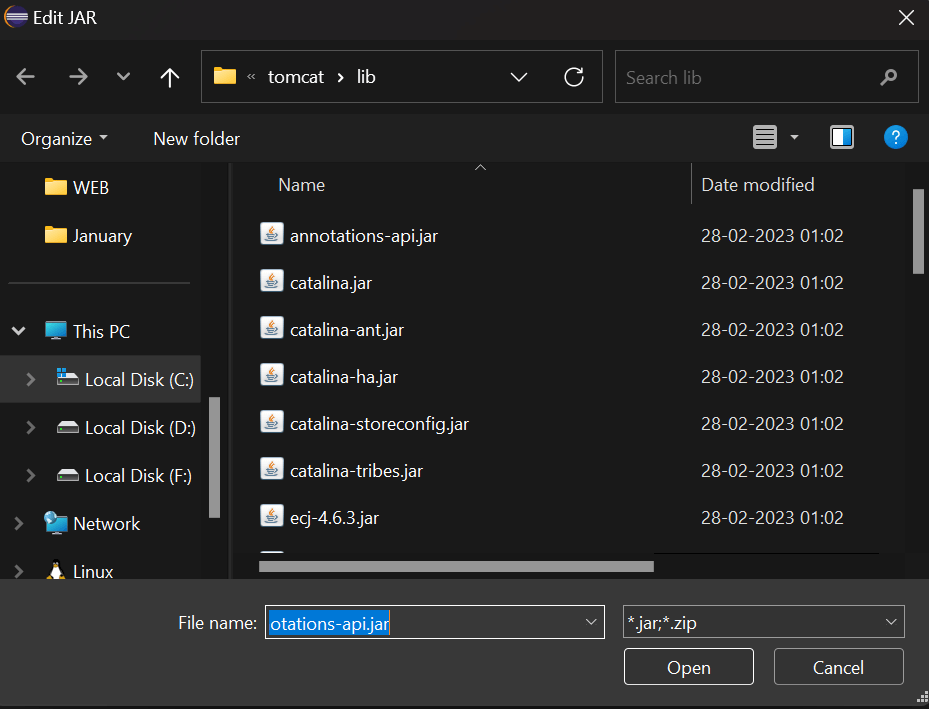
Step 3: Configure Build PathChoose "Configure Build Path" after doing a right-click on your project and selecting "Build Path." In order for Eclipse to identify the JAR file during compilation, this step is essential. Select the "Libraries" tab in the "Java Build Path" dialogue box. If the JAR file is external, click "Add External JARs"; if it is inside the project, click "Add JAR" After choosing the JAR file, select "Open." 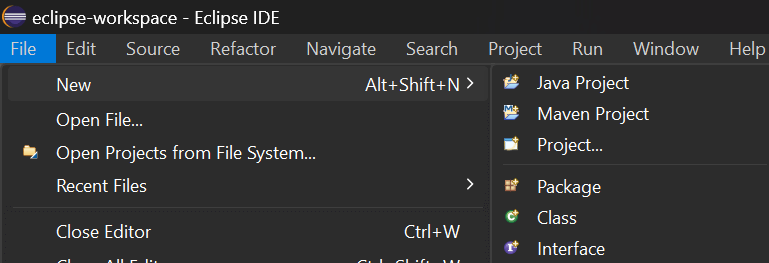
Step 4: Build the ProjectTo utilise the features of the imported JAR file, you must first create your project. Select "Build Project" from the context menu by performing a right-click on your project. This guarantees that the required dependencies are linked and compiled. Go to the Libraries Tab
Add External or Internal JAR
Select the JAR File
Step 5: Apply ChangesClick "Apply and Close" in the "Java Build Path" dialog to apply the changes to the build path and close the dialog. 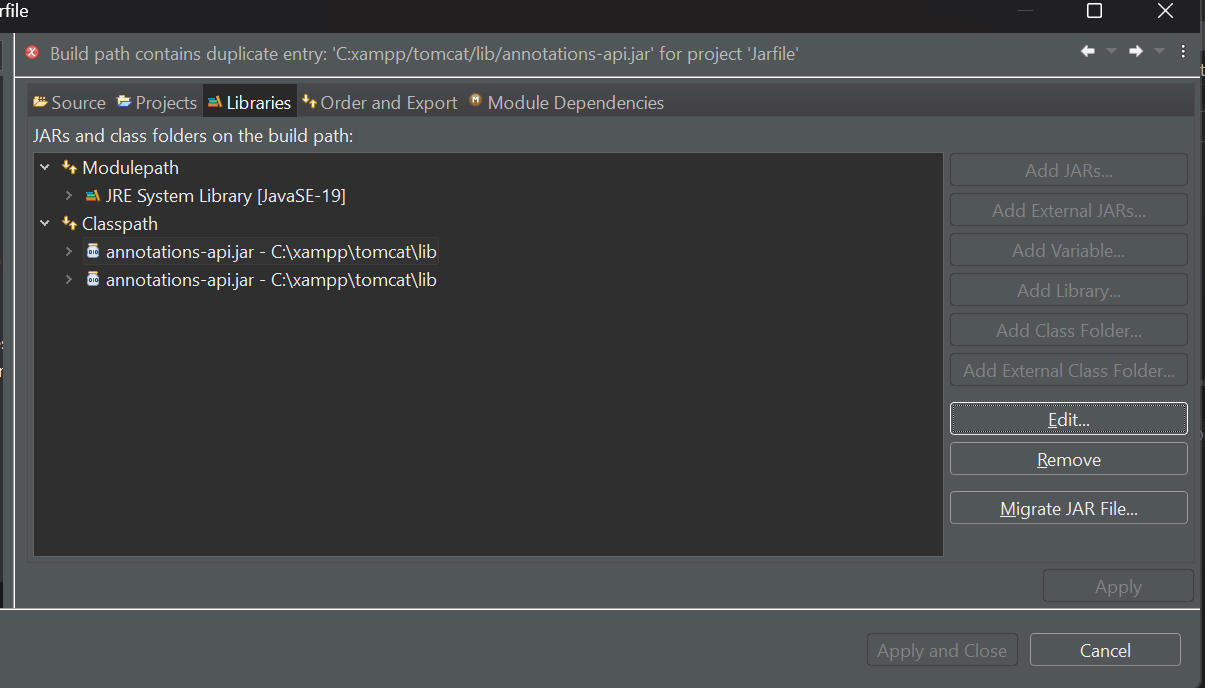
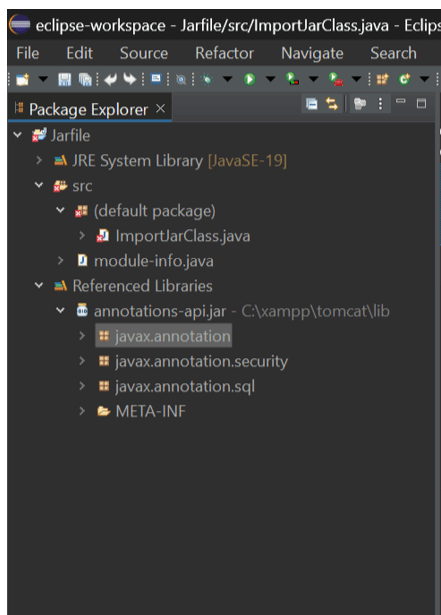
Step 6: Select Files from The Imported Jar FileExplore the Imported JAR
Select Files
You may import a JAR file into Eclipse, set up the build path, build the project, and make the required adjustments for seamless integration by carefully following these precise instructions. Advantages of Eclipse's JAR File Utilisation1. Code Reusability Developers can reuse existing code and functions across numerous projects by encapsulating reusable Java components in JAR files. 2. Modularity JAR files' modular design encourages a tidy and well-organized project structure, which facilitates the management of updates and dependencies. 3. Cooperation By sharing JAR files with peers or the larger Java community, developers can promote information sharing and teamwork. 4. Effective Project administration By integrating JAR files into Eclipse, project administration is made easier and developers are free to concentrate on creating creative solutions rather than managing complex dependencies. ConclusionIn conclusion, adding external libraries to your Java projects through the import of a JAR file into Eclipse is a basic procedure that improves their functionality. The comprehensive instructions in this step-by-step tutorial will guarantee that JAR files are seamlessly integrated into your Eclipse IDE. We began by launching Eclipse, making a project, or opening an existing one. We then added the JAR file to the project, set the build path, and explored the Project Explorer.
Next TopicMeta Class Vs. Class in Java
|
 For Videos Join Our Youtube Channel: Join Now
Feedback
- Send your Feedback to [email protected]
Help Others, Please Share


