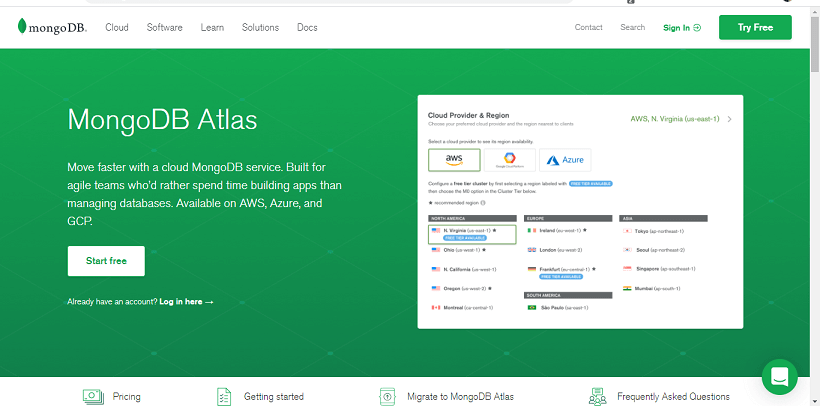
MongoDB AtlasMongoDB Atlas is a cloud service by MongoDB. It is built for developers who'd rather spend time building apps than managing databases. This service is available on AWS, Azure, and GCP. It is the worldwide cloud database service for modern applications that give best-in-class automation and proven practices guarantee availability, scalability, and compliance with the foremost demanding data security and privacy standards. We can use MongoDB's robust ecosystem of drivers, integrations, and tools to create faster and spend less time managing our database. Advantages of MongoDB Atlas
Create an Atlas Account and deploying a Free Tier ClusterStep 1: Go to https://www.mongodb.com/cloud/atlas to register for an Atlas account to host your data.
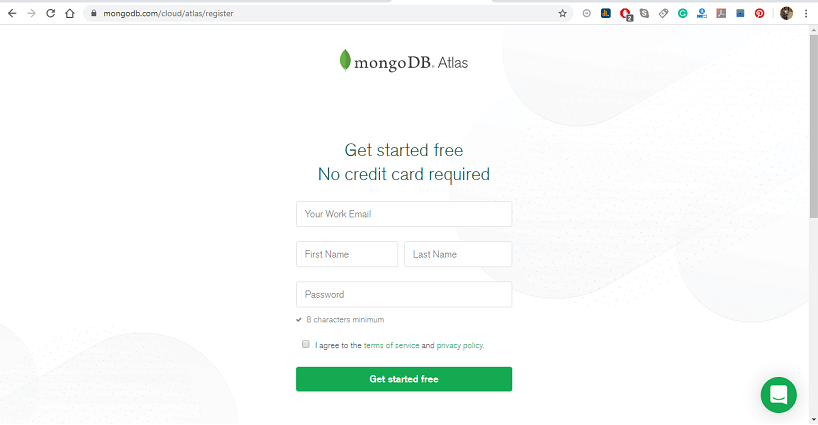
Step 2: When you click on Start Free, you will be redirected to the Registration form for an account on the MongoDB Atlas.
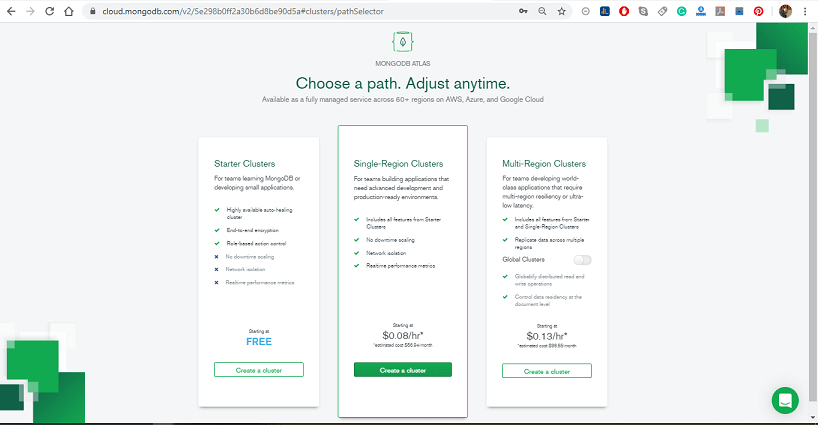
Step 3: Select Starter Clusters and click create a Cluster. The Starter cluster includes the M0, M2, and M5 cluster tiers. These low-cost clusters are suitable for users who are learning MongoDB or developing small proof -of- concept applications.
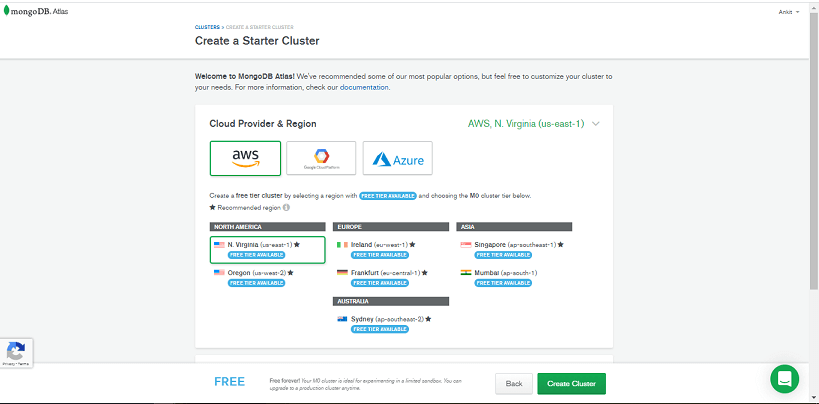
Step 4: Select your preferred Cloud Provider & Region. It supports M0 Free Tier clusters on Amazon Web Services (AWS), Google Cloud Platform (GCP), and Microsoft Azure. The regions that support M0 Free tier clusters are marked with the "Free Tier Available" label.
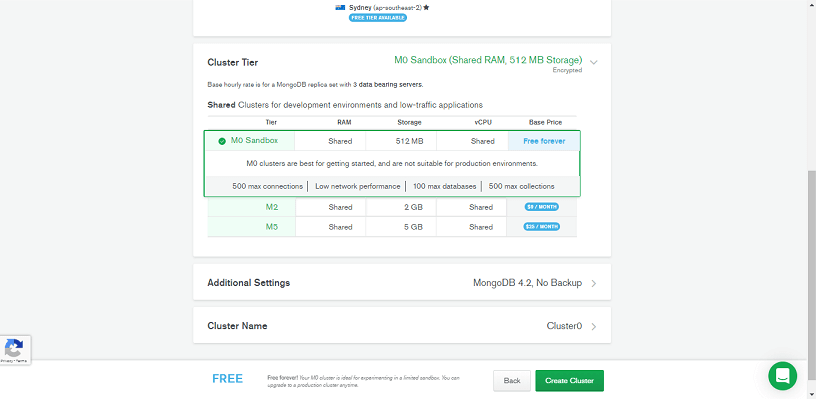
Step 5: Select M0 Sandbox for cluster tier: Selecting M0 automatically locks the remaining configuration options. If you can't select the M0 cluster tier, return to the previous step and choose a Cloud Provider & Region that supports M0 Free Tier clusters.
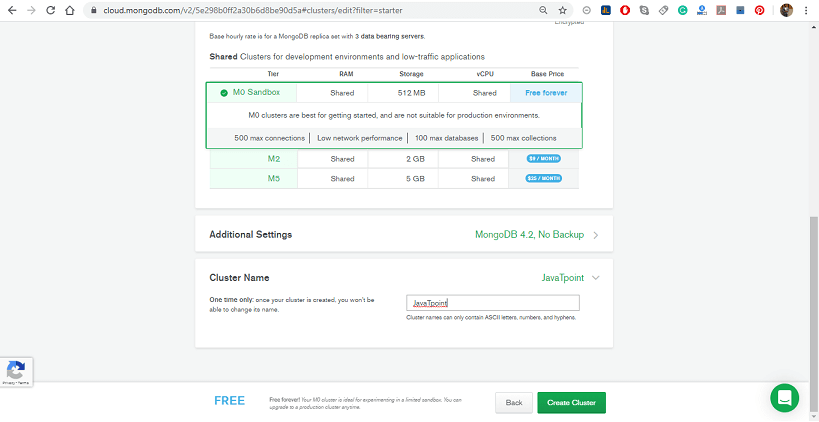
Step 6: Enter a name for your cluster in the Cluster Name field; you can enter any name for your cluster. The cluster name contains ASCII letters, numbers, and hyphens.
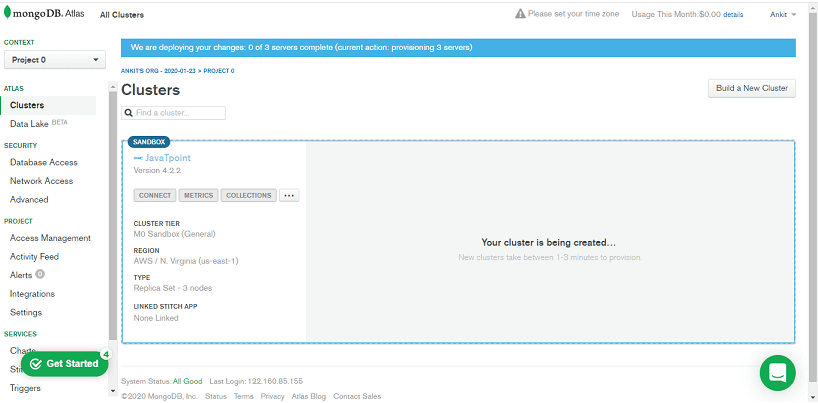
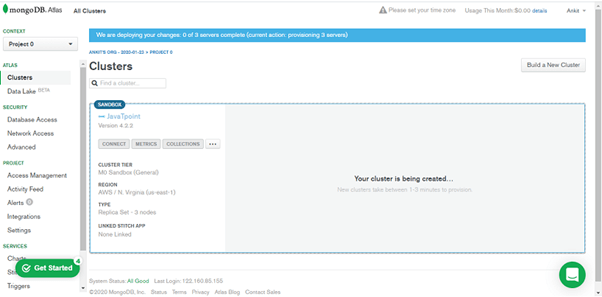
Step 7: Click on Create Cluster to deploy the cluster. Once you deploy your cluster, it can take up to 5-10 min for your cluster to provision and become ready to use.
Step 8: Once we register, Atlas automatically creates a default organization and project where we can deploy our first cluster. We can add additional organizations and projects later.
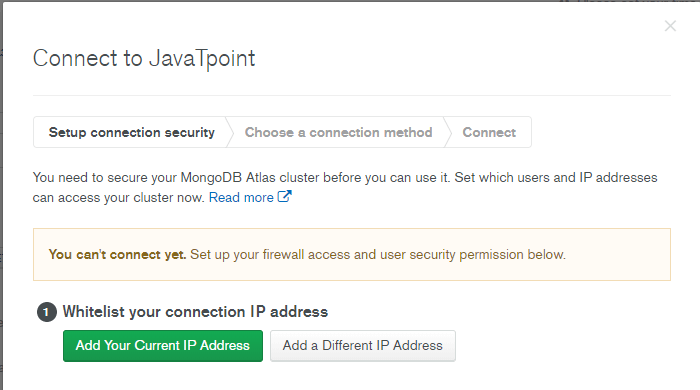
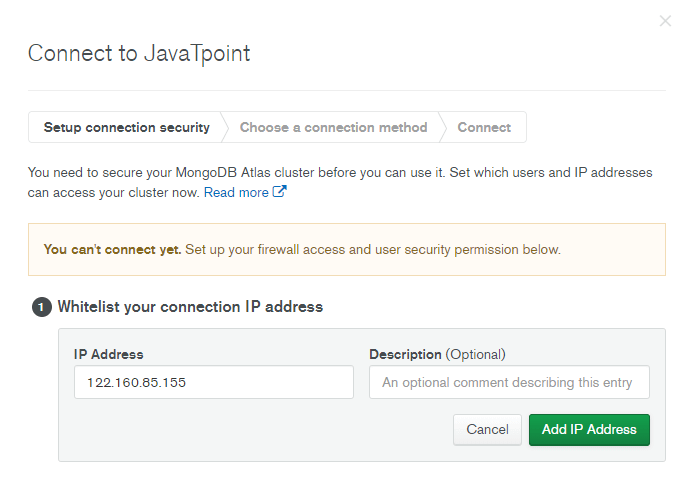
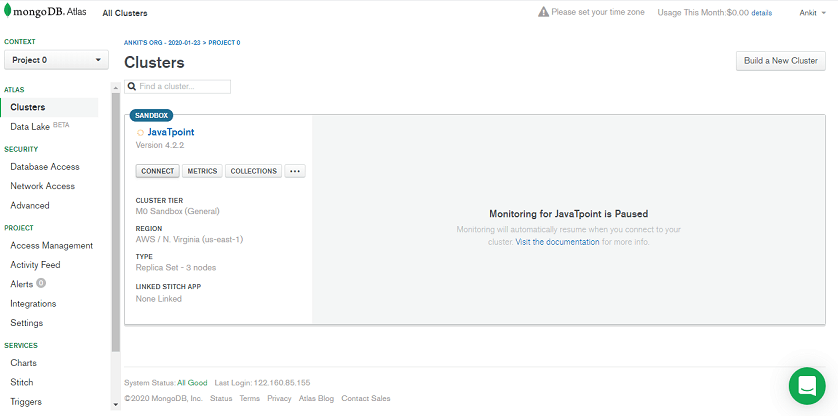
How to Whitelist your Connection IP AddressAn IP address is a unique numeric identifier for a device connecting to a network. In Atlas, we can only connect to a cluster from a trusted IP address. Within Atlas, we can create an inventory of trusted IP addresses, mentioned as a Whitelist, which may be used to connect to our cluster and access our data. We must add our IP address to the whitelist before we can connect to our cluster — the following steps we should take to whitelist our connection IP address. Step 1: First, click on the Connect button from our cluster view.
Step 2: Configure your Whitelist entry. In the Whitelist your connection IP address step, click Add our Current IP Address.
Step 3: Click Add IP Address.
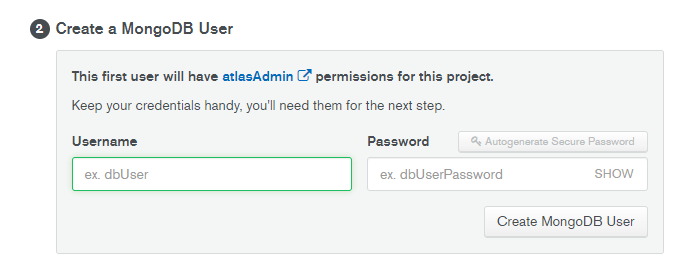
Creating a MongoDB User for our ClusterFor security purposes, Atlas requires clients to authenticate as MongoDB users to access the cluster. We must create a MongoDB user to access our cluster. MongoDB users are separate from Atlas users:
Step 1: Open the Connect dialogue from our Cluster view.
Step 2: In the Create a MongoDB User step of the dialog, enter a Username and a password for our MongoDB user.
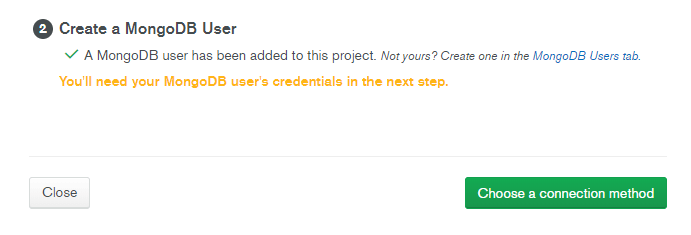
Step 3: Finally, click on Create MongoDB User button.
Connecting to ClusterWe can connect to our cluster in several ways. We will see how we can connect our cluster using the mongo shell driver. Following are the steps to download and install the mongo shell driver. Step 1: Open the Connect dialog from your cluster.
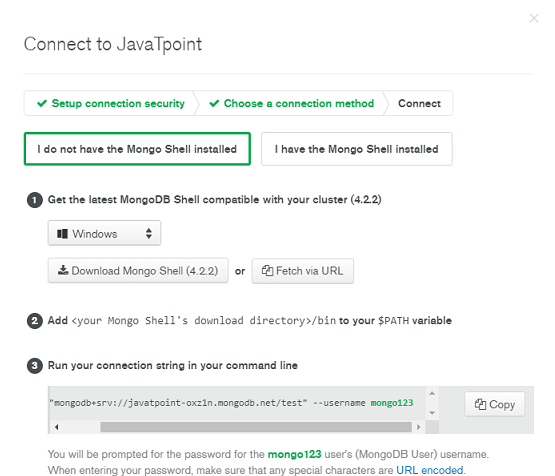
Step 2: Click connect with the Mongo Shell. Step 3: Click on "I do not have the Mongo Shell installed" and select your operating system from the dropdown.
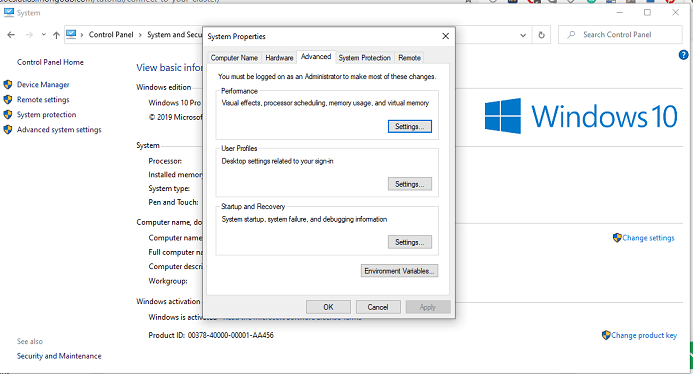
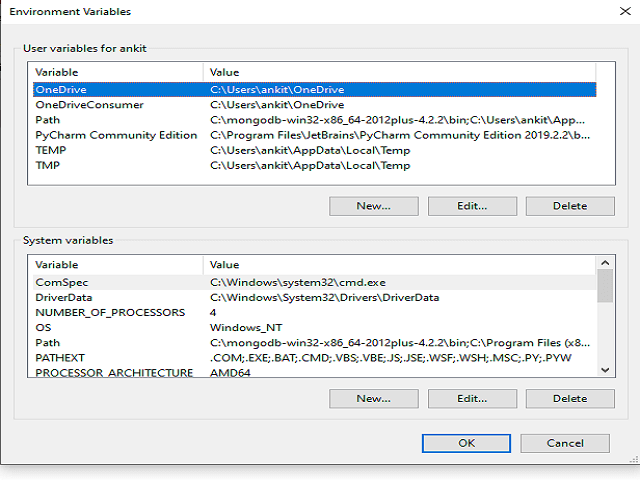
Step 4: Click on download the Mongo Shell. Step 5: To run a Mongo Shell from your PC, you will need to add the Shell to your system path.
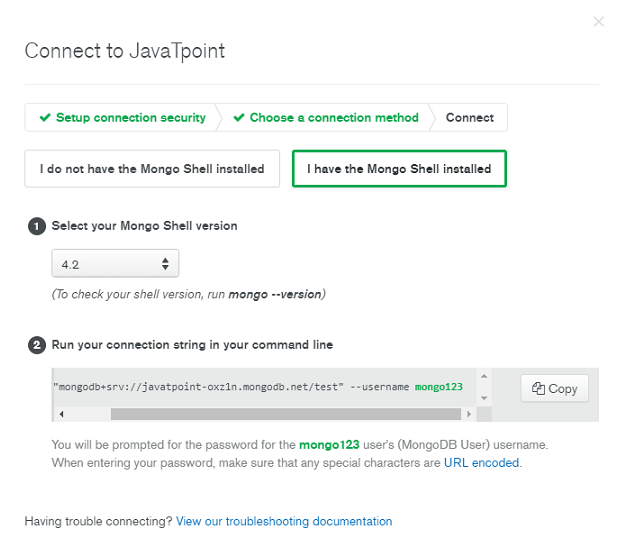
Step 6: To see if you have correctly added the Mongo Shell to your system-path, run the following command in your terminal. Connect to your Atlas ClusterStep 7: Click on "I have the Mongo Shell Installed" and select your Mongo Shell version from the drop-down menu.
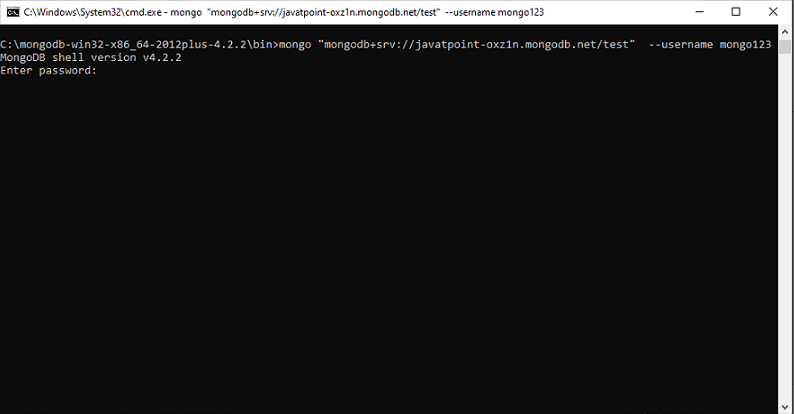
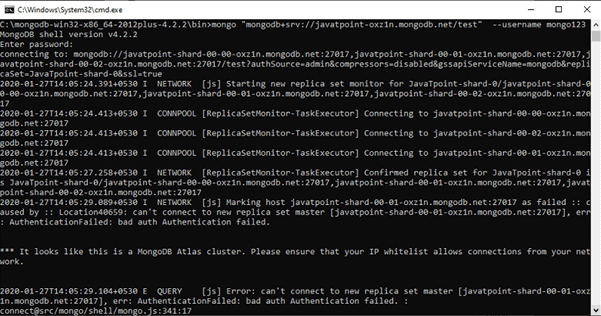
Step 9: Now, copy the provided connection string to your clipboard, then paste and run your connection string in your terminal.
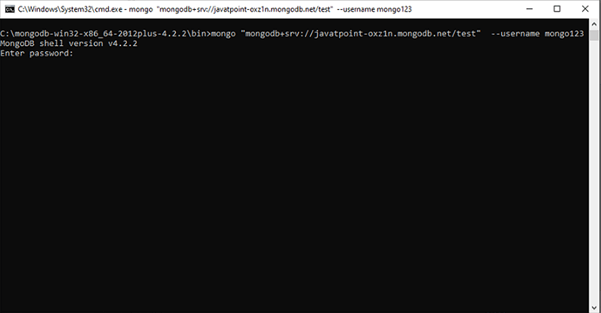
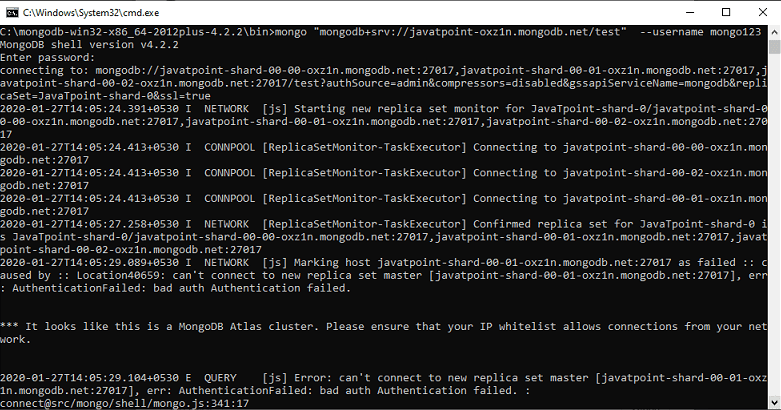
Step 10: Now, you will be prompted to enter the password you specified when you created your MongoDB user in Atlas.
You are now will be connected to your Atlas cluster within the Mongo Shell.
Next TopicMongoDB Interview Questions
|
 For Videos Join Our Youtube Channel: Join Now
Feedback
- Send your Feedback to [email protected]
Help Others, Please Share


