| |

Splunk EnvironmentWe are going to install the Splunk Enterprise version. The question arises that why not any other version apart from this version is because it contains all the options that are typically present in this kind of tool. So, we will enterprise version. It is a trial version, that is valid for 30 days only. It has all the premium features as long as the trial goes. It is available for all the primary operating system. We are going to install it on windows and Linux platform. We can download the Splunk from the link given below: https://www.splunk.com/en_us/download/splunk-enterprise.html Before starting, as you visit the official Splunk website, you will need to create a Splunk account. After that, your download will start. Installing Splunk on Linux PlatformThe version of Splunk for Linux can be downloaded from the link provided. Here we will choose the .deb package for the installation on our Linux system. Step 1: Click on the Download Now button that is in front of .deb package. 
Step 2: Go to the Downloads directory in from the terminal and install the package. For reference, you can use the image below. 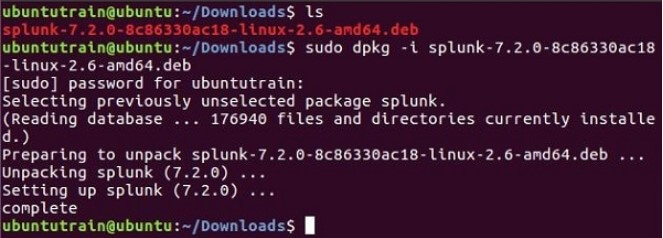
Step 3: Once the installation of Splunk is done, you can start Splunk by accepting its terms and conditions. Next, it will ask for the user name and password. You must note down and remember it as you will need these credentials. 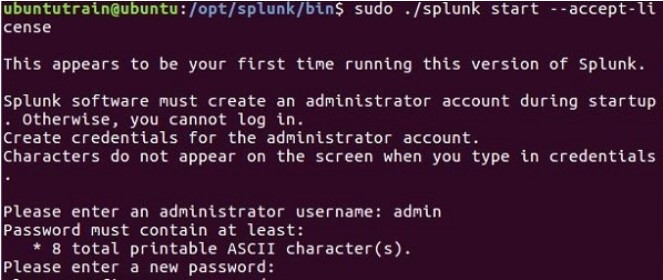
Step 4: Now the Splunk server will start, and you have to mention the URL so that it can access the Splunk Interface. 
Step 5: Once it is done, you will be redirected to the browser, or you can open it manually. The Splunk interface displays on the browser. Provide the id and password that you have created earlier. 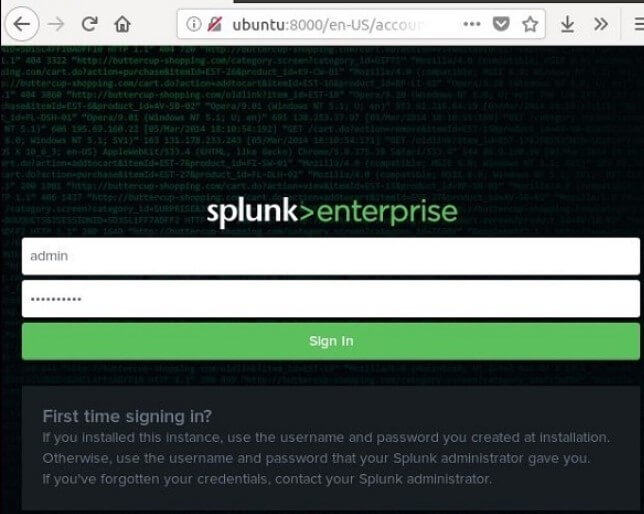
You have successfully installed Splunk on your Linux system. Installing Splunk on Windows PlatformLet's see how to install Splunk on Windows OS. In the Windows operating system, we get the .msi package installer. You can choose either 32-bit or 64-bit version. It depends system type that you are using. For reference, you can see the image below - 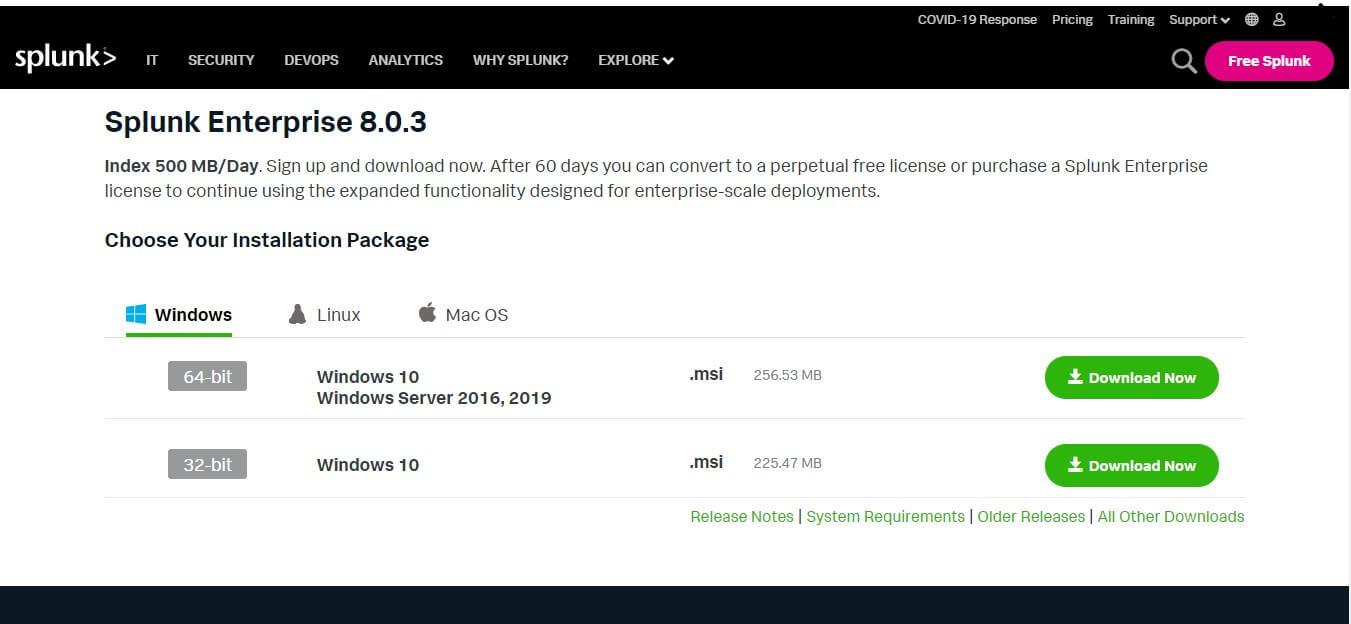
After you ensuring the system type, click on the Download Now button. It starts downloading within a few seconds. Step 1: After the download has completed, go to your default download path and double click on the installer package. The Splunk Enterprise Installer window appears on the screen. Click on the checkbox to accept the License Agreement and click on the Next button. 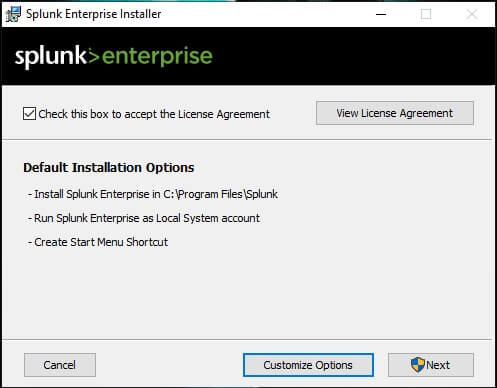
Step 2: Create the Username and Password for the administrator account. You must remember these credentials as it will be used further. After that click on the Next button. 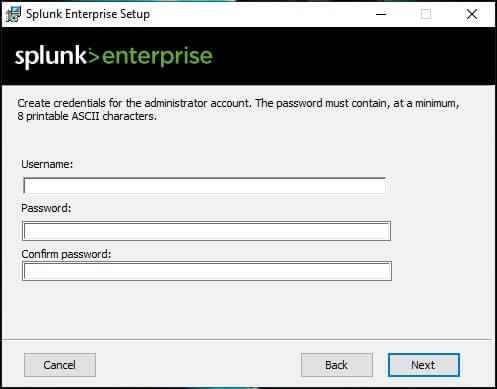
Step 3: You can see that the installation of the Splunk has started. After that click on the next button which is present at the below right most side of the window. 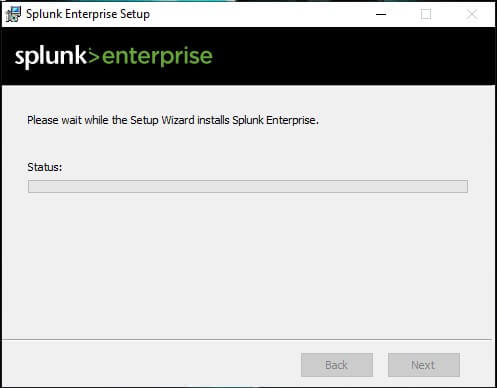
Step 4: Open your Splunk Enterprise software. Provide the Username and Password that you have created earlier in the Step-2 and click on the Sign-in button. 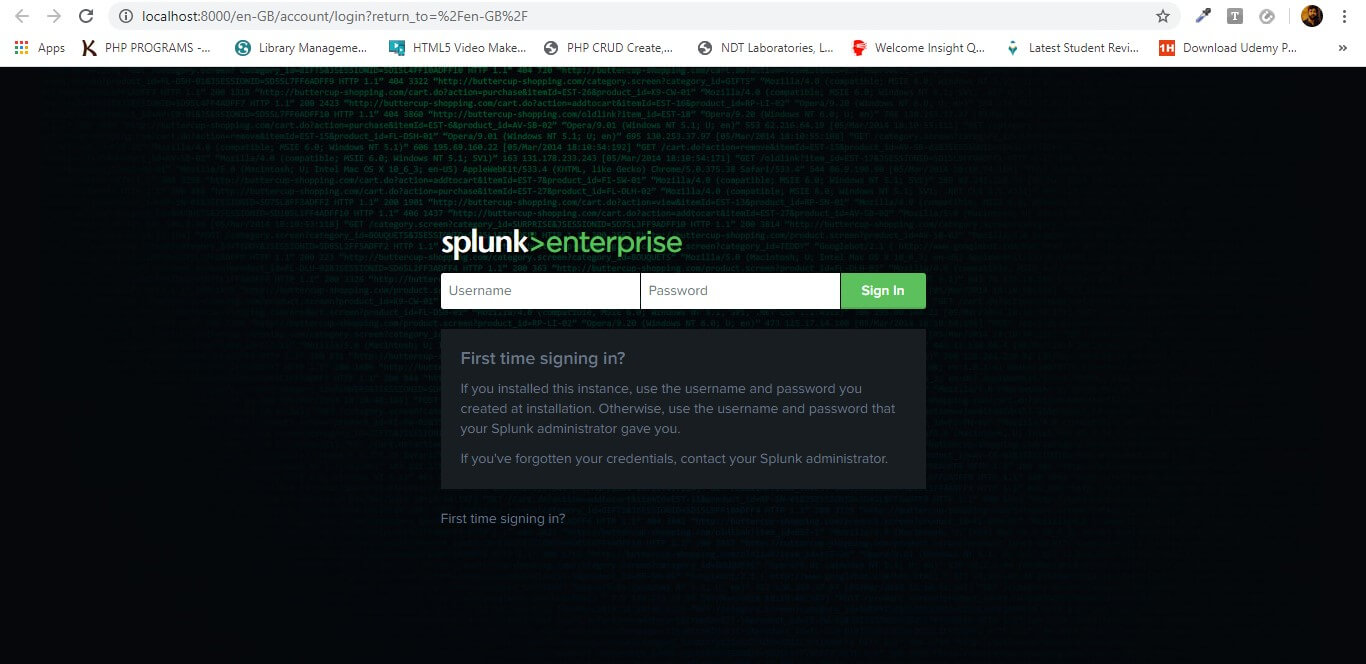
After successful installation and Sign-in, the following screen will be displayed. 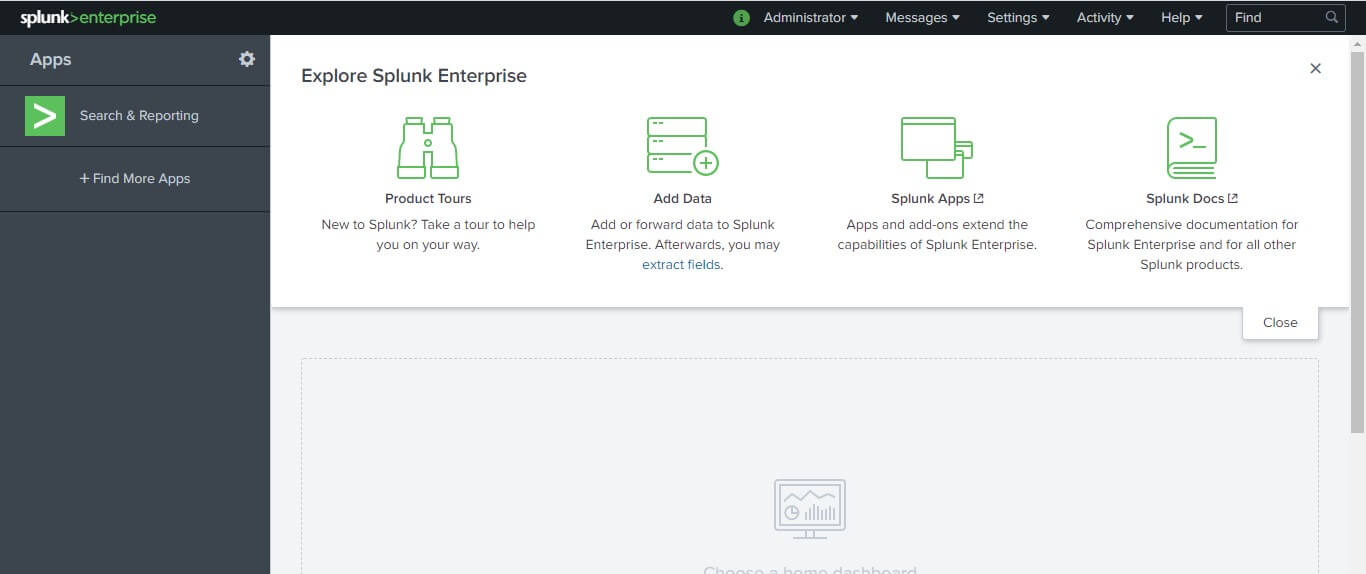
You have successfully installed the Splunk software on your Windows operating system.
Next TopicSplunk Interface
|
 For Videos Join Our Youtube Channel: Join Now
Feedback
- Send your Feedback to [email protected]
Help Others, Please Share


