| |

Adding Firebase to AppFirebase is developed for mobile applications. Android Studio is the best platform for developing android applications. Firebase is a backend -as-a-service, which allows us to store a list of objects in the form of a tree. To store data into Firebase, we first have to add the Firebase into our android application. Before adding Firebase into our android application, we need to be aware of some prerequisites. These requisites are as follows:
There are two methods through which we can add Firebase to our application:
Let's start understanding how we can add Firebase to our android application manually: Step 1: In the first step, we have to go to the firebase console by using the following link https://firebase.google.com/ 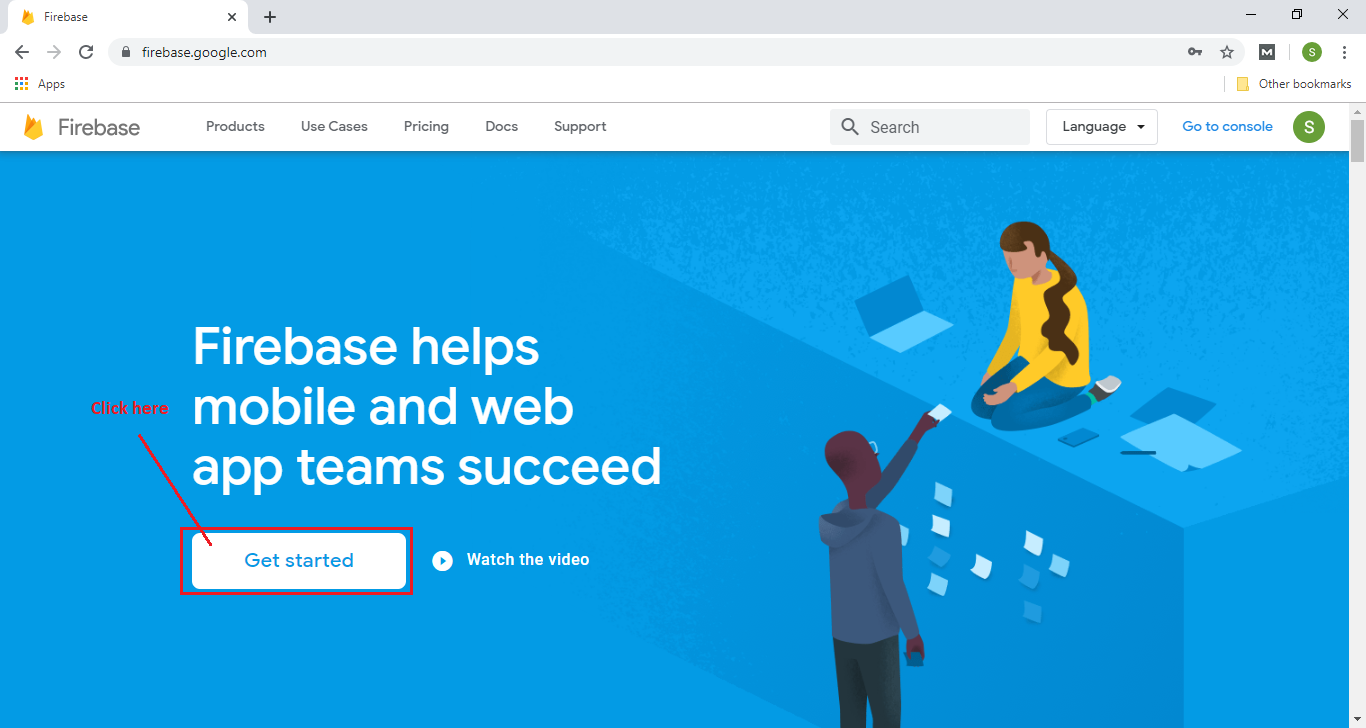
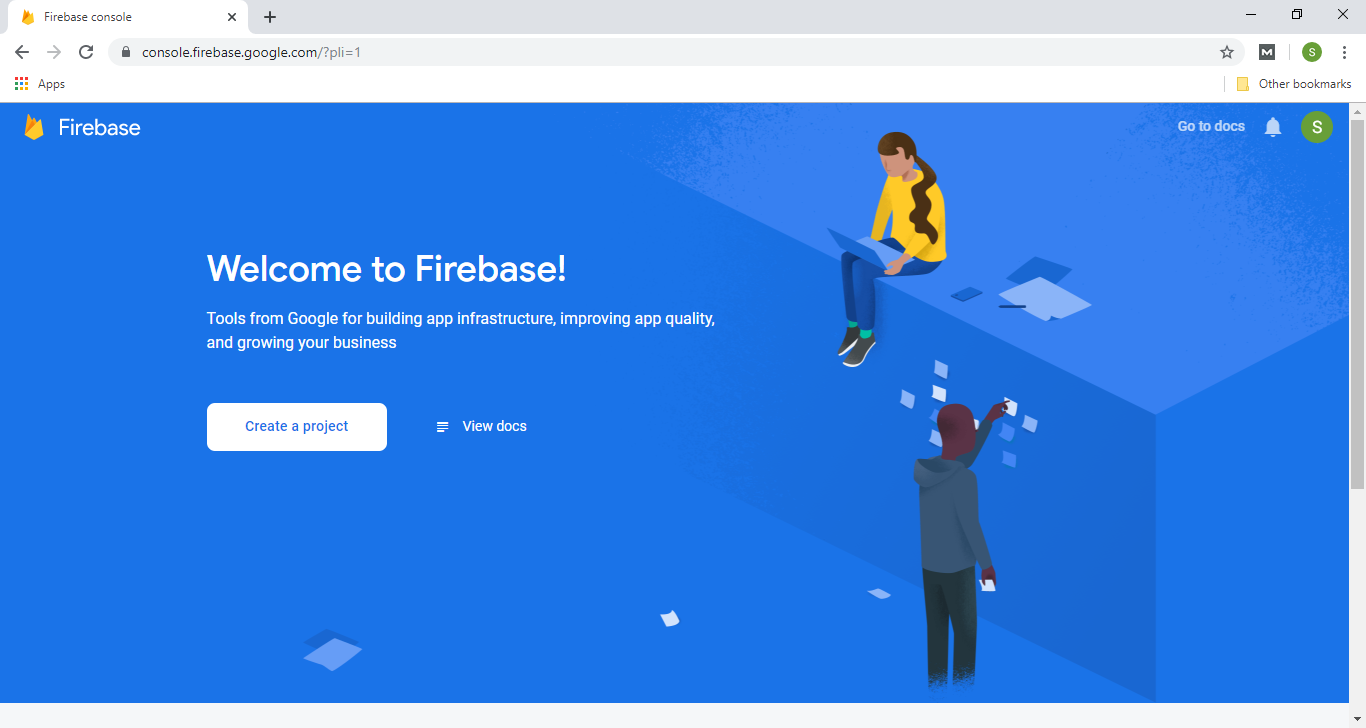
Step 2: Now, we first have to create a Firebase project. Firebase project will go through and describe what it is. This allows us to add an app to that project can have many projects inside of Firebase. 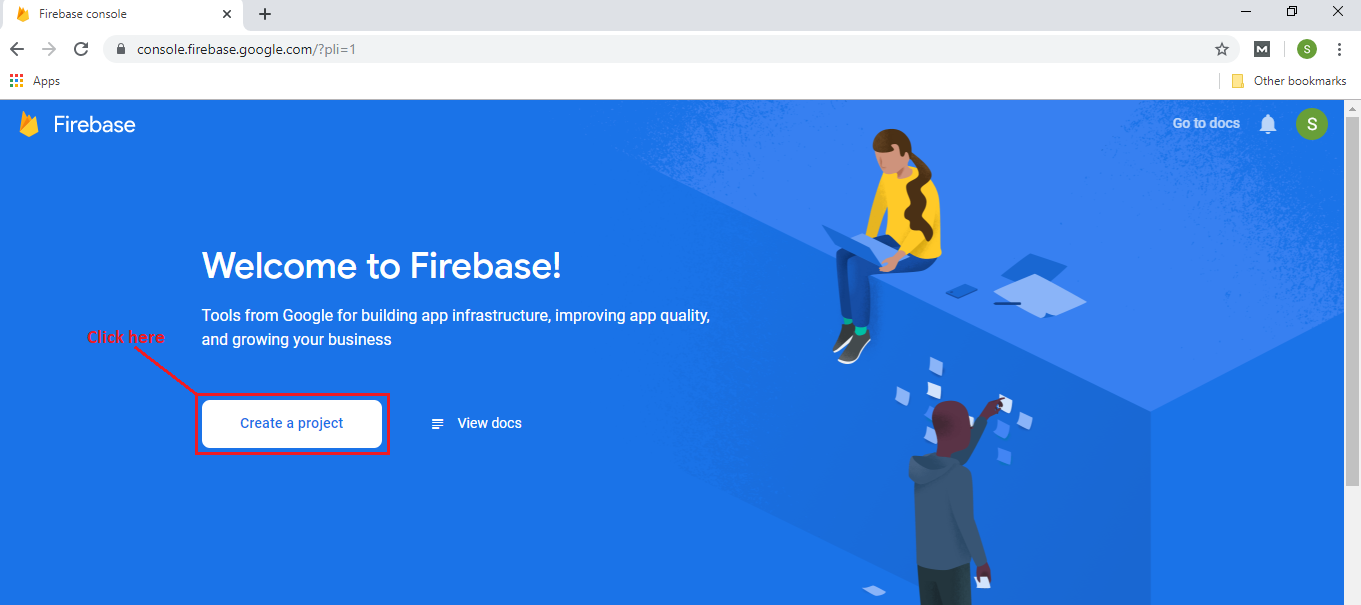
Step 3: Now, we have to give a name and id to the project, enable Google Analytics for the project, set an analytics location, and accept all the terms and conditions. Firebase console automatically creates a unique id for the project. 1) Giving a name to the project 
2) Enable Google analytics for the project 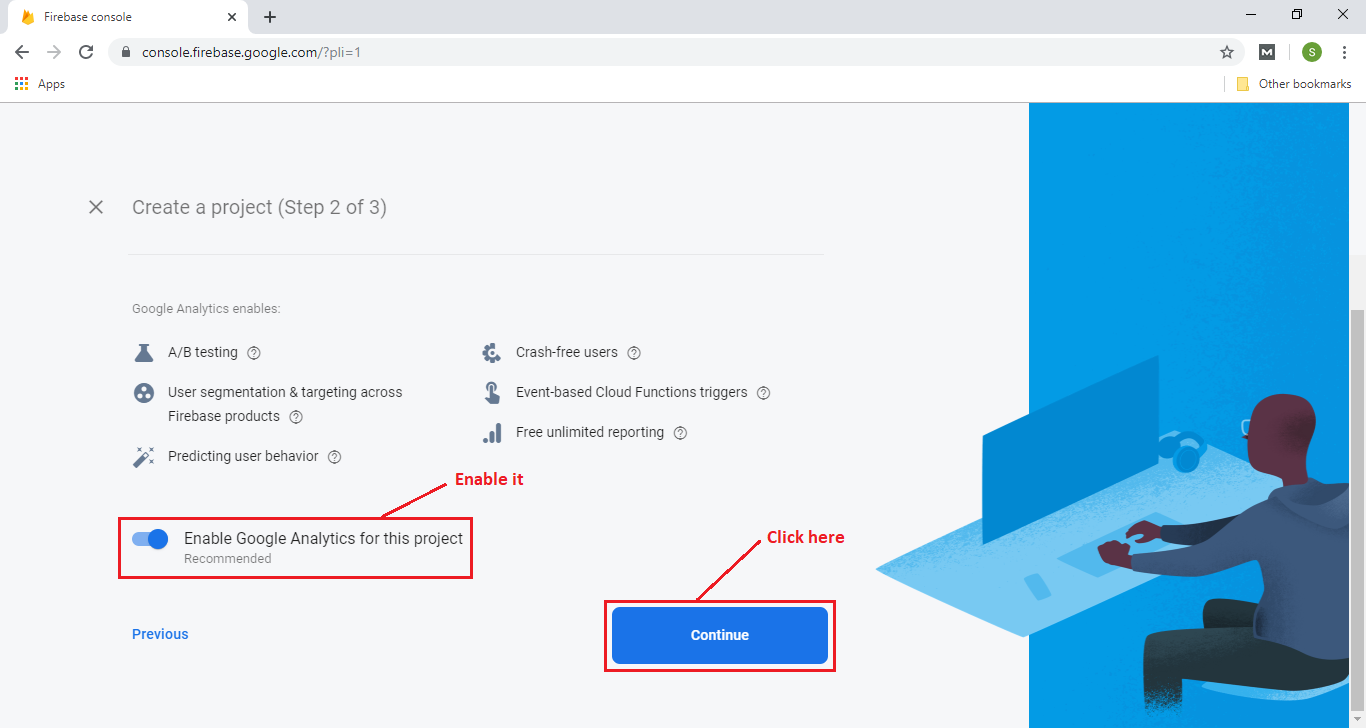
3) Set analytics location and accept terms and condition 
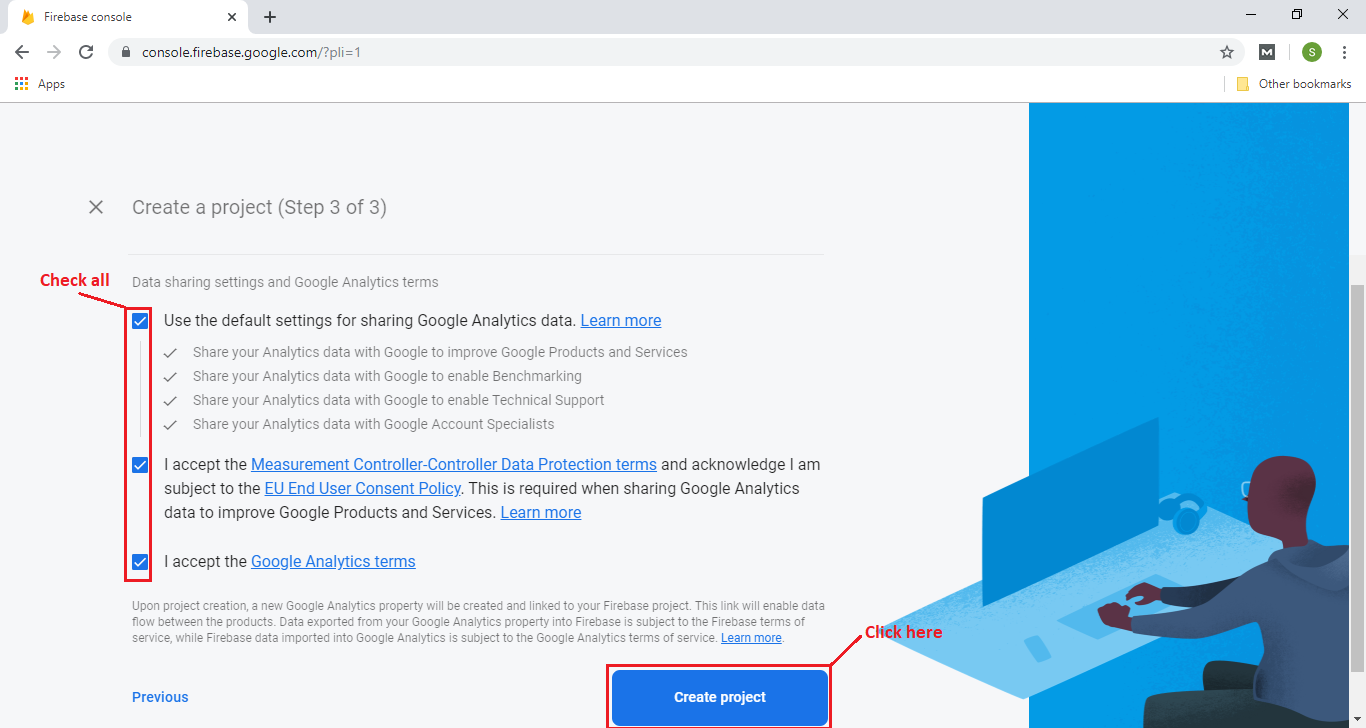
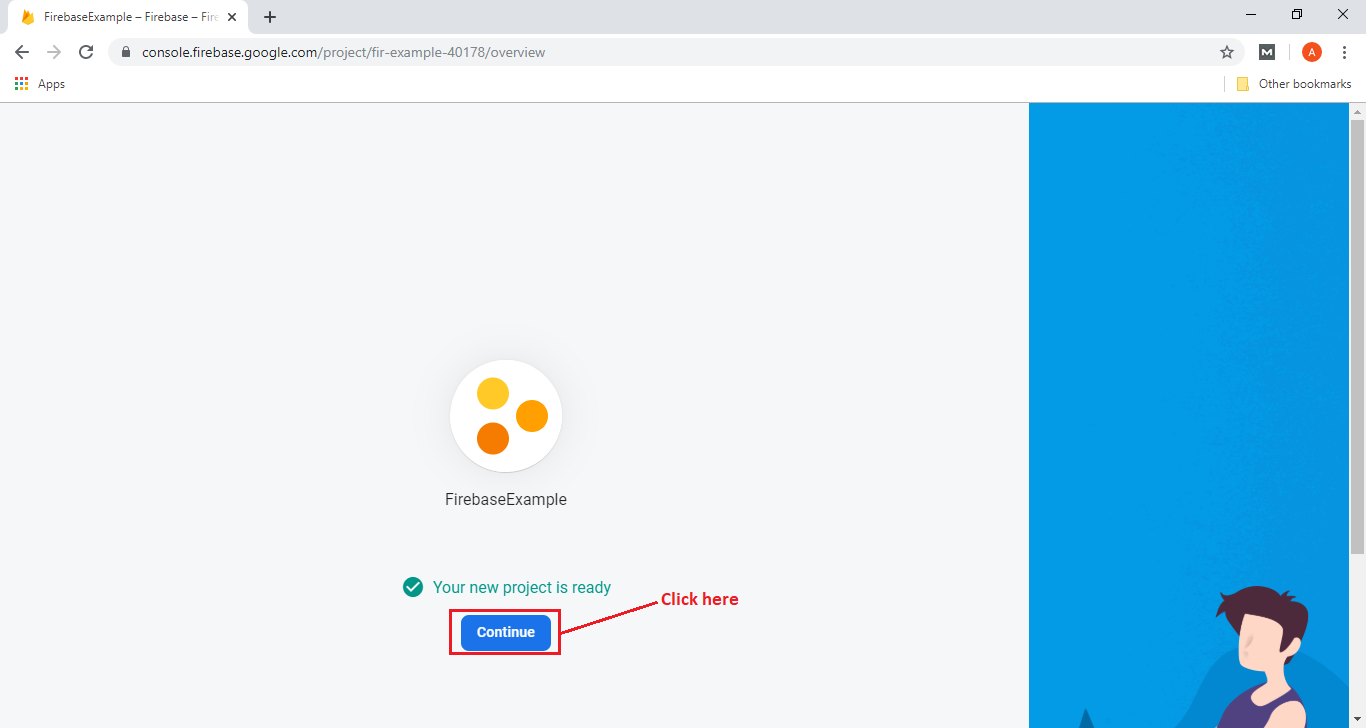
When we click on create the project, the creation of the Firebase project is started, and once our project will be created, we have to click on continue to enter in our project. 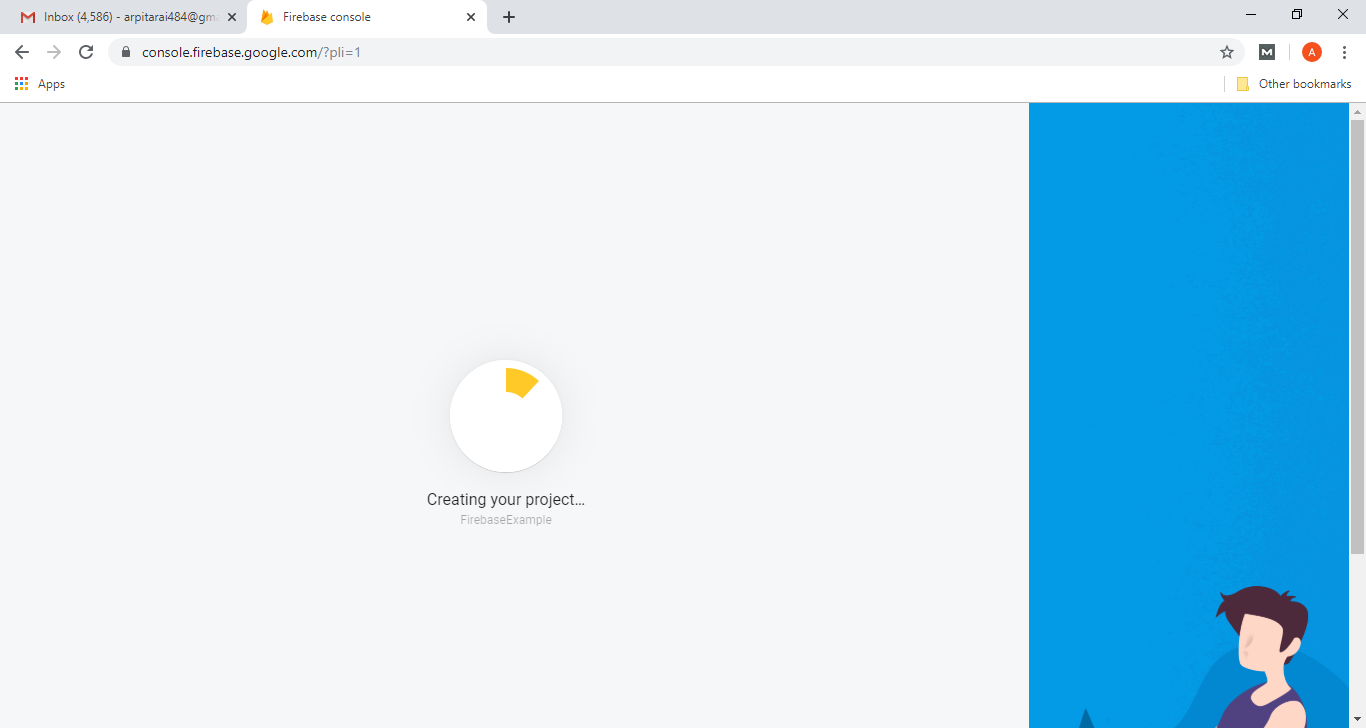
Step 4: In the next step, we have to choose the platform to add Firebase to our application. The platform can be Android, iOS, Web, and Unity. 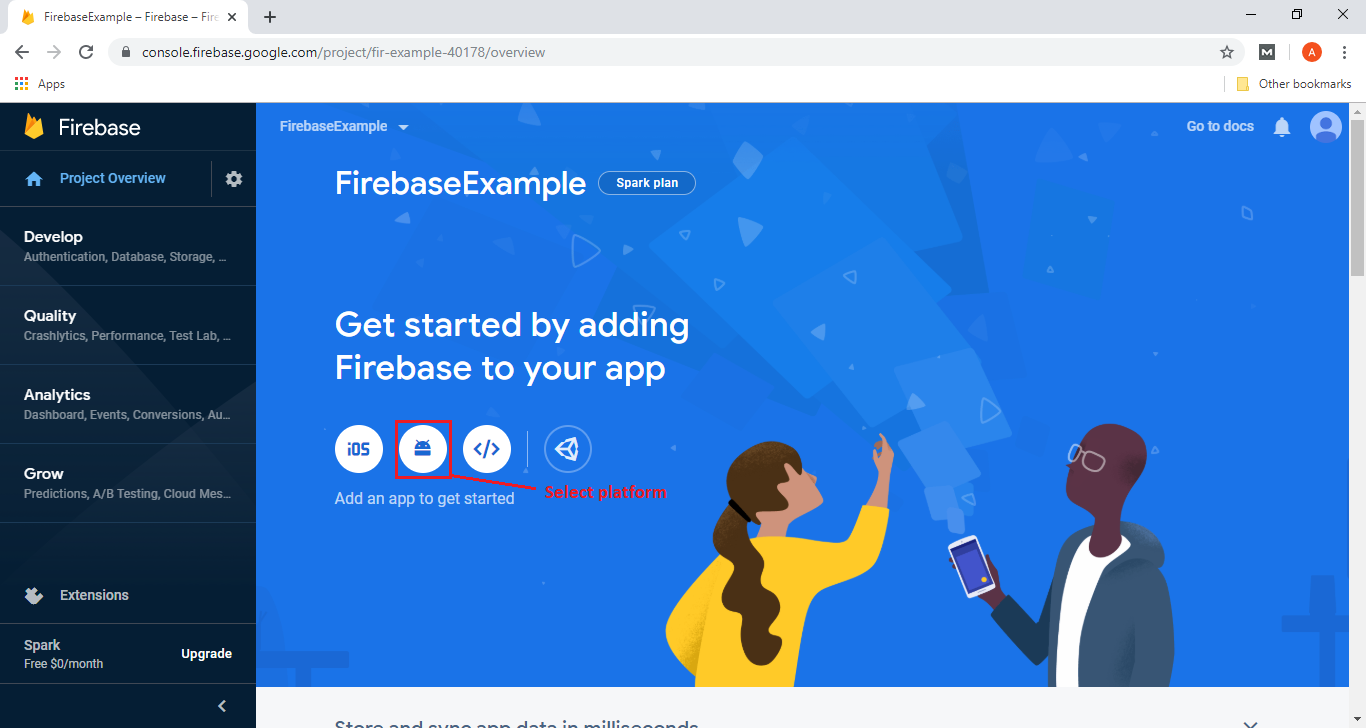
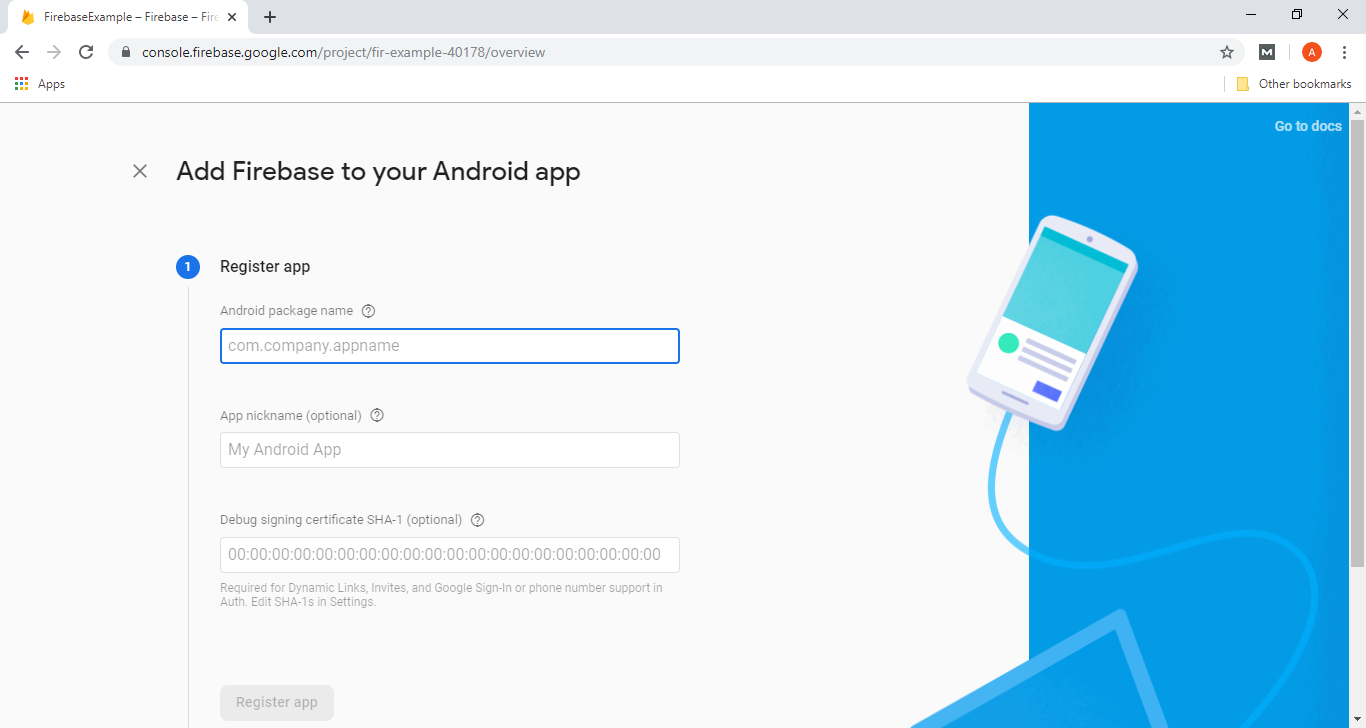
Step 5: In the next step, we have to mention the package name, and the package name is the mandatory and important thing. The package name should be matched with our Android applications package name. We can find the package name of our application in any of the Java class or Manifest file. 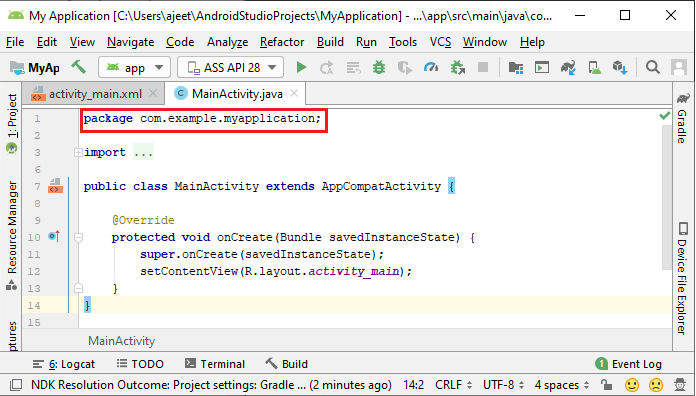
Step 6: In the next step, we will give a nickname to our application. It is an optional field. There is another optional field for SHA-1, which is required to do for certain feature. We can find the SHA-1 by hitting on the signing report. 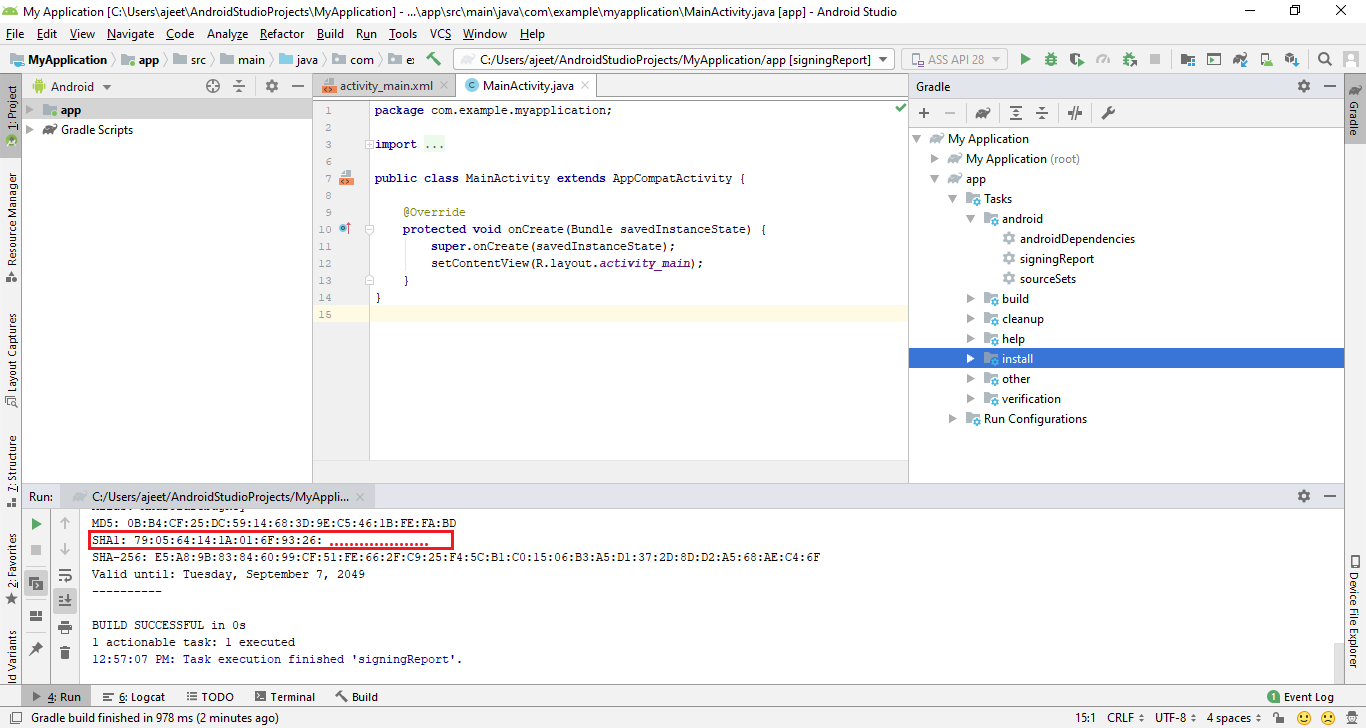
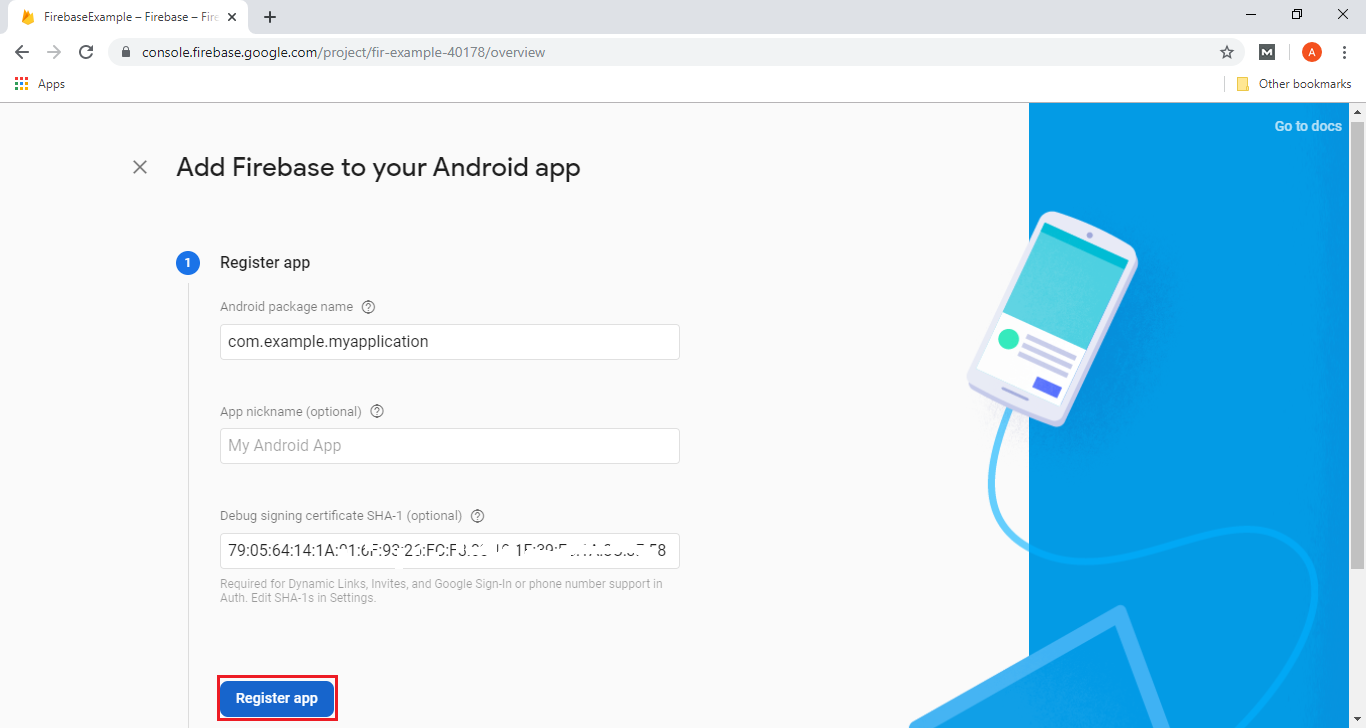
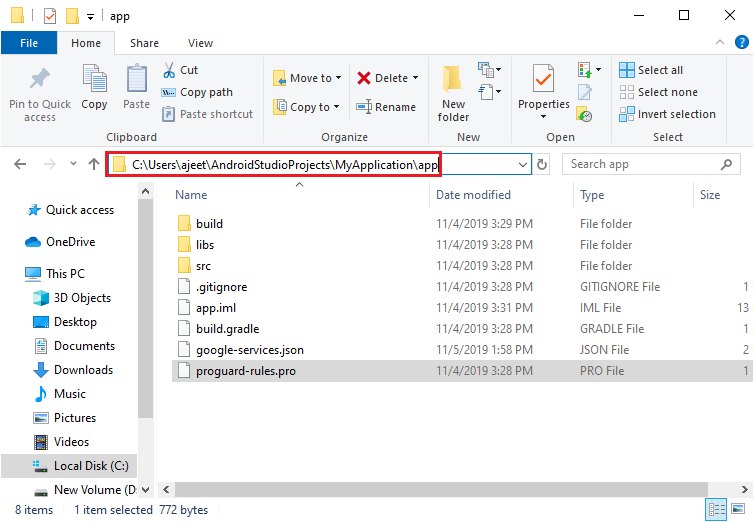
When we click on the Register app, we will go to the next field i.e., Download config file. Step 7: It is one of the most important steps. In this step, we have to download the google-services.json file. This file is provided by Firebase for us to put it inside our application folder in our application. This is a necessary file which is needed by our application to connect with Firebase. 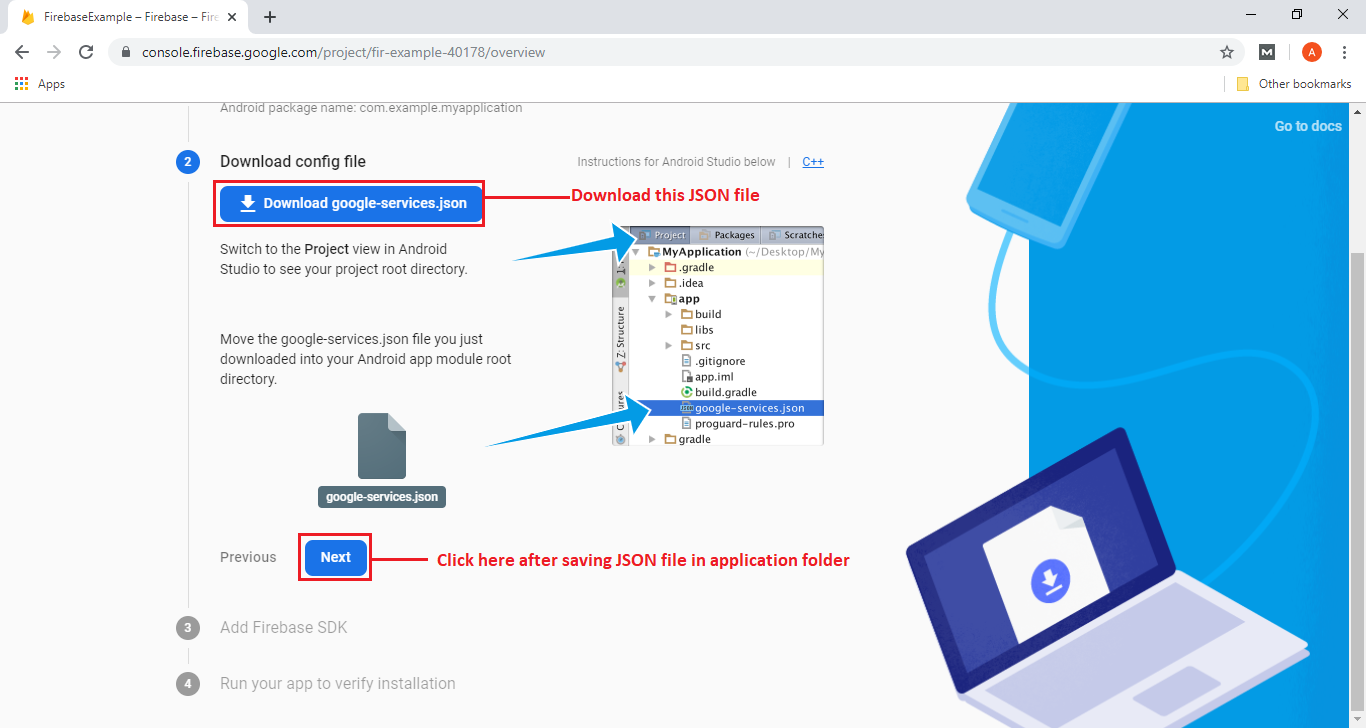
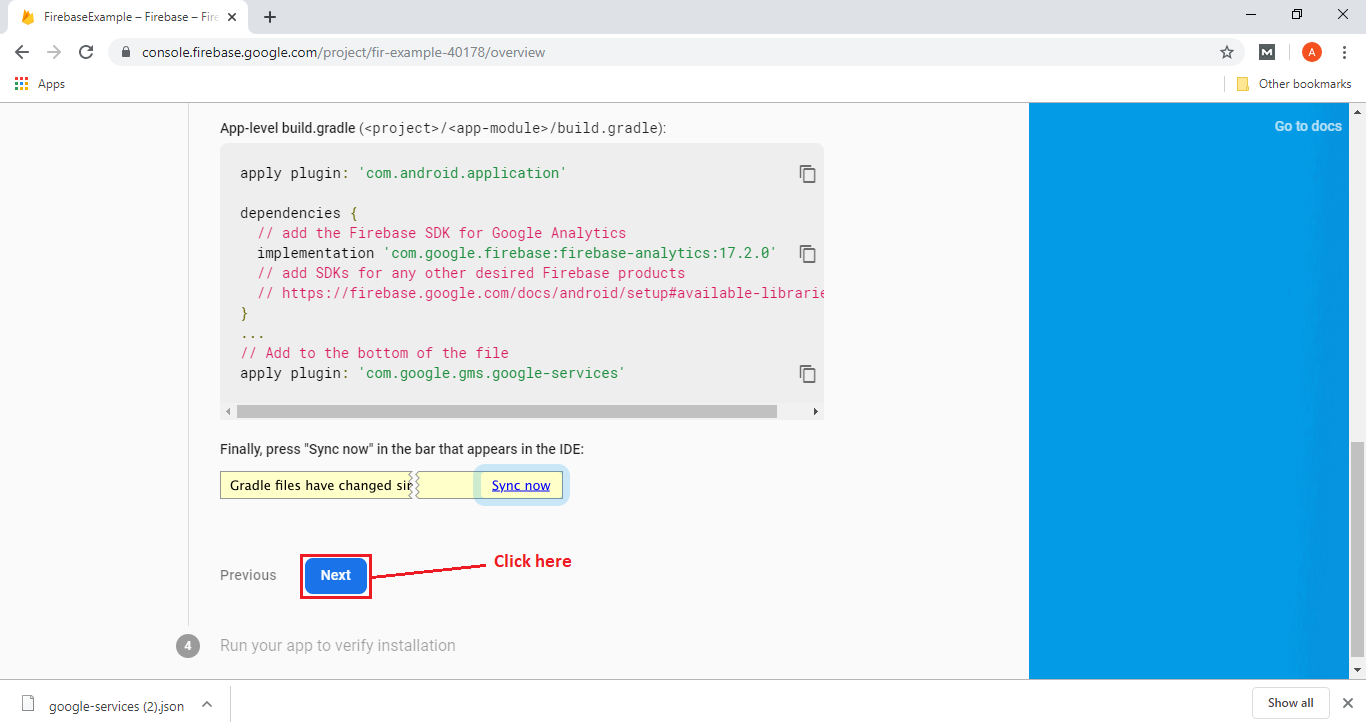
When we click on next, we will switch to the next field i.e., Add Firebase SDK. Step 8: In the next step, we will add the Firebase SDK. This has been done inside the Android Studio. We have to modify the build. Gradle files once in your project with the following lines of code. 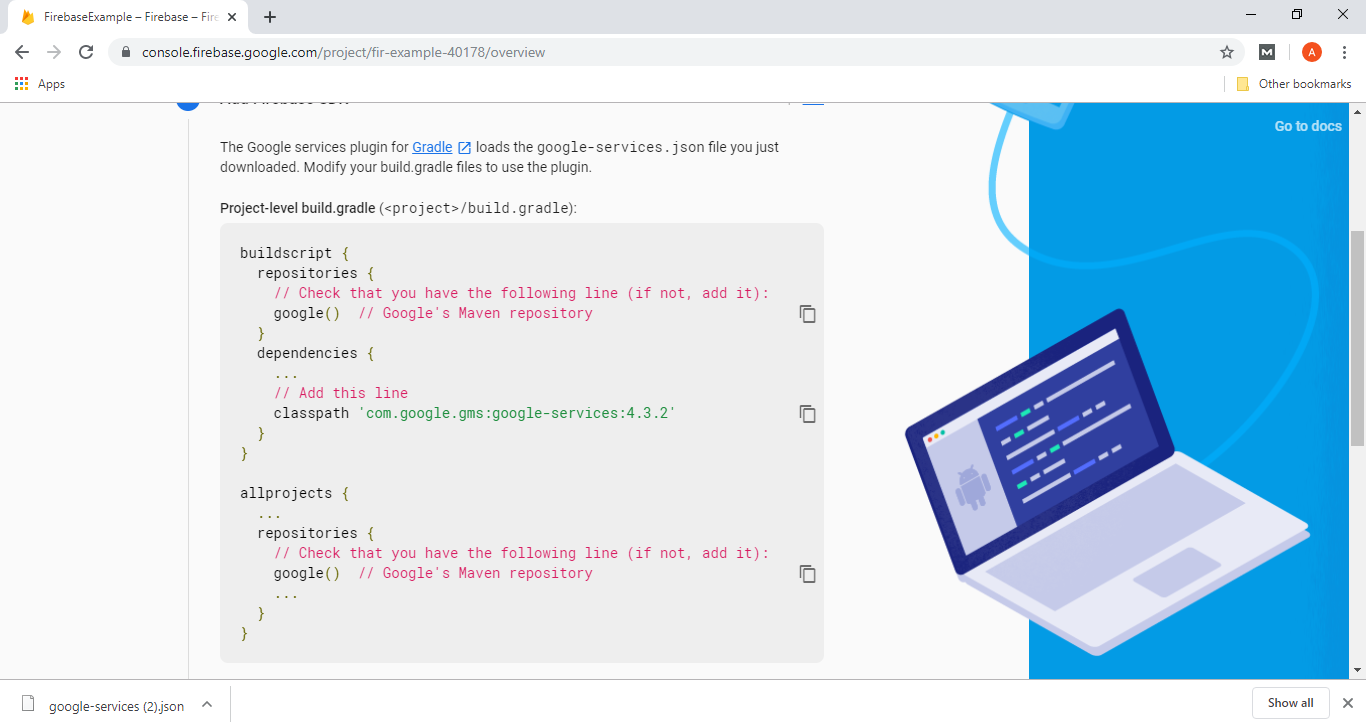
We will skip the four-field, i.e., Run your app to verify the installation. 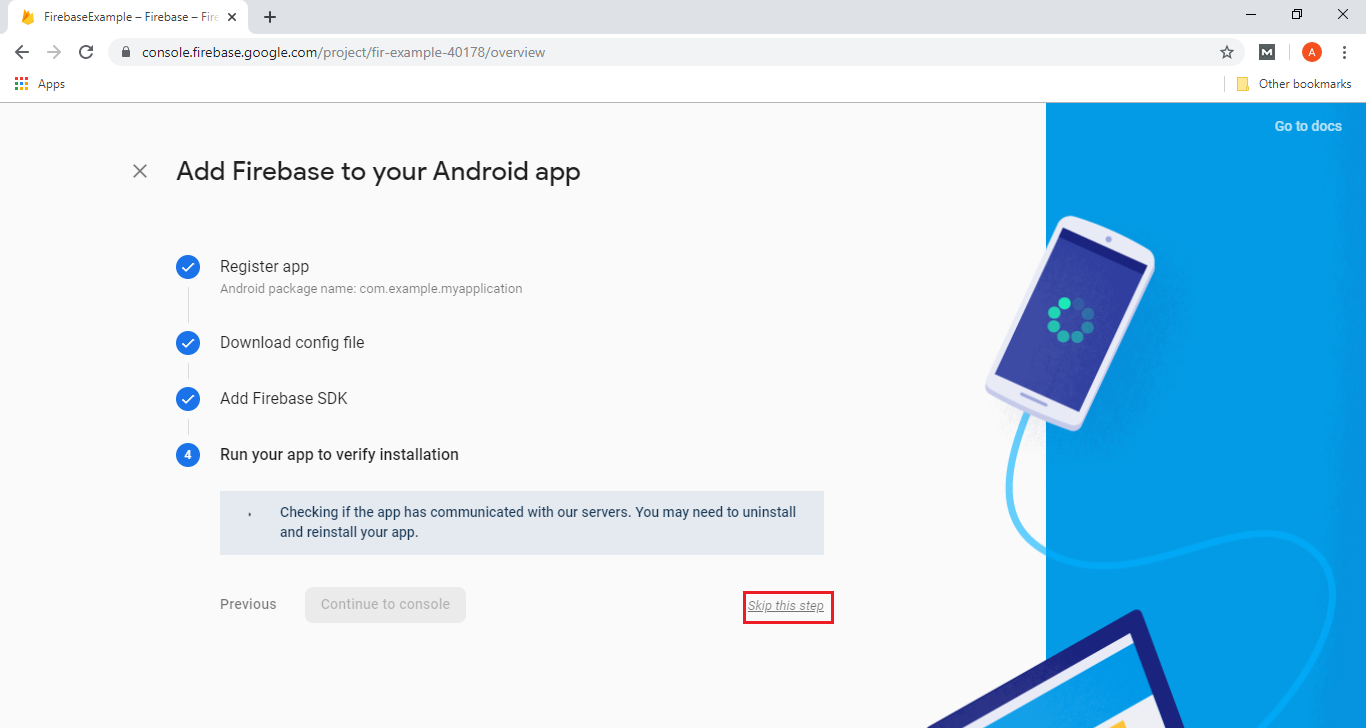
After clicking on the skip, we will switch to the overview page where we can see our application. 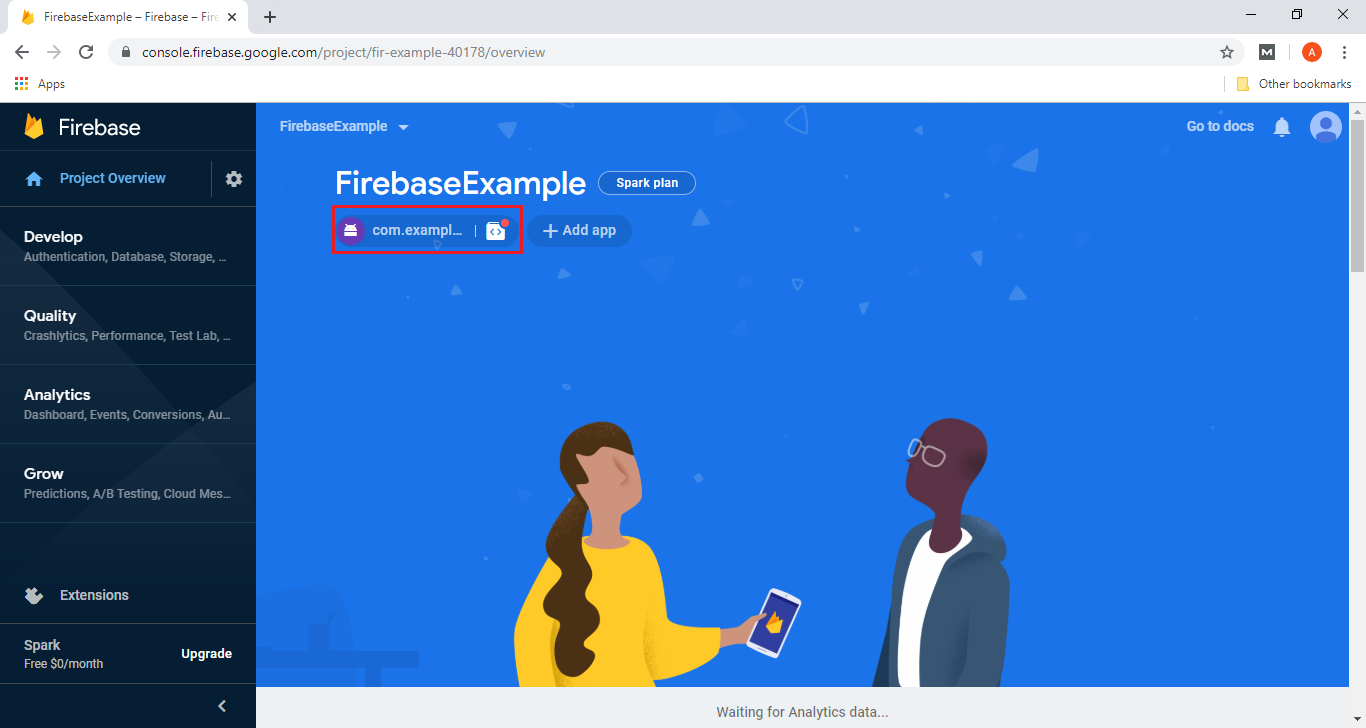
When our application runs on the device, we will check the Firebase console to ensure that our application is communicating with Firebase or not. 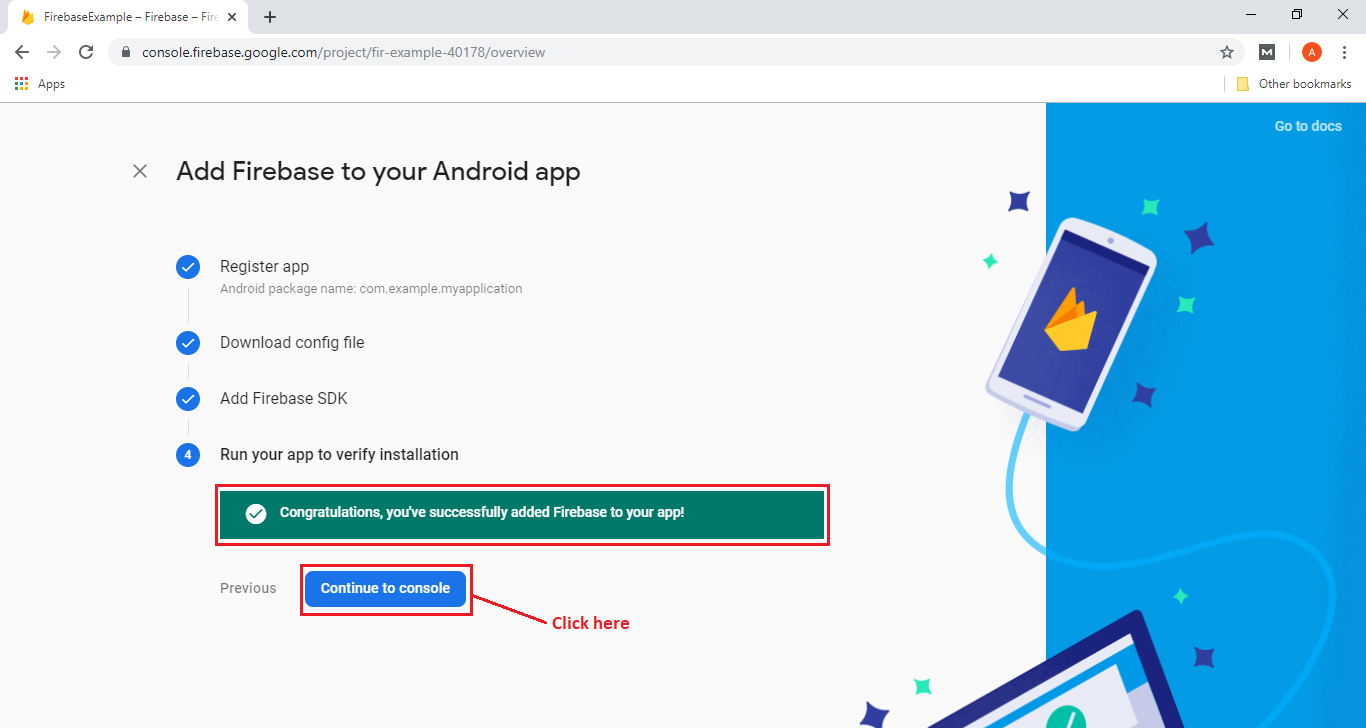
Next TopicFirebase Assistance
|
 For Videos Join Our Youtube Channel: Join Now
Feedback
- Send your Feedback to [email protected]
Help Others, Please Share


