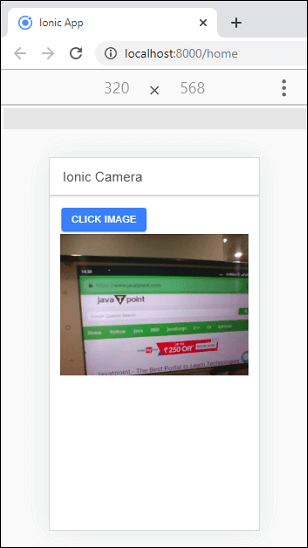
Ionic CameraIn this section, we are going to see an example to access the native device camera based on Angular. To access or integrate the native device features, you need a Cordova plugin. The Ionic Native acts as a wrapper for the Cordova plugin that provides integration with Angular and TypeScript. The Ionic native camera plugin allows us to take a picture by using the device camera. Let us see step by step to learn how you can access the camera to take a photo in Ionic. Step 1: Create a new project. You can learn how to create a project in Ionic 4 from here. You can skip this step if you already had an Ionic project. Step 2: Next, navigate to the project and install the following camera plugin using the below command. Step 3: Import the camera plugin in the app.module.ts file and also include the plugin in the providers as below. App.module.ts Step 4: Open the home.page.ts file and import the camera plugin, then create an object reference by using the constructor. Now, create a function for capturing the photo. The following code snippet gives you a detailed explanation. Home.page.ts Step 5: After creating a function, open the home.page.html file. In this file, you need to create a button and click event to use the function defined in the home.page.ts file. Home.page.html Step 6: Now, you need to add the target platform to deploy the app. You can use your phone to run and test the app. For this, you need to install the following command. If you want to test your app in the browser, run the below command. You will get the output, click the button, the device camera will be open. Now you can take a photo or picture. 
Camera OptionThere are several options available that can be used with the camera. These options are given in the following table.
Next TopicIonic Geolocation
|
 For Videos Join Our Youtube Channel: Join Now
Feedback
- Send your Feedback to [email protected]
Help Others, Please Share


