| |

Ionic Navigation and RoutingNavigation means how a user can move between different pages in the ionic application. In Ionic 4, the navigation has received many changes. For example, instead of using the Ionics own navController, the v4 is able to integrate with the official Angular Router. It provides more consistent routing experience into the whole app. The Angular Router is the most important library in the Angular application. If it is not available, the app cannot maintain its navigation state on browser reloads. Thus, with the Ionic framework and Angular Router, you can create rich applications that are linkable and have rich animation. Traditional websites use linear history, where the user navigates to a required page and can press the Back button to navigate back. But, in Ionic Framework, applications can take this by allowing parallel navigation. It means that it has multiple navigation stacks and can exchange them at any time. The latest version of Ionic uses a navigation stack for implementing navigation between the pages. It can simply work as a stack of pages, where one page id on top of another page. As we know, the stack can access only the top element. Ionic has a similar concept where you can only view the page on top of the navigation stack. If you want to navigate to another page, you need to do one of these two actions:
Let us see step by step how we can navigate between different pages in the Ionic application. Case 1The following example explains the basic navigation in the application. Step 1: Create a new project. You can learn how to create a project in Ionic 4 from here. Step 2: Create a new page. This page is used for navigation. Step 3: The newly created page automatically added its path into the app-routing.module.ts file as below. In the app.component.html, the <ion-router-outlet> component is responsible for rendering the page in the application. It is specifically used for ionic routing, which works the same as a regular angular-router component. Step 4: After creating the page, open the home.page.html file and add the following code. Step 5: Now, run the project. The following screen appears. 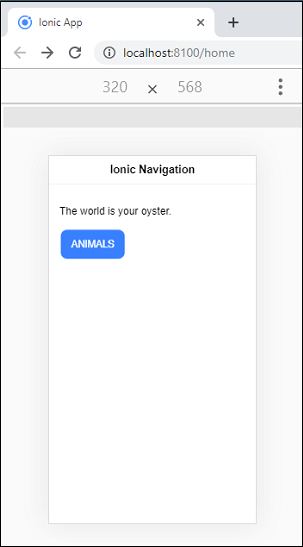
When you click on the Animals button, you will navigate to the Animals page. It can be shown in the below screen. 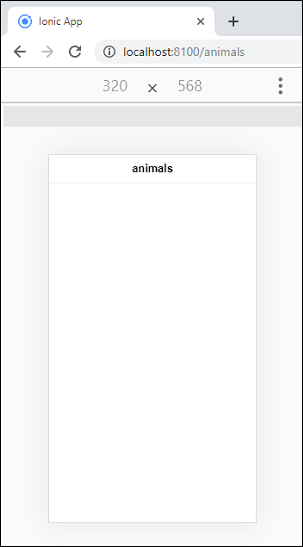
Case 2The user can also navigate between pages in a programmatic way, which can be understood form the below example. Step-1: Add the following button in the home.page.html file. Step-2: Open the home.page.ts file and insert the following code. Step 3: Open the animals.page.html and add the following button to navigate on the previous page. Step 4: Open the animals.page.ts file and insert the following code. Step 5: Execute the app. The following screen appears. 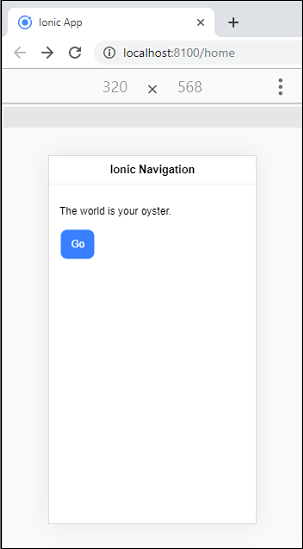
Now, click on the Go button, you will navigate to Animals page. On this page, when you click on the back button, the page automatically navigated to the home page. 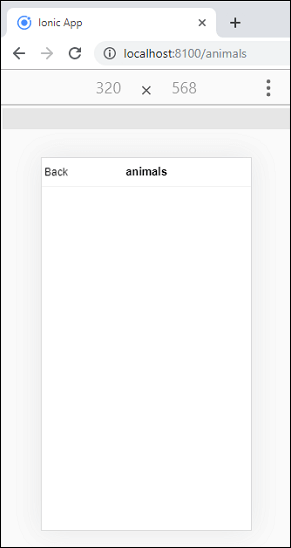
Case 3The navigation can also perform by using the URL. You can understand it with the help of the following example. Step 1: Create a new component inside the animals page. To create a component, execute the following command. Step 2: Next, open the animals.module.ts file and import the ProfileComponent. Then, add the route for the Profile component along with id. Add the following code snippet in the animals.module.ts file. Step-3: Open the home.page.html file and add the following button. Here, we are going to pass some random id in the path for routing. Step-4: Open the home.page.ts file and insert the following code. Step 4: Now, execute the app, you will get the following screen. 
Click on the Animals button, and you will navigate on the profile components. 
Case 4You can also make the above example more dynamic by extracting the id from the URL. To do this, we need to use an angular service called antivatedRoutes. The following example explains it more clearly. Step 1: Open the profile.component.ts file and insert the following code. Step 2: Open the profile.component.html file and add the following code. Here, we are going to display the id that will always return the new id passing in the URL. Step 3: Now, execute the app, you will get the following output. Every time you navigate to a different URL, you will get the different id displayed in the UI. 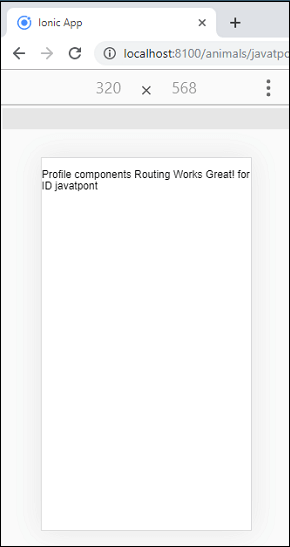
Next TopicIonic Camera
|
 For Videos Join Our Youtube Channel: Join Now
Feedback
- Send your Feedback to [email protected]
Help Others, Please Share


