| |

Ionic FirebaseFirebase is a popular tool for mobile and web app development platform. It provides many services to help you in building fast and high-quality apps without managing infrastructure. Initially, this platform was developed by Firebase, Inc. in 2011, and then it was acquired by Google in 2014. It is a powerful Database as a Service (DBaaS) solution, which provides a scalable cloud database to store and sync data for client and server-side development. Firebase is a type of freemium model, not an open-source model. However, you can use its services free until you don't pass the limits of its free tier. In this section, we are going to learn how to create CRUD (Create, Read, Update, and Delete) applications in Ionic Framework using the AngularFire package to connect our app to Firebase. Let us see step by step to the Ionic app with Firebase. Step 1: Create a new project. You can learn how to create a project in Ionic 4 from here. You can skip this step if you already had an Ionic project. Step 2: Next, navigate to the project and install the AngularFire plugin using the below command. The AngularFire plugin is responsible for communicating the Ionic application to the Firebase project. Step 3: Create a page todoDetails under the pages folder by using the following command. Step 4: Create a service page under the services folder by using the following command. The AngularFire service is a provider, which keeps the interaction with the Firebase and your project. Step 5: Once the AngularFire plugin has been installed, you will need to create a new project in Firebase. To create a project, go to the firebase console, where you can see the following screen after creating the project. 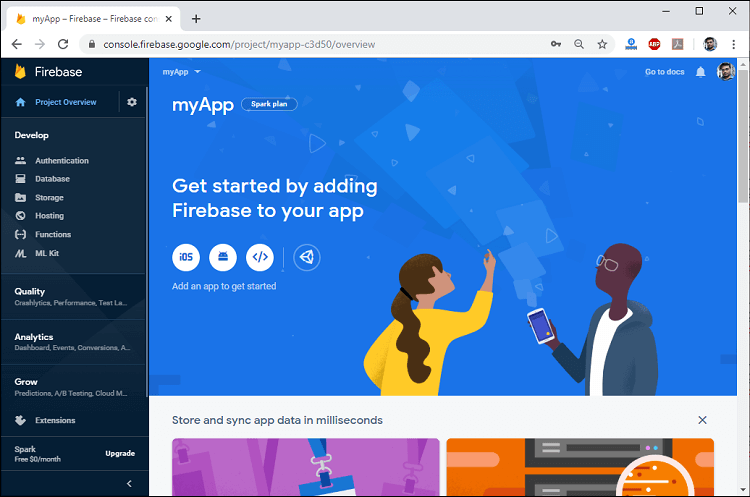
Step 6: Specify the following credential into the src/environment.ts file to communicate your Ionic application with the Firebase app. The credentials will always be different for a different project on the Firebase console. Environment.ts To find the above credential go to the Firebase app Setting->General->Your Apps->Config. Step 7: Open the app.module.ts file and import the following AngularFireModule, AngularFirestoreModule, and Environment, which can be seen in the below code snippets. Step 8: We also want to use the Firestore. For this, go to the Firebase Console->Database->Cloud FireStore. You will see the following image. 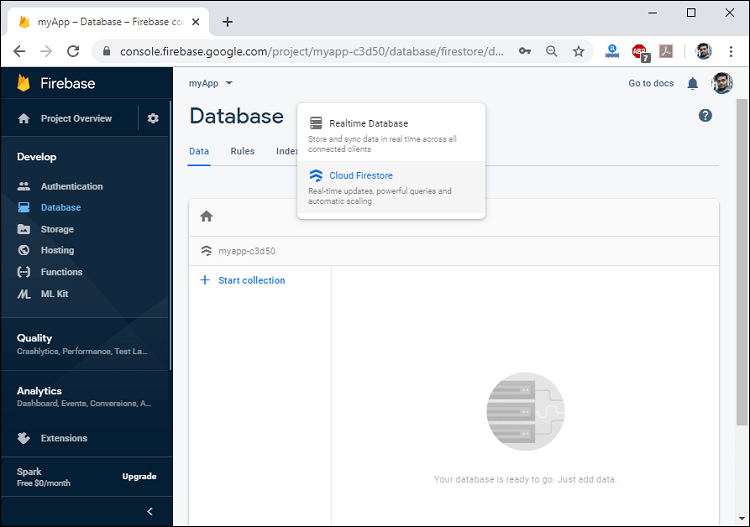
Step 9: Next, we need to enable the authentication in your Firebase project. For this, go to the Authentication-> Sign-in method->Anonymous->Enabled. 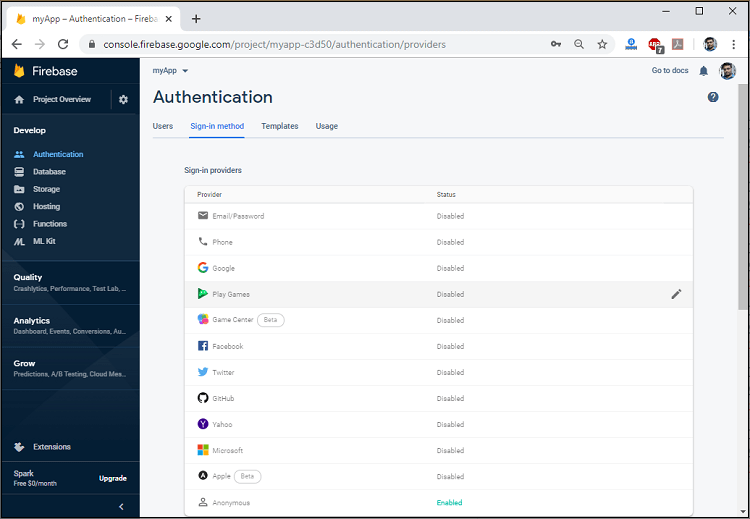
Step 10: The last thing we need now is to set-up the routing information. Therefore, change the routing information into the app-routing.module.ts file. In this file, the pages and modules have been added automatically as below code snippets. Step 11: Now, open the todo.service.ts file and insert the following code. The service page store a reference to the todo collection, which is basically a link to the Firestore database. The service connection allows us to receive all information about the current documents as well as allows us to add, update, and delete documents. Also, we need to use a map() block in the snapshotChanges function. This function is responsible for all types of data changes on the database as well as for accessing the id of the document. Step 12: Now, we need to display the Firestore Collection List. Open the todo-list.page.ts file and insert the following code snippet. The first page of the app is a list, which shows all the documents of the collection. Step 13: To create a new List, we have added a FAB button and construct a router link for our items by combining the path with the id of the todo object. So, open the todo.list.page.html file and insert the following code. Step 14: Open the todo-details.page.ts file and insert the following code. This file contains a logic to perform the CRUD operation with a Firebase document. Step 15: Open the todo-details.page.html file and insert the following code. It displays the UI of the app, which is going to store in the Firebase database. Step 16: Now, you can run your app. It will give the following result. 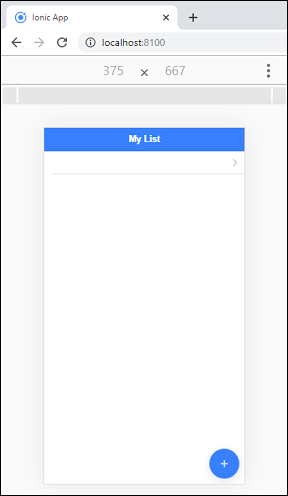
If you want to observe how your database is working in real-time, then open your Firebase Console in one tab and your app in another tab as below screen. 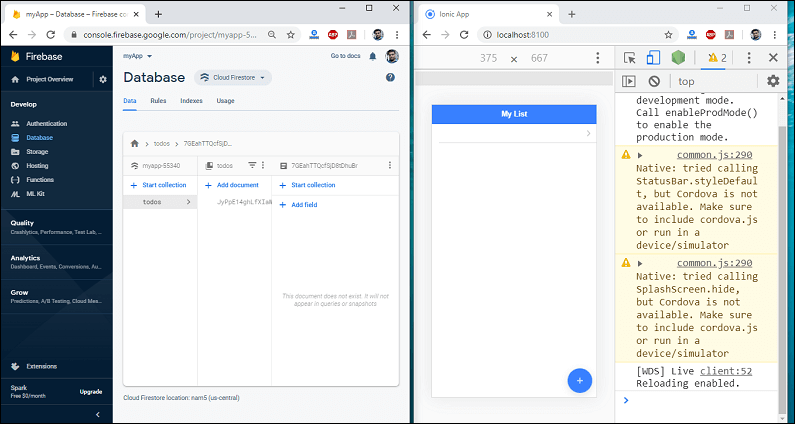
Now, click the Add button on the below right corner of the UI, you will get the following result. 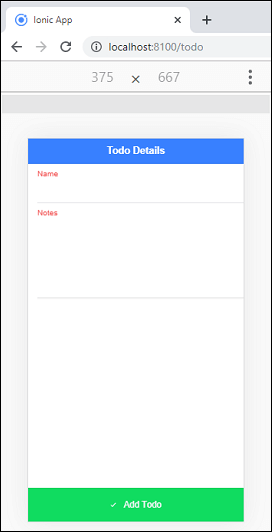
On this page, fill the details on the Name and Notes field. After that, check your Firebase database where it will be going to store. For example, we have filled the details as given below and click on the add button. The following output appears. Name = Abhishek Notes = Firebase is a popular tool for mobile and web app development platform. 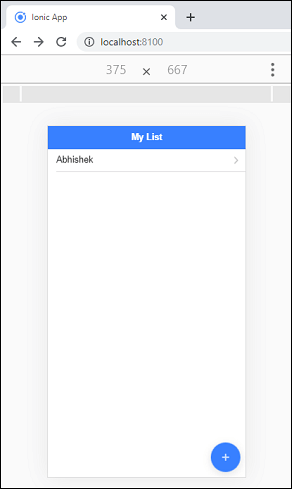
The corresponding Firebase Console database looks like the below image. 
Again, if you want to delete the database, click on the Abhishek in your app. The following page should be displayed. 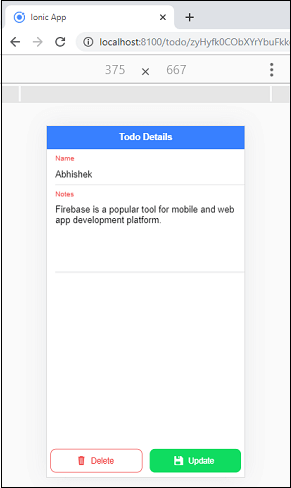
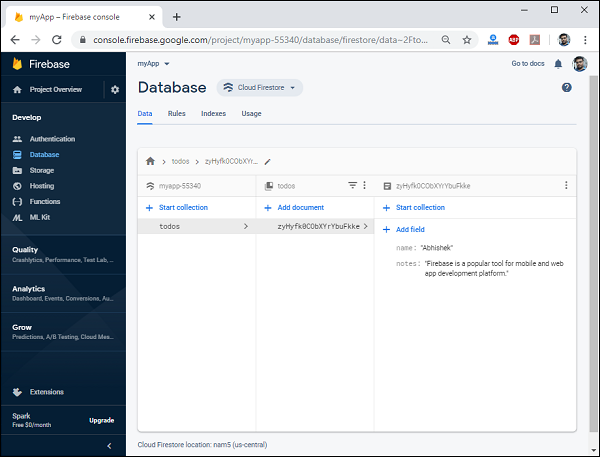
If you click the delete button, the following database will be deleted. Next, if you want to update the database, then change the field which you want and click on the Update button. Now, check the database. You will find that your database is updated. It can be seen in the following image. 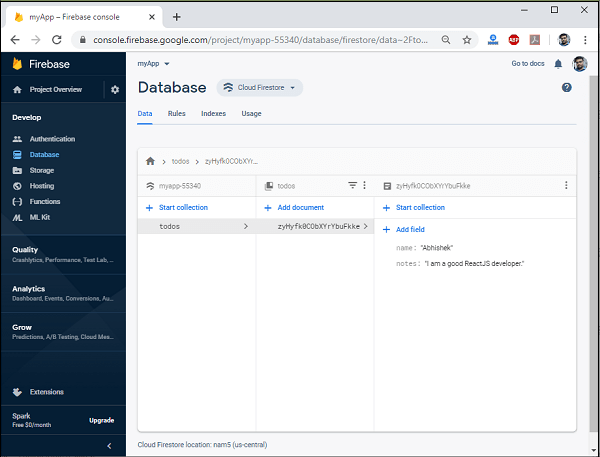
Next TopicIonic AdMob
|
 For Videos Join Our Youtube Channel: Join Now
Feedback
- Send your Feedback to [email protected]
Help Others, Please Share


