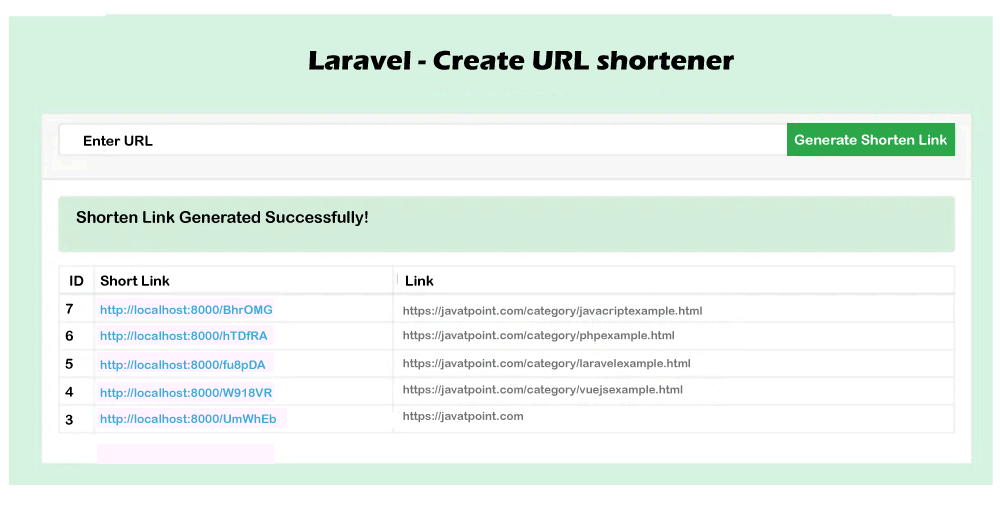
Create url shortener in LaravelIn this section, we are going to Create a URL shortener. We will use Laravel to do this. In our application, instead of the long URL, we will create the shortened URL string. We can use various versions of Laravel, such as Laravel 6, Laravel 7, and Laravel 8 to write our script function. The Shorten URL will need to be generated when we are using SMS or any other option to share with limited character, and in our project, we need to share any link or URL at that time. In our application, shortening URL will be required several times, so we need to implement a module in our project which will help to shorten URL or short link with the domain of our website. The step by step process to create the shortened URL or short link without the use of any package is described as follows: Step 1: In this step, we are going to Install Laravel 5. If our system don't have already installed a fresh Laravel version, we will use the following command to install the latest version of the Laravel 5 application like this: Step 2: In this step, we are going to Create Table. Here, we will create the short link by using the scratch application. In order to create the table named "short_links", we will use the migration. For this, we will use the following command like this: When the above command is successfully executed, we will open our file path named "database/migrations" and see a new file in this path. In our migration file, we will add the following code so that we can create a short_links table. The following command will be used to run the above migration like this: Step 3: In this step, we are going to Create Model. Here, we will create ShortLink as a new model. In order to create a new model, the following command will be useful: app/ShortLink.php Step 4: In this step, we are going to Create Route. Here, we will create two routes. One route will be created for the layout file, and a second route will be created to store the data. We will add a route by using a file named routes/web.php like this: routes/web.php Step 5: In this step, we are going to Create Controller. Here, we will use ShortLinkController as a new controller. Using this controller, we are able to manage the layout. It is also used to store data in the database. Now we will use our controller file and add the following code into it like this: app/Http/Controllers/ShortLinkController.php Step 6: In this step, we are going to Create View. Here, we will create a file named shortenLink.blade.php for layout. We will add the below code into that file like this: resources/views/shortenLink.blade.php Now our above code is ready to run. In order to run the above code quickly, we will use the following command: Now we can use our browser to open the below url: After open this, we can see the following output: 
|
 For Videos Join Our Youtube Channel: Join Now
Feedback
- Send your Feedback to [email protected]
Help Others, Please Share


